18
Englis
h
Engli
s
h
7
Press the CD Control PLAY
3
button to start
programmed play.
•
During playback, the disc number, track number and play time
of the track are shown in the information display.
•
The numbers of the tracks that have been played are cleared
from the music calendar. They are displayed again when pro-
grammed play is completed.
•
Operation stops automatically (and “STOP” is shown in the
information display) when all of the programmed tracks have
been played.
•
If the CD Control PLAY
3
button is pressed at a specific step
in a program, the programming function will end and playback
will start from Step 01, not the step currently shown in the infor-
mation display.
To clear a step (track) from the program
To erase a programmed track, turn the MULTI JOG Control while
in the CD stop mode until the track you want to erase is shown in
the information display. Press the CANCEL button to erase the
track from the program. The step number for each track following
the one erased is automatically reduced by one (i.e., steps are
renumbered). To erase the entire program, press the CANCEL but-
ton until “PG NO PROGRAM” is shown in the information dis-
play.
To change the contents of the program
In the CD stop mode, press the SET button followed by the CAN-
CEL button. Programmed tracks will be erased in the reverse order
of when they were entered (starting from the last track pro-
grammed). Press the CANCEL button twice to erase one track.
Continue erasing in this manner until all of the tracks you wanted
to remove are erased. Enter new tracks into the program by follow-
ing programming Steps 4 and 5.
To check the contents of the program
To check the tracks you have entered into the program, press the
CD Control STOP
7
button, and use the MULTI JOG Control to
review the programmed tracks. The program steps (PG S**) and
track numbers will be shown in the information display one at a
time as you toggle through the program (S: Step; **: step number).
To return to continuous playback
In the CD stop mode, repeatedly press the PLAY MODE button on
the main unit until the total playing time is shown in the informa-
tion display.
If you want to program and record tracks, see “Program Edit
Recording” on page 27.
1
Load CDs into the trays of the 3-CD changer.
• Only tracks on the CDs loaded in the 3-CD changer can be reg-
istered into the program (i.e., tracks on a CD loaded in the CDR
cannot be selected for playback).
• “CD READ DISC” will be shown in the information display as
the unit reads the information from each disc.
Note
• To close a tray, press the
0
button for the tray number that is
open. If you press the
0
button for a tray number other than that
for the tray that is open, the program may not be played correctly.
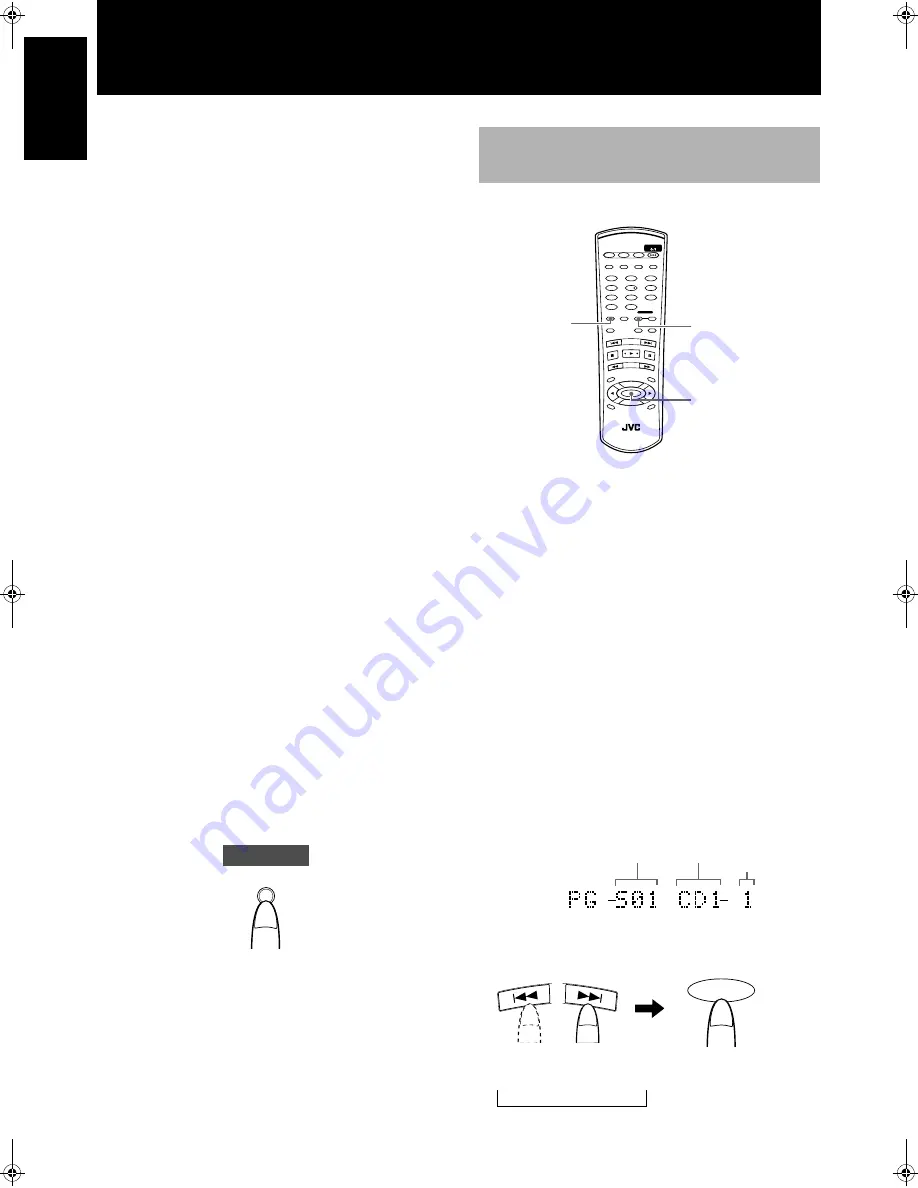
2
Press the CD Deck Selection button to place the
unit in the CD mode.
• The CD PLAYER indicator is shown in the display window.
3
Press the PLAY MODE button.
• The PROGRAM indicator is shown in the display window, and
if no program has been registered, “PG NO PROGRAM” is
shown in the information display.
4
Press the SET button.
•
The information display will show the following.
5
Select the disc source (CD tray) using the
4
(reverse) or
¢
(forward) buttons, and then
press the SET button.
• When the SET button is pressed, next the program step and
track number columns will flash.
PLAY MODE
Main Unit
Programming Playback Using
the Remote Control
STANDBY/ON
CD1
CD2
CD3
CD REC
PLAY
MODE
•
REC
REC MUTING
REC
SOURCE
MENU
PITCH
0
CHA
NCE
L
REPEAT
CD
PITCH
+
SET
PITCH–
RM–SXLR5010A
REMOTE CONTROL
CDR
CD EDIT
FINALIZE
DISPLAY
1
2
4
5
7
8
3
6
9
10
+10
FADE
SYNCHRO
C O N T R O L
4
3
2
Program step
number
Disc source
Track number
SET
1. Select the disc
source.
2. Enter the selection
selection.
=
CD1
+=
CD2
+=
CD3
+
XL-R5010BK.book Page 18 Monday, June 4, 2001 11:40 AM


