28
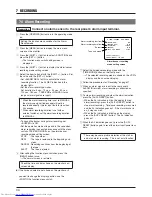
COUNT/
CLOCK
TIME
MODE
TIMER
REC
AL/PL
RESET
MENU
SHIFT/TRACKING
SET/V.LOCK
RESET
/CANCEL
PAL
7-3 Timer Recording
Two types of timer recording are available: daily timer (by specifying the date) and weekly timer (by specifying the day of the
week).
• Daily timer
: Set the date to any date within one year of the current date. Up to 8 programs can be set.
• Weekly timer : Set the day of the week. Recording will automatically be performed on that day each week.
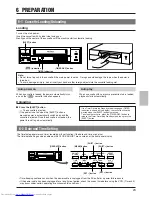
You can program the timer using the on-screen menu display.
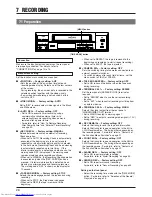
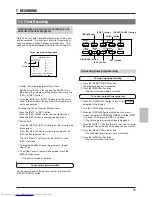
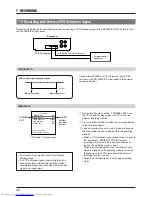
[OPERATE] button
[SHIFT–] button
[TIMER REC] button
[SET–] button
[SET+] button
[SHIFT+] button
[MENU] button
Note:
• Timer programming is not possible if the date and time have not been set.
Preparation
• Make sure all necessary equipment is properly connected to the input/output connectors on the rear panel.
• Check the current time.
• Load a cassette with the safety tab in place. If the power is off, loading the cassette automatically turns the VCR on
(auto power on function).
1
Turn on this unit and the monitor.
2
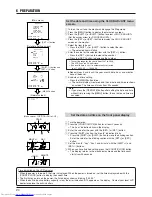
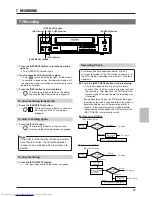
Press the [MENU] button.
[
The main menu screen is displayed on the monitor.
3
Press the [SHIFT +] or [SHIFT -] button to move the cursor arrow to
<PROGRAM TIMER> in the main menu, then press the [SET +] or [SET -]
button.
[
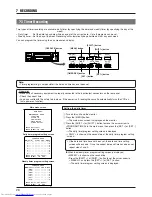
The daily timer program setting screen is displayed.
• <DAILY> is shown on the second line of the daily timer program setting
screen.
• If the date and time have not been set, the date and time setting
screen will be shown. Once the correct date and time have been set,
repeat steps 2 and 3.
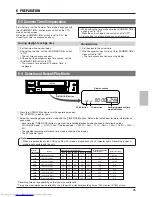
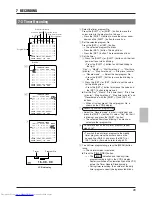
When the weekly timer program setting screen is displayed,
<WEEKLY> is shown on the second line.
• Press the [SHIFT +] or [SHIFT -] button to set the cursor arrow to
<WEEKLY> and press the [SET +/-] or [SET -] button.
[
The daily timer program setting screen is displayed.
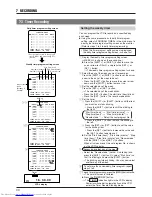
MAIN MENU
PROGRAM TIMER
FUNCTION
ALARM IN
POWER LOSS
HOUR METER
CLOCK ADJUST
PRESS (SHIFT, SET)
PRESS (MENU) TO END
PROGRAM TIMER
( DAILY) S T A R T E N D MODE
1. – – – – – – – : – – – – : – – – – H
2. – – – – – – – : – – – – : – – – – H
3. – – – – – – – : – – – – : – – – – H
4. – – – – – – – : – – – – : – – – – H
5. – – – – – – – : – – – – : – – – – H
6. – – – – – – – : – – – – : – – – – H
7. – – – – – – – : – – – – : – – – – H
8. – – – – – – – : – – – – : – – – – H
PRESS (SHIFT, SET, RESET)
PRESS (MENU) TO END
PROGRAM TIMER
(WEEKLY) S T A R T E N D MODE
( MON )
– – : – – – – : – – – – H
( T U E )
– – : – – – – : – – – – H
( WED )
– – : – – – – : – – – – H
( T H U )
– – : – – – – : – – – – H
( F R I )
– – : – – – – : – – – – H
( S A T )
– – : – – – – : – – – – H
( SUN )
– – : – – – – : – – – – H
PRESS (SHIFT, SET, RESET)
PRESS (MENU) TO END
Main menu screen
Daily timer program setting screen
Weekly timer program setting screen
7 RECORDING
Setting the daily timer

