21
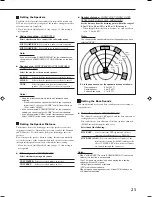
Speaker distance
—FRONT L DIST, FRONT R DIST,
CENTER DIST, SURR L DIST, SURR R DIST
Set the distance from the listening point within the range of
0.3 m (1 ft) to 9.0 m (30 ft), in 0.3 m (1 ft) intervals.
• When shipped from the factory, distance for each speaker is
set to “3.0m (10FT).”
Note:
You cannot set the speaker distance for the speakers you have
selected “NONE.”
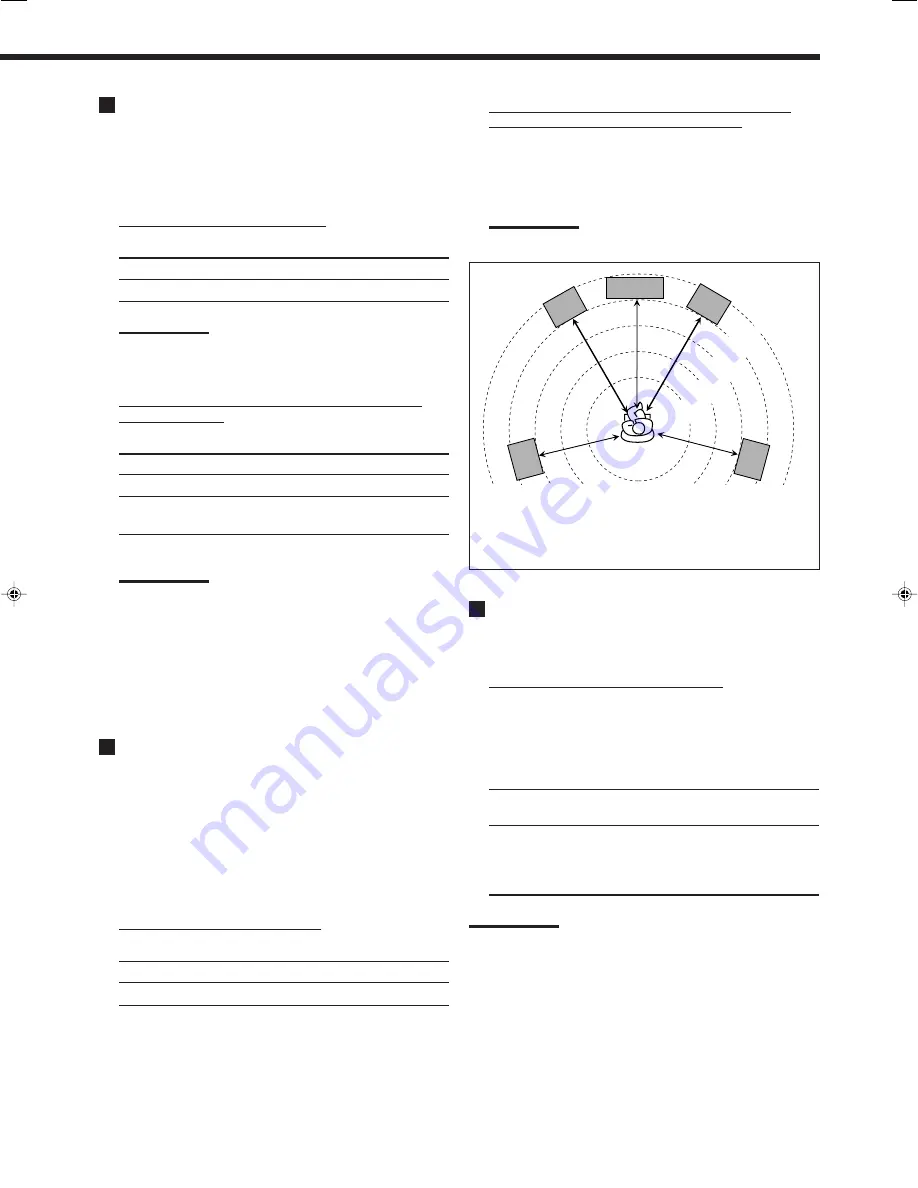
Ex. In the above case, set the speaker distance as follows:
Front speakers:
3.0m (10FT)
Center speaker:
3.0m (10FT)
Surround speakers:
2.7m (9FT)
Setting the Bass Sounds
You can adjust subwoofer and bass sounds precisely according to
your preference.
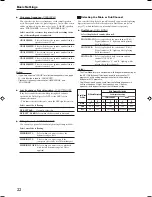
Subwoofer output
—SUBWOOFER OUT
The subwoofer emits the LFE signals* and the bass elements of
each speaker set to “SMALL.”
You can make the bass elements of the front speaker channels
(MAIN) emitted through the subwoofer.
Select one of the following:
SWFR LFE:
Select to emit the LFE signals and the bass
elements of each speaker set to “SMALL.”
SWFR LFE+MAIN:
Select to emit the bass elements of the
front speakers’ channels (MAIN) adding to the
effect of “SWFR LFE” when no bass elements
are emitted through the subwoofer.
Notes:
• When “SUBWOOFER” is set to “SUBWOOFER NO” (see the left
column), this function is not available.
* The LFE signals are emitted only when playing the following
software with the LFE signals:
– Dolby Digital multi channel software
– DTS multi channel software
When playing an analogue source or a linear PCM software, no
LFE signals are emitted.
Setting the Speakers
To obtain the best possible surround effect from the Surround and
DSP modes, register the setting about the speaker arrangement after
all connections are completed.
• If you have used Quick Speaker Setup on page 19, this setting is
not required.
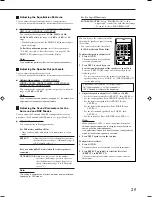
Subwoofer setting
—SUBWOOFER
Select whether you have connected a subwoofer or not.
SUBWOOFER YES:
Select when a subwoofer is connected.
SUBWOOFER NO:
Select when no subwoofer is used.
Note:
If you have selected “SUBWOOFER NO” for the subwoofer, you
cannot use the SUBWOOFER OUT ON/OFF button on the front
panel.
Speaker size
—FRNT SPEAKERS, CNTR SPEAKER,
SURR SPEAKERS
Select the size for each connected speaker.
LARGE:
Select when the speaker size is relatively large.
SMALL:
Select when the speaker size is relatively small.
NONE:
Select this when you have not connected a
speaker. (Not selectable for the front speakers.)
Notes:
• Keep the following comments in mind as reference when
adjusting.
– If the size of the cone speaker unit built in your speaker is
larger than 12 cm, select “LARGE,” and if it is smaller than
12 cm, select “SMALL.”
• If you have selected “SUBWOOFER NO” for the subwoofer
setting, you can only select “LARGE” for the front speakers.
• If you have selected “SMALL” for the front speakers, you cannot
select “LARGE” for the center and surround speakers.
Setting the Speaker Distance
The distance from your listening point to the speakers is another
important element to obtain the best possible sound of the Surround
and DSP modes. Set the distance from your listening point to the
speakers.
By referring to the speaker distance setting, this unit automatically
sets the delay time of the sound through each speaker so that sounds
through all the speakers can reach you with the same timing.
• If you have used Quick Speaker Setup on page 19, this setting is
not required.
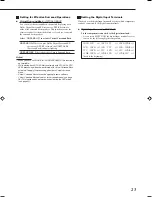
Measuring unit
—DISTANCE UNIT
Select which measuring unit you use.
UNIT METER:
Select to set the distance in meters.
UNIT FEET:
Select to set the distance in feet.
2.1 m
(7 ft)
2.4 m
(8 ft)
2.7 m
(9 ft)
3.0 m
(10 ft)
3.3 m
(11 ft)
C
L
R
LS
RS
19-23_RX-5062S[B].p65
06.1.17, 22:34
21
Summary of Contents for RX-5060B
Page 38: ......
Page 39: ......
Page 40: ...1205YHMMDWJEIN EN 2005 Victor Company of Japan Limited AUDIO VIDEO CONTROL RECEIVER RX 5060B ...
Page 78: ...LVT1507 003A B RX 5062S AUDIO VIDEO CONTROL RECEIVER INSTRUCTIONS TA NEWS INFO DISPLAY MODE ...
Page 116: ...0106YHMMDWJEIN EN 2006 Victor Company of Japan Limited AUDIO VIDEO CONTROL RECEIVER RX 5062S ...

