


Master Page: Right
— 8 —
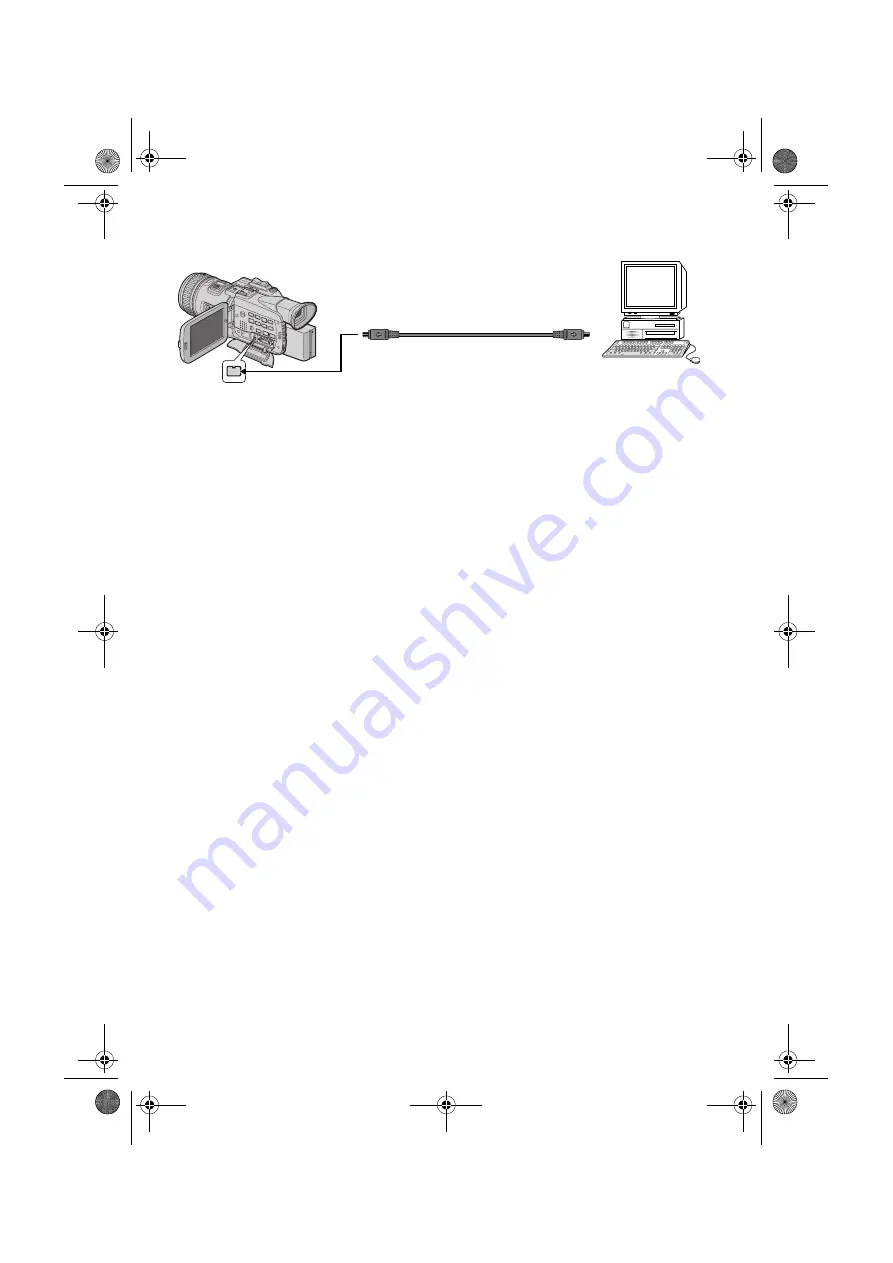
i.LINK connection
Enables you to import MPEG-format video stream to the PC (or export edited video clip to the camcorder).
1
Set the camcorder’s Power Switch to “
P
” while pressing down the Lock Button located
on the switch.
●
The camcorder turns on.
2
Set [i.LINK OUT] to [SW] in the camcorder’s system setting menu.
3
Set the camcorder’s output mode select switch to [MPEG2].
4
Connect the camcorder to the PC with an i.LINK cable.
●
When connecting an i.LINK cable for the first time, the [Found New Hardware Wizard] dialog box
appears. (
pg. 9 “Installing the driver for importing MPEG-format video stream”)
NOTES:
●
It is recommended to use the AC Power Adapter/Charger as the power supply instead of the battery pack.
●
Do not turn on or off the camcorder or switch the playback mode on the camcorder when the USB cable is
connected.
●
If you connect the camcorder to the PC through a USB hub, compatibility issues between the hub and the
PC may result in instability in the operation of the PC. If this happens, connect the camcorder directly to the
PC, not through the hub.
●
Do not use an extension USB cable.
●
Never disconnect the USB cable while the message [ACCESSING FILES] appears on the camcorder’s LCD
monitor.
PC
To i.LINK IN/OUT
To i.LINK connector
i.LINK cable (S400 compatible)
(optional: VC-VDV204 or VC-VDV206)
M3D8_InstaGuide01.fm Page 8 Monday, April 14, 2003 6:52 PM


