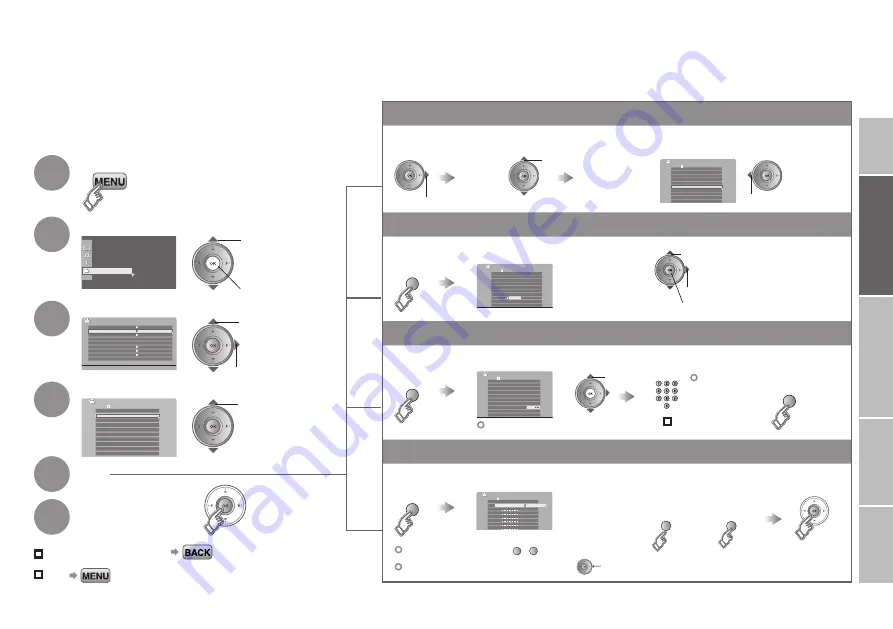
· Registering channels
Begin
ID : Edit a channel name
INSERT / DELETE : Insert / delete a channel
MANUAL : Register a new channel
MOVE : Move a channel’s position
ENGLISH
IMPORT
ANT!
SETTINGS
TROUBLE?
USE
PREP
ARE
9
Set Up
Set Up
Auto Program
Video-3 Setting
HDMI Setting
PC Position
Auto Demonstration
Video
On
Video
Teletext Language
Edit/Manual
Video-1 Setting
Language
01
AV
PR
02
03
04
05
06
07
08
09
CH/CC
CH
21
CH
22
CH
23
CH
24
CH
25
CC
02
CC
CC
04
CC
05
03
Edit
ID
>
Display the menu bar
Select “Set Up”
Select “Edit / Manual”
Finish
When coming from “Initial settings” (P. 8), skip to
⁄
.
Select a row
Edit
Editing channels
Edit the channels registered with “Auto Program” in “Initial
settings” (P. 8).
To the previous screen
Exit
1
2
3
4
5
6
select
select a system
If the picture or sound is unnatural
1
select
2
next
1
select
2
next
> Edit
01
AV
PR
02
03
04
05
06
07
08
09
CH/CC
ID
CH
21
CH
22
CH
23
CH
24
CH
25
CC
03
CC
04
CC
05
move out
move in
select
01
AV
PR
02
03
04
05
06
07
08
09
CH/CC
CH
21
CH
22
CH
23
CH
24
CH
25
CC
02
CC
03
CC
04
CC
05
A
> Edit
ID
01
AV
PR
02
03
04
05
06
07
08
09
CH/CC
CH
21
CH
22
CH
23
CH
24
CH
25
CC
02
CC
03
CC
04
> Edit
ID
CC
>
11
10
PR
12
13
14
15
16
17
18
19
CH/CC
CC
06
Manual
ID
CH
02 (B/G)
1
enter the first
character
From high
frequencies
or
/
Receives the
broadcast
signal.
From low
frequencies
“CH/CC” List
(P. 23)
Enter a number
Beginning channel search
Channel fine tuning
select
(red)
(red)
2
next column
(green)
(yellow)
(blue)
(green)
(blue)
(yellow)
3
set
Delete channel
1
Begin
Select a destination
Finish
Begin
Enter a channel name
Begin
Select a “CH / CC”
Set
PREP
ARE
2
3
1
2
3
1
2
3
1
2


