8
EN
INITIAL SETTINGS (cont.)
Auto Set Up
Before starting, make sure of the following:
●
The TV aerial cable should be connected to the recorder.
●
The recorder's mains power cord should be connected to
a mains outlet.
pg. 4, 5
●
The "Video Channel Set" procedure should be done first
and the TV should be set to its AV mode (with AV or S-
VIDEO connection
pg. 7) or video channel (with RF
connection
pg. 6).
The Auto Set Up function simplifies installation by guiding you
through the procedures of setting the language, clock and tuner
channels — simply follow the on-screen menus that appear.
IMPORTANT
●
Don't press any buttons on the recorder or remote that
are not directly related to the step you are performing
while Auto Set Up is in progress.
●
If you perform Auto Set Up successfully during installa-
tion, there's no need to separately perform the Language
Select, Clock Set or Channel Set procedures, but if
adjustments become necessary they can be performed as
follows:
– To change the selected language
pg. 11
– To reset or adjust the time
pg. 12
– To add/delete channels manually
pg. 55, 56
– To reset the tuner after moving to a different location
pg. 54
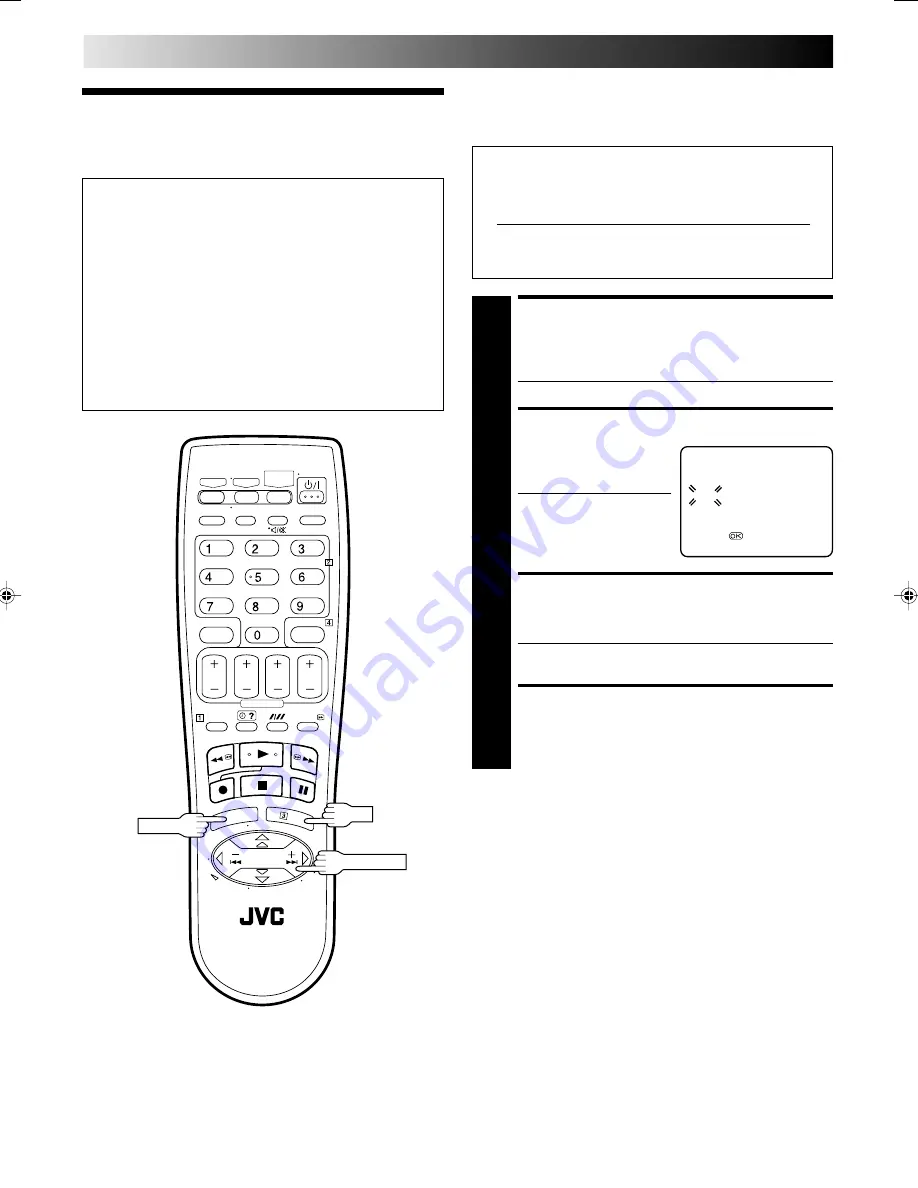
SELECT LANGUAGE
1
Press
PUSH JOG
%fi
to place the pointer next to your
desired language (English or Chinese), then press
OK
or
PUSH JOG
#
.
●
The Clock Set screen appears.
SET TIME
2
Press
PUSH JOG
%fi
to
set the time, then press
OK
or
PUSH JOG
#
.
●
Press and hold either
button to delay or
advance the time by 30
minutes.
SET DATE
3
Press
PUSH JOG
%fi
to set the date, then press
OK
or
PUSH JOG
#
.
●
Press and hold either button to change the date by 15
days.
SET YEAR
4
Press
PUSH JOG
%fi
to set the year, then press
MENU
.
CLOCK SET
TIME
DATE
YEAR
0:00
01.01
01
[
5
/
∞
]
=
[MENU] : EXIT
PUSH JOG
MENU
OK
HR-S5900/5990AM-EN01-25
5/9/02, 4:55 PM
8
Summary of Contents for HR-S5900AM
Page 66: ...MEMO ...
Page 67: ...MEMO ...


