


February 1, 2002 2:19 pm
Page 9
— 9 —
Master Page: Right
Changing station name (B)
A
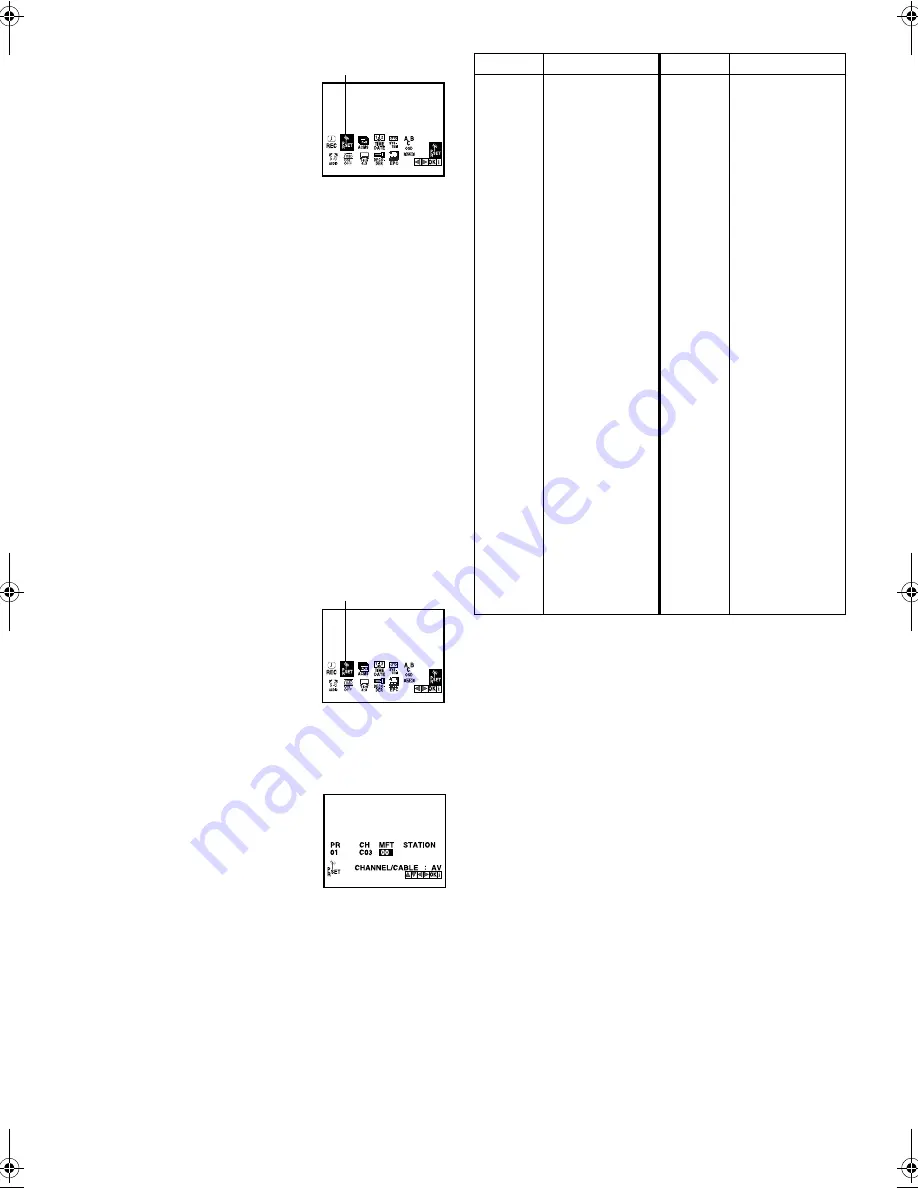
Access Main Menu screen, then
Manual Channel Set screen
Press
MENU
. Press
w
e
to select the icon
“PR SET”, then press
OK
.
●
The Manual Channel Set screen of the
channel position currently received
appears.
B
Access Confirmation screen
Press
MENU
.
C
Select position
Press
rt
to select the channel, then press
OK
.
D
Select character for station name
Press
e
to select “STATION” setting, then press
OK
. Press
e
until
the first letter of the station name begins blinking.
E
Enter new character
Press
rt
to cycle through the characters, then press
e
. Enter the
remaining characters the same way (maximum of 5). After entering
all characters, press
OK
.
●
The characters available for the station name are A–Z, 0–9, +,
–, . (period),
I
(space).
●
If you make a mistake, press
w
until the incorrect character
begins blinking. Then enter the correct character by pressing
rt
.
F
Check setting
Press
MENU
. The Confirmation screen appears.
G
Return to normal screen
Press
MENU
.
Fine-tuning channels
A
Access Main Menu screen, then
Manual Channel Set screen
Press
MENU
. Press
w
e
to select the icon
“PR SET”, then press
OK
.
●
The Manual Channel Set screen of the
channel position currently received
appears.
B
Access Confirmation screen
Press
MENU
.
C
Select position
Press
rt
to select the channel you want to tune, then press
OK
.
D
Perform tuning
Press
w
e
to select “MFT” setting, then
press
rt
until the picture is its clearest.
●
Repeat steps
3
3
3
3
–
4
4
4
4
as necessary.
E
Return to normal screen
Press
MENU
twice.
TV station and ID list
* The “STATION” abbreviation is what is shown on-screen in lieu
of the station name. The “STATION” abbreviation is listed in the
Confirmation screen and is displayed on the screen when the
recorder is tuned to a different station.
PR SET
PR SET
STATION*
STATION NAME
STATION*
STATION NAME
3SAT
ANT
ARD
ARTE
B1
BBC1
BBC2
BR3
BRTN
CANAL
CAN5
CNN
DR1
DR2
DSF
EURO
FILMN
FR2
FR3
HR3
HRT
ITA-1
KABEL
M6
MDR3
MTV
MTV3
N3
N-TV
NDR3
NED1
NED2
NED3
NET2
NELON
NRK
ORB3
ORF1
ORF2
ORF3
PREM.
PRO7
RAI1
3SAT
ANTENA
ARD
ARTE
BERLIN1
BBC1
BBC2
BAYERN3
BRTN TV1 (Belgium)
CANAL PLUS
CANALE5
CNN
DR1
DR2
DSF
EURONEWS
FILM
France2
France3
HESSEN3
HRT (Croatia)
ITALIA1
KABEL1
M6
MDR3
MTV
MTV3
NORD3
N-TV
NDR3
NED1
NED2
NED3
Network 2 (Ireland)
NICKELODEON
NRK
ORB3
ORF1
ORF2
ORF3
PREMIERE
PRO7
RAI1
RAI2
RAI3
RETE1
RETE4
RIKIS
RTBF1
RTBF2
RTL
RTL2
RTL4
RTL5
SAT.1
SF1
SFB
SPORT
SR6
SVT
SVT1
SVT2
SVT4
SWF3
TEL21
TELE5
TF1
TMC
TNT
TRT
TSI
TSR
TV1
TV2
TV3
TV5
TVE
TVE1
VIVA
VOX
VTM
WDR3
YLE1
YLE2
ZDF
RAI2
RAI3
RETE1
RETE4
Rikisutvarpid-Sjonvarp
(Iceland)
RTBF1
RTBF2
RTL
RTL2
RTL4
RTL5
SAT1
SF1
SFB
SPORT
SR6
SVT
SVT1
SVT2
SVT4 (Sweden)
SWF3
TELE21
TELE5
TF1
TELEMONTECARLO
TNT INT
TRT INT
TSI
TSR
BRTN TV1
TV2
TV3
TV5
TVE (Spain TVE 1/2)
TVE1
VIVA
VOX
VTM
West3
YLE1
YLE2
ZDF
HR-J590_593_290_293EU-001EN.fm Page 9 Friday, February 1, 2002 2:19 PM


