1-3
1,2. Alignment tape
To be used for check and adjustment of interchange-
ability of the mechanism.
(Video: Color bar signal, Audio: Non-signal)
3.
Torque driver
Be sure to use to fastening the mechanism and exte-
rior parts because those parts must strictly be control-
led for tightening torque.
4.
Bit
This bit is slightly longer than those set in conventional
torque drivers.
5.
INF adjustment lens
To be used for adjustment of the camera system.
6.
Conn. ring
The connector ring to attach the INF. lens to the head
of the OP lens.
7.
Gray scale chart
To be used for adjustment of the camera system.
8.
Color bar chart
To be used for adjustment of the camera system.
9.
INF lens holder
To be used together with the camera stand (11) for op-
erating the VideoMovie in the stripped-down condition
such as the status without the exterior parts or for us-
ing commodities that are not yet conformable to the in-
terchangeable ring.
10. Light box assembly
To be used for adjustment of the camera system.
11. Camera stand
To be used together with the INF adjustment lens
holder.
12. Extention connector
To be used to JIG connector cable
13. JIG connector cable
Connected to CN25 of the main board and used for
measuring error rates, etc.
14. Communication Cable
Connect the Communication cable between the PC ca-
ble and Jig connector cable when performing a PC ad-
justment.
15. Service support system
To be used for adjustment with a personal computer.
16. PC cable
To be used to connect the VideoMovie and a personal
computer with each other when a personal computer
isused for adjustment.
17. Cleaning cloth
Recommended cleaning cloth to wipe down the video
heads, mechanism (tape transport system), optical lens
surface.
1.3 DISASSEMBLY/ASSEMBLY OF CABINET PARTS
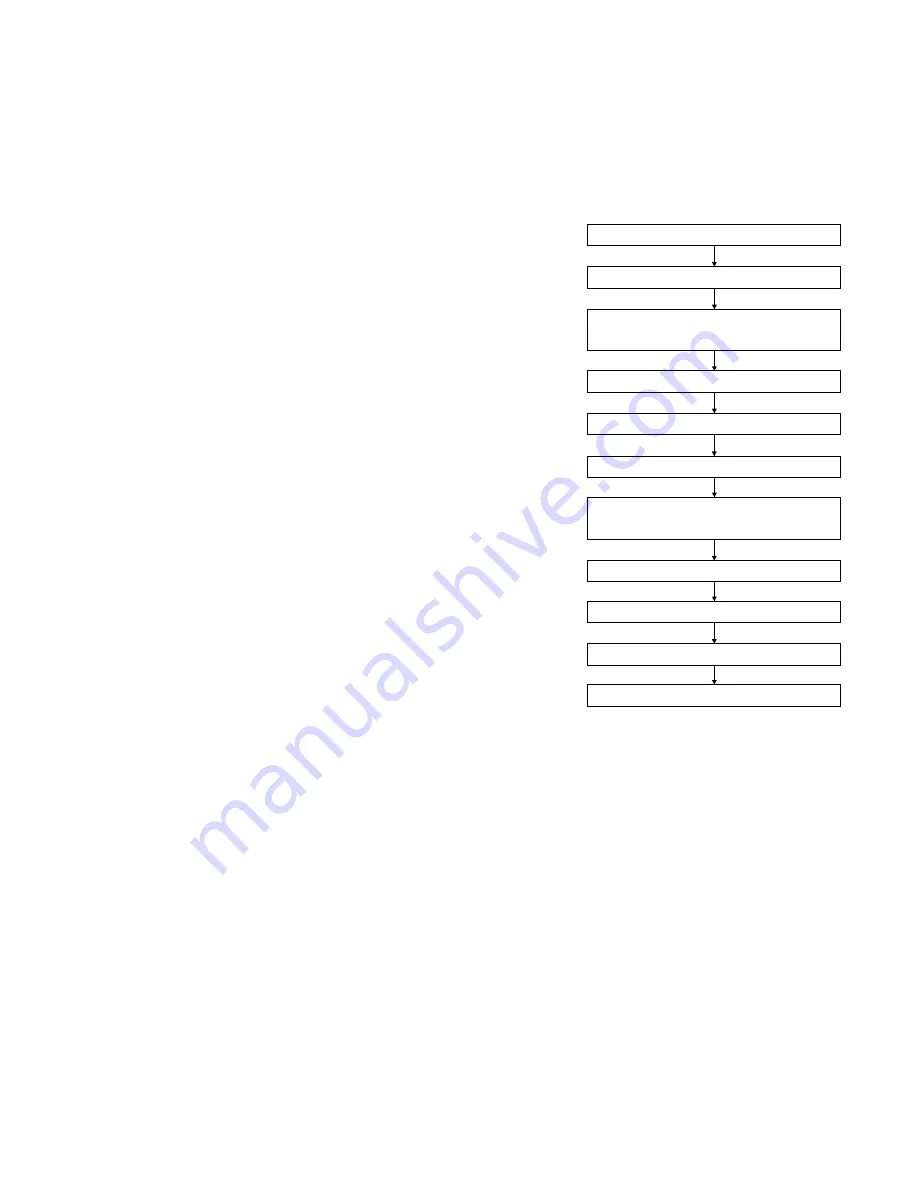
1.3.1 Disassembly flow chart
This flowchart indicates the disassembly step for the cabi-
net parts and board assembly in order to gain access to
item(s) to be serviced. When reassembling, perform the
step(s) in reverse order. Bend, route and dress the flat ca-
bles as they were originally.
Note :
For screw management, refer to the table appearing
in the section “1.9 SERVICE NOTE” (page 1-14).
Cassette cover assembly
Upper case
Lower case assembly
(Incl. E.VF assembly)
E.VF assembly
Top operation unit
Rear unit
Front cover assembly
(Incl. Microphone / Cover(light) )
Microphone
Cover(light)
Upper Cover(s) assembly
Front frame assembly
1
2
3
4
5
6
7
8
9
0
!


