


Page 7
March 26, 2001 12:32 pm
Tuner Setting
Setting channels automatically
— Auto Channel Set
Perform Auto Channel Set only if channels have not been set
correctly by the Plug&Play setting.
A
Access Main Menu screen, then Tuner
Set screen
Press
MENU
on the Remote. Press
rt
to
move the highlight bar (arrow) to “TUNER
SET”, then press
OK
or
e
.
B
Perform Auto Channel Set
Press
rt
to move the highlight bar
(arrow) to “AUTO CHANNEL SET”, then
press
OK
or
e
. The VCR selects the correct
band (TV or CATV) automatically during
Auto Channel Set.
●
When Auto Channel Set is complete,
“SCAN COMPLETED” appears on
screen.
●
If the scan was unsuccessful, “SCAN
COMPLETED–NO SIGNAL–” appears
on screen. Check the connections and
start again.
Press
MENU
to return to normal screen.
Setting channels manually
— Manual Channel Set
You can add the channels you want or delete the channels you do
not want manually.
A
Access Main Menu screen, then Tuner
Set screen
Press
MENU
on the Remote. Press
rt
to
move the highlight bar (arrow) to “TUNER
SET”, then press
OK
or
e
.
B
Access Manual Channel Set screen
Press
rt
to move the highlight bar
(arrow) to “MANUAL CHANNEL SET”,
then press
OK
or
e
.
C
Add or skip desired channels
To add channels
A
Press the
Number keys
on the Remote
to input a channel number you want to
add.
B
Press
OK
or
e
to set to “ADD”.
C
Repeat
A
to
B
to add other channels.
Press
MENU
to return to normal screen.
To skip channels
A
Press
rt
or the
Number keys
to select a channel number you
want to skip.
B
Press
OK
or
e
to set to “SKIP”.
C
Repeat
A
and
B
to skip other channels. Press
MENU
to return
to normal screen.
Playback
Basic Playback
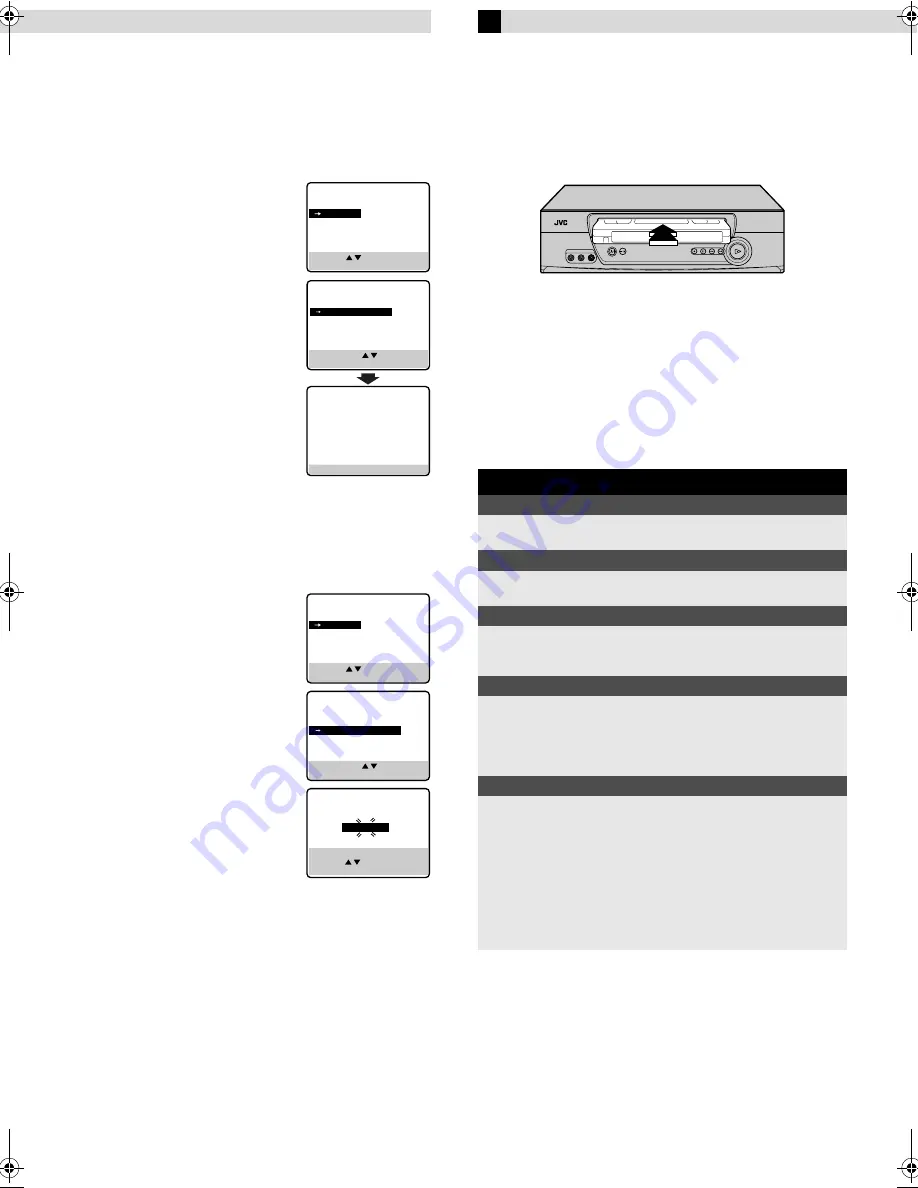
A
Load a cassette
Make sure the window side is up, the rear label side is facing you
and the arrow on the front of the cassette is pointing towards the
VCR.
●
Do not apply too much pressure when inserting.
●
The VCR turns on, and the counter on the on-screen display is
reset, automatically.
●
If the cassette’s record safety tab has been removed, playback
begins automatically.
B
Start playback
Press
PLAY
(
4
).
MAIN MENU
FUNCTION SET
TUNER SET
INITIAL SET
PRESS ( , ), THEN (OK)
PRESS (MENU) TO END
AUTO CHANNEL SET
SCANNING...
PRESS (MENU) TO END
TUNER SET
BAND
CATV
AUTO CHANNEL SET
MANUAL CHANNEL SET
SELECT WITH ( , ) AND (OK)
PRESS (MENU) TO END
MAIN MENU
FUNCTION SET
TUNER SET
INITIAL SET
PRESS ( , ), THEN (OK)
PRESS (MENU) TO END
TUNER SET
BAND
CATV
AUTO CHANNEL SET
MANUAL CHANNEL SET
SELECT WITH ( , ) AND (OK)
PRESS (MENU) TO END
MANUAL CHANNEL SET
(CATV)
CH 45 ADD
PRESS NUMBER KEY (0–9)
OR ( , ), THEN (OK)
PRESS (MENU) TO END
During playback
Stop playback
Press
STOP
(
8
) on the
Remote.
OR
Press
STOP/EJECT
(
0
) on
the VCR.
Pause playback and view still picture
Press
PAUSE
(
9
).
●
Press
PLAY
(
4
) to resume normal playback.
Pause and Frame-by-Frame playback
Press
PAUSE
(
9
) to pause, then press
6
(or
PAUSE
(
9
))
repeatedly.
●
Press
PLAY
(
4
) to resume normal playback.
High speed search
Press
REW
(
3
) or
FF
(
5
).
●
Press
PLAY
(
4
) to resume normal playback.
●
If you press and hold
REW
(
3
) or
FF
(
5
) for more than
2 seconds, simply releasing it cancels the picture search, and
normal playback resumes.
Picture search at variable speed (including slow-motion)
Press
w
or
e
repeatedly.
●
Press
PLAY
(
4
) to resume normal playback.
●
Each time you press
w
or
e
, the playback speed changes. To
decrease the speed during picture search, press the opposite
direction button repeatedly.
●
During still picture, press and hold
e
to start forward slow
motion playback. When you release the button, still picture
resumes. During still picture, holding
PAUSE
(
9
) for more than
2 seconds also starts forward slow motion playback. If you
press
PAUSE
(
9
) again, still picture resumes.
– Initial Settings –
HR-J6008UM-EN.fm Page 7 Monday, March 26, 2001 12:32 PM


