CLOCK ADJUST
Resets the current time or sets to the local time when using this unit overseas.
Operating Details
“Clock Setting” (
A
p. 18)
“Setting the Clock to Local Time when Traveling” (
A
p. 22)
“Setting Daylight Saving Time” (
A
p. 22)
DATE DISPLAY STYLE
Sets the order of year, month, day and the time display format (24H/12H).
1
Tap “MENU”.
.
REC
≪
PLAY
MENU
0
When entering from the recording mode, tap “MENU” again as the
shortcut menu appears.
2
Tap “
Q
”.
.
3
Tap “DATE DISPLAY STYLE”.
.
DATE DISPLAY STYLE
COMMON
4
Tap to set the style of date and time display.
.
SET
12h
TIME
year.month.day
DATE DISPLAY STYLE
0
For date display, set to any format from “month.day.year”,
“year.month.day”, and “day.month.year”.
0
For time display, set to any format from “12h” and “24h”.
0
Tap
3
or
2
to change the display style.
0
After setting, tap “SET”.
LANGUAGE
The language on the display can be changed.
Operating Details
“Changing the Display Language” (
A
p. 20)
MONITOR BRIGHTNESS
Sets the brightness of the LCD monitor.
Setting
Details
AUTO
Sets the brightness automatically to “4” when using
outdoors and to “3” when using indoors.
4
Brightens the backlight of the monitor regardless
of the surrounding conditions.
3
Sets to the standard brightness.
2
Darkens the backlight of the monitor regardless of
the surrounding conditions.
1
Sets to dim brightness.
Helps to save battery life when selected.
Adjusting Monitor Brightness
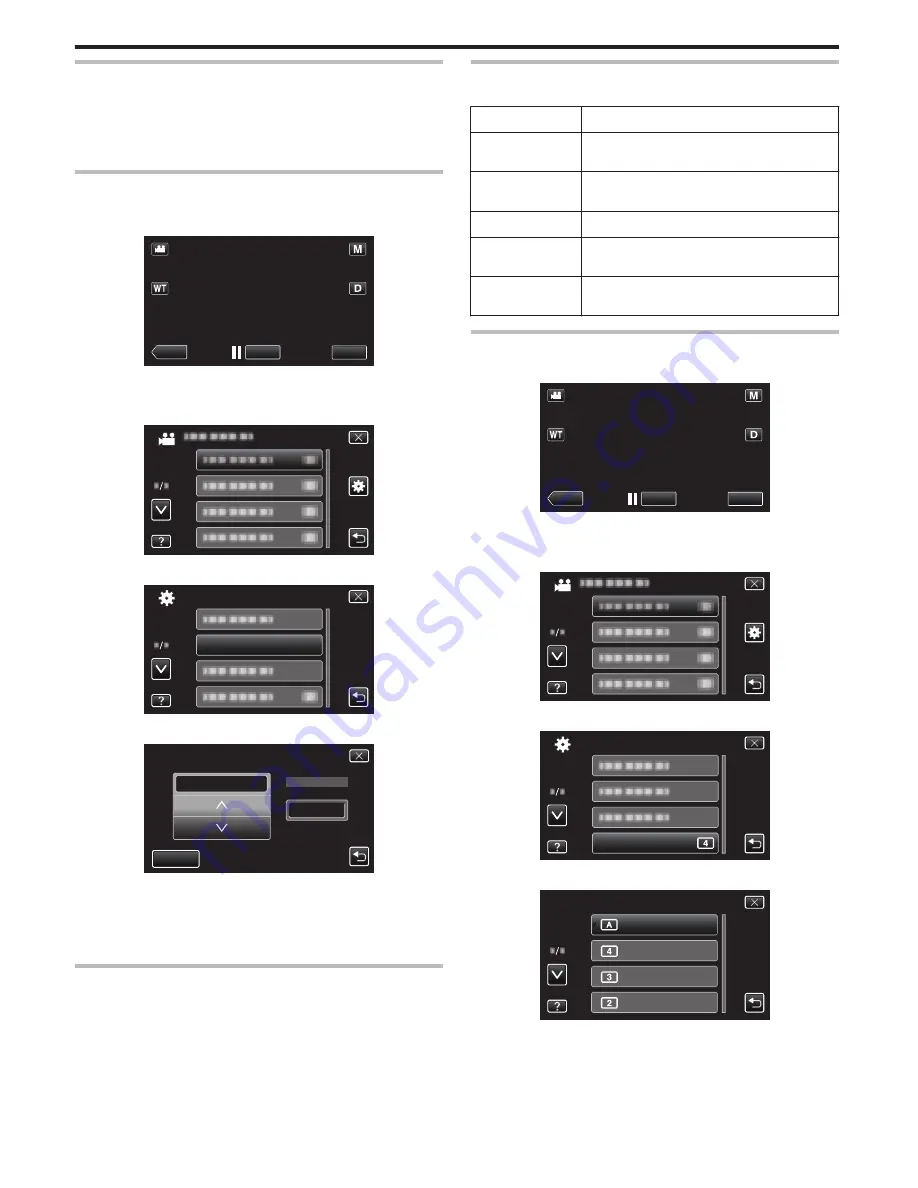
1
Tap “MENU”.
.
REC
≪
PLAY
MENU
0
When entering from the recording mode, tap “MENU” again as the
shortcut menu appears.
2
Tap “
Q
”.
.
3
Tap “MONITOR BRIGHTNESS”.
.
MONITOR BRIGHTNESS
COMMON
4
Tap the desired monitor brightness.
.
4
3
2
AUTO
MONITOR BRIGHTNESS
0
By default, “MONITOR BRIGHTNESS” is set to “AUTO”. To adjust
the brightness, tap
3
, then tap a value between “1” to “4”.
0
Tap
3
or
2
to move upward or downward for more selection.
Menu Settings
132


