14
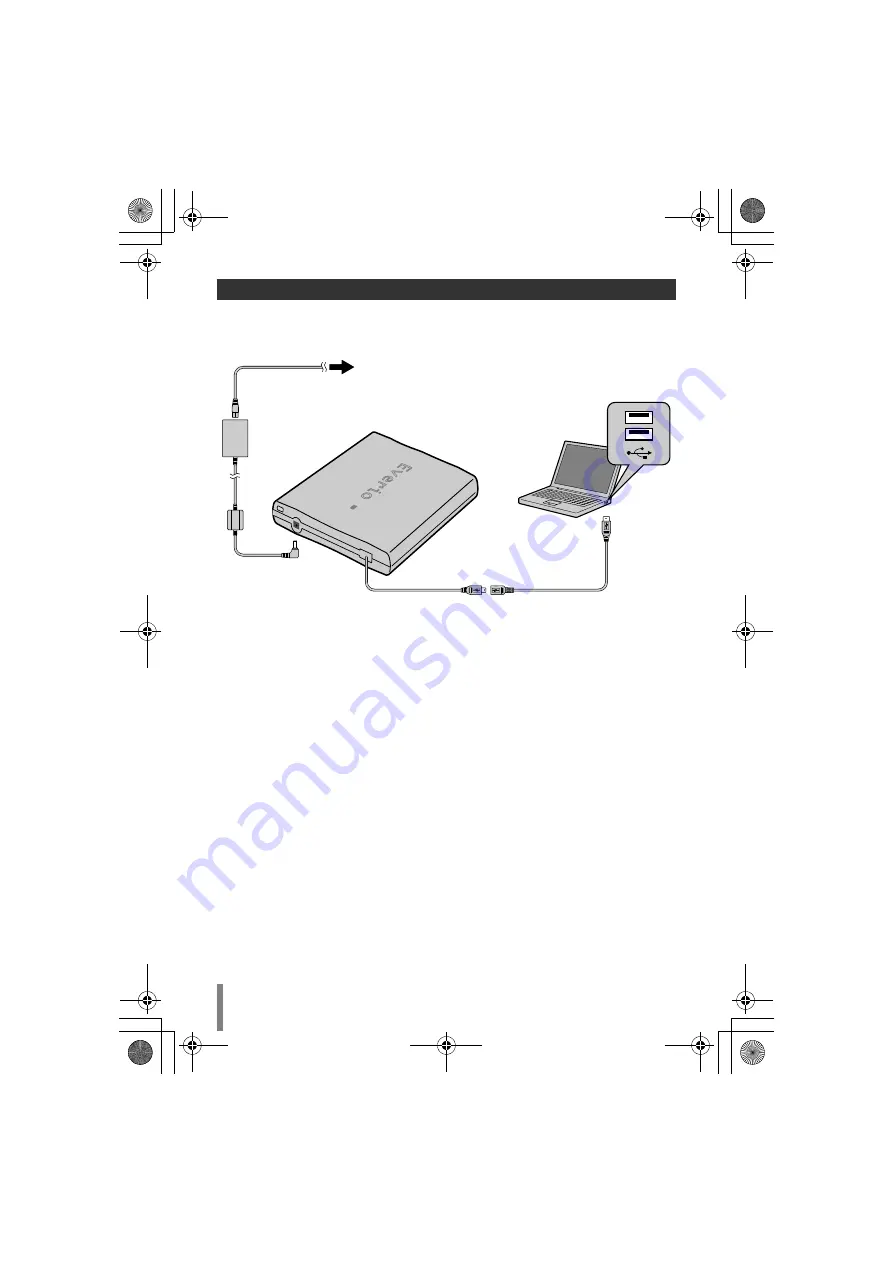
This burner can be used as a DVD burner by connecting it to a PC. Data DVD can be
created by using the supplied disc writing software.
¹
During connection, switch off the power supply of CU-VD3.
CU-VD3 is turned on by inserting the AC adapter into the power supply outlet.
..........................................................................................................................................
Copying to a DVD
A
Turn on the burner and the PC.
•
Install the CyberLink Power2Go 5.5 Lite software if you have not done so.
B
Insert a disc.
•
We recommend you to use a compatible disc. (
A
P. 2, 20)
C
Use Power2Go to copy to a DVD.
1. Use Power2Go to create a folder.
•
You can create the desired folder names; however do not use “EVERIO_V” or
“EVERIO_S” as the folder name.
•
Use alphanumeric characters when entering the folder or file names. You can enter up to
40 characters.
2. Set the file system of the data tab in the Power2Go setup menu to “UDF1.5”.
3. Copy files such as MPEG, JPEG and TPD into the folder.
•
For details on how to copy, refer to the Power2Go User’s guide, Help and ReadMe.
You can view User’s guide, Help and ReadMe from the start menu of the PC.
•
This burner cannot be used to write files into CD-R or CD-RW. Also, it does not respond
to all the functions of Power2Go 5.5 Lite.
Creating Data DVD from a PC
AC adapter
Power cord
USB extension cable for PC
USB
To power supply outlet
USB cable
CU-VD3
PC
CU-VD3E_001B_EN.book Page 14 Monday, February 11, 2008 10:48 AM


