10
A
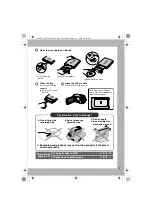
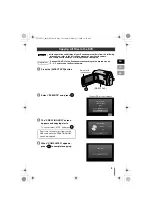
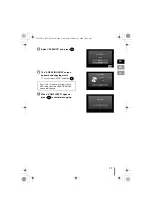
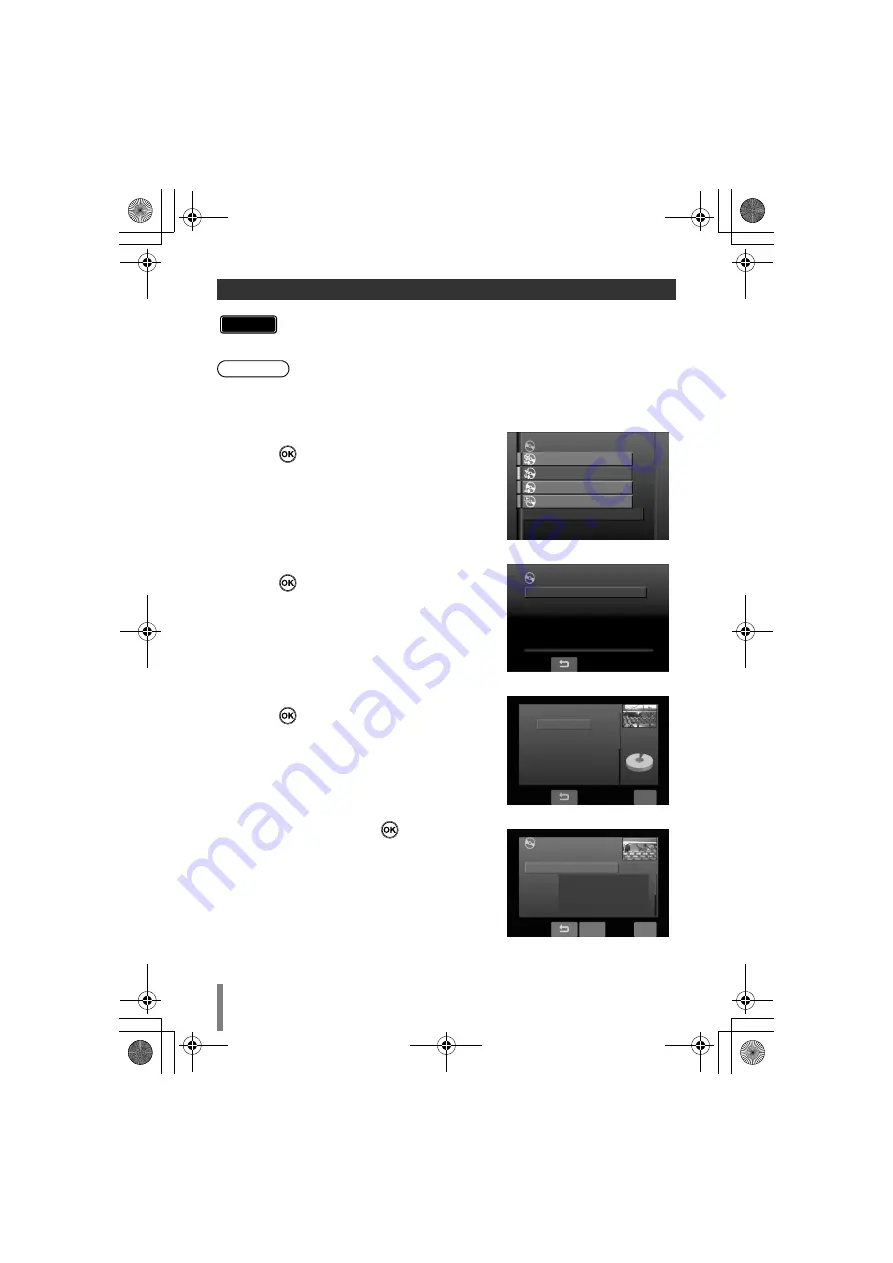
Display the “CREATE DVD” screen,
select “SELECT AND CREATE” and
press
B
Select “CREATE BY DATE” and
press
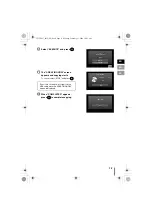
C
Select the desired dates and
press
D
Select “ALL” and press
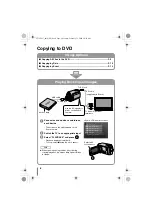
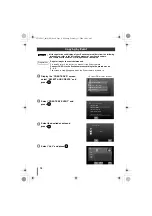
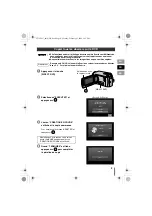
Copying by Date
z
If the operation and display of your Everio camera differs from the following
procedures, refer to the instruction manual of your Everio camera.
z
For some Everio cameras, still images cannot be copied.
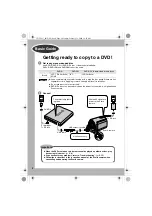
Connect CU-VD3 to the Everio camera according to the procedures on
P. 4
f
5.
The screen in step
A
appears when the Everio camera is turned on.
Caution
Preparations
CREATE TOGETHER
SELECT AND CREATE
CREATE DUPLICATE
PLAYBACK
SELECT AND CREATE
CREATE DVD
<Everio LCD monitor screen>
CREATE BY DATE
CREATE BY EVENT
CREATE BY PLAYLIST
SELECT FROM SCENES
CREATE DISC BY DATE
SELECT AND CREATE
CREATE BY DATE
OCT.12.2008
00h18m
TOTAL
QUIT
OCT.11.2008
DVD1
ALL
DVD1
DVD CREATION LIST
QUIT
CHECK
CU-VD3U_001D_EN.book Page 10 Monday, February 11, 2008 10:45 AM


