– 50 –
English
6
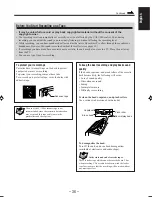
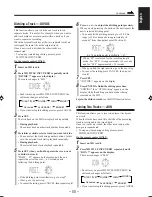
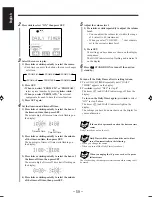
Press
=
or
+
to adjust the dividing point precisely.
When you stop pressing the buttons, the unit repeats the
newly selected dividing point.
• You can shift the dividing point up to ±128. This
range (±128) corresponds to approximately ±8
seconds* from the original point (Position 0).
• When you find the right position, go to the next step.
• To cancel the setting, press CANCEL, then repeat
step
4
.
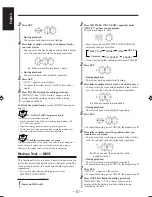
7
Press SET.
“<DIVIDE>” appears on the display.
8
Press ENTER to finish the editing procedure.
“EDITING” then “UTOCwriting” appears on the
display while the editing you have made is being
recorded on the MD.
To join the divided tracks, see the JOIN function below.
Joining Two Tracks — JOIN
This function allows you to join two adjacent tracks into
one track.
When the tracks have each title, the title of the preceding
track is reassigned to the joined track.
Once two tracks are joined, the other tracks and/or the
groups are renumbered.
• To stop any time during editing process, press
MD TITLE INPUT/EDIT.
On the remote control ONLY:
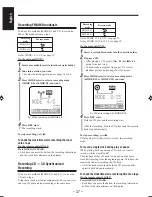
1
Insert an MD to edit.
2
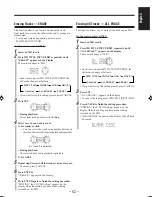
Press MD TITLE INPUT/EDIT repeatedly until
“JOIN ?” appears on the display.
The source changes to “MD.”
• Each time you press MD TITLE INPUT/EDIT, the
edit mode changes as follows:
• If you want to stop this editing process, press CANCEL.
Dividing a Track — DIVIDE
This function allows you to divide one track into two
separate tracks. It is useful, for example, when you want to
add track marks at a certain point within a track or if you
want to separate a recording.
When the original track has a title, two separate tracks are
reassigned the same title as the original track.
Once a new track is divided, the other tracks are
renumbered.
• To stop any time during editing process, press
MD TITLE INPUT/EDIT.
On the remote control ONLY:
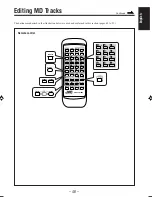
1
Insert an MD to edit.
2
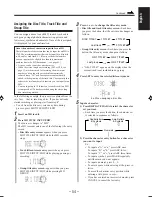
Press MD TITLE INPUT/EDIT repeatedly until
“DIVIDE ?” appears on the display.
The source changes to “MD.”
• Each time you press MD TITLE INPUT/EDIT, the
edit mode changes as follows:
• If you want to stop this editing process, press CANCEL.
3
Press SET.
The first track on the MD starts playback repeatedly.
• During playback:
The current track number starts playback repeatedly.
4
Press
¢
or
4
to select a track you want to divide.
• You can select the track using number buttons. In this
case, the selected track starts playback repeatedly.
• During playback:
The selected track starts playback repeatedly.
5
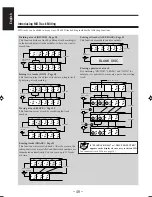
Press SET when you find the point where you want
to divide the track.
“POSIT. 0?” appears on the display, and the unit
repeats the selected point — a 3-second period
following the dividing point.
• If the dividing point is satisfactory, go to step
7
.
• If not, go to the next step.
• To cancel the setting, press CANCEL, then repeat step
4
.
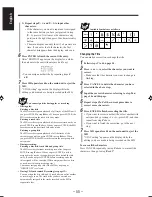
Ex. The dividing point is shifted to “– 21.”
DISC TITLE?
MOVE ?
ERASE?
DIVIDE ?
JOIN ?
ALL ERASE?
Canceled
DISC TITLE?
MOVE ?
ERASE?
DIVIDE ?
JOIN ?
ALL ERASE?
Canceled
* When “SP” is selected for the recording length
mode. For “LP2,” it is approximately ±16 seconds,
and for “LP4” approximately ±32 seconds.
Continued
EN48-52UX-F70MD[UB]_f
01.7.10, 5:21 PM
50

