42
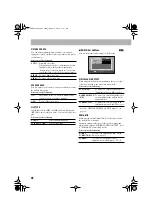
PICTURE SOURCE
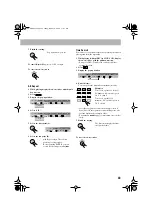
You can obtain optimal picture quality by selecting an
appropriate option—picture source type (either video source
or film source).
Select one of the following:
SCREEN SAVER
You can activate or deactivate screen saver while operating
the built-in disc player.
Select one of the following:
FILE TYPE
If both audio tracks (MP3 or WMA files) and still picture
(JPEG files) are recorded on a disc, you can select which to
play.
Select one of the following:
7
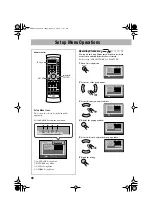
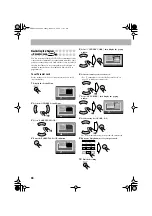
AUDIO Set up Menu
You can adjust the sound settings of the System.
DIGITAL AUDIO OUTPUT
When using the digital output terminal on the rear, set this
correctly according to the connected component.
Select one of the following:
• See also “OPTICAL DIGITAL OUTPUT Signals” on
page 54.
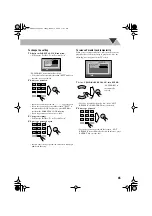
DOWN MIX
When playing a multi-channel DVD, the System converts
the signals into 2 channels.
Downmix setting is effective for the speaker output (and
digital audio output if “DIGITAL AUDIO OUTPUT” is set
to “PCM ONLY”) from this System.
Select one of the following:
AUTO:
Normally select this.
When playing back a disc containing both video
and film sources, the System automatically
changes the processing to match it to the picture
type (film or video source) of the current chapter.
FILM:
To play a film source disc.
VIDEO:
To play a video source disc.
ON:
The pictures on the TV becomes dark when no
operation is done for about 5 minutes.
OFF:
To cancel the screen saver.
AUDIO:
To play MP3/WMA files.
STILL PICTURE:
To play JPEG files.
PCM ONLY:
To connect to a linear PCM digital
equipment such as an MD recorder.
DOLBY DIGITAL
/PCM:
To connect to a Dolby Digital decoder
or an amplifier with a built-in Dolby
Digital decoder.
STREAM/PCM:
To connect to a DTS decoder or an
amplifier with a built-in DTS decoder.
DOLBY
SURROUND:
To connect an amplifier with the Dolby
Pro Logic decoder.
STEREO:
To connect a conventional stereo
amplifier, receiver, MD player, TV, etc.
INFO
STREAM/PCM
AUTO
AUDIO
DIGITAL AUDIO OUTPUT
D. RANGE COMPRESSION
DOLBY SURROUND
DOWN MIX
USE TO SELECT. USE ENTER TO CONFIRM
TO EXIT, PRESS [SET UP].
ENTER
SELECT
HX-GD8.book Page 42 Friday, March 19, 2004 11:27 AM


