


Copyright 2008, Just Add Power Cardware Co., Inc. All Rights Reserved.
Page 24 of 28
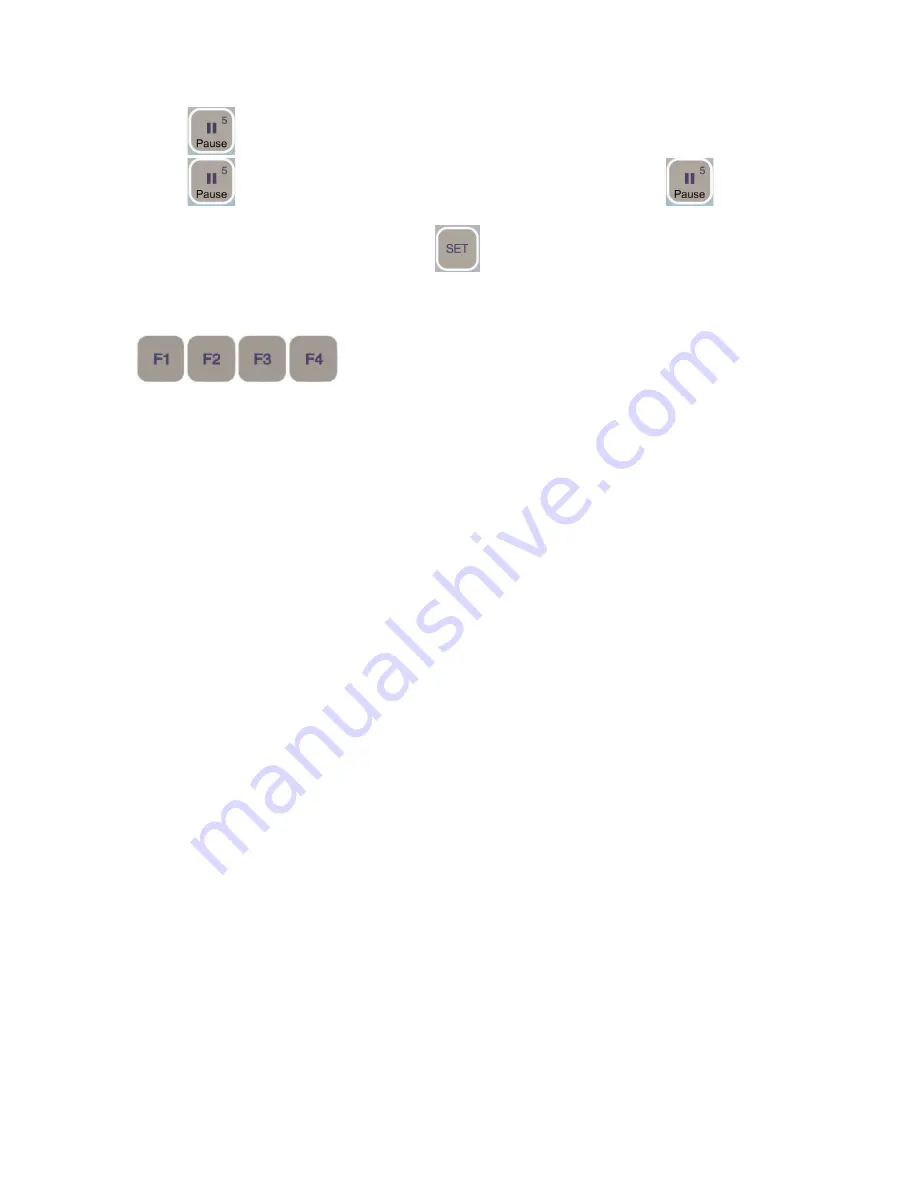
◊
Press
10 times (to enter scaler resolution setting mode)
◊
Press
1 time to change to the next resolution in the sequence. Keep pressing
until the
desired resolution has been selected
◊
To quit the scaler resolution setup mode, press
1 time.
Spare F keys: reserved for future application


