


STRM Series II Hardware Installation Guide
26
S
ETTING
U
P
STRM S
OFTWARE
AND
C
ONFIGURING
N
ETWORK
S
ETTINGS
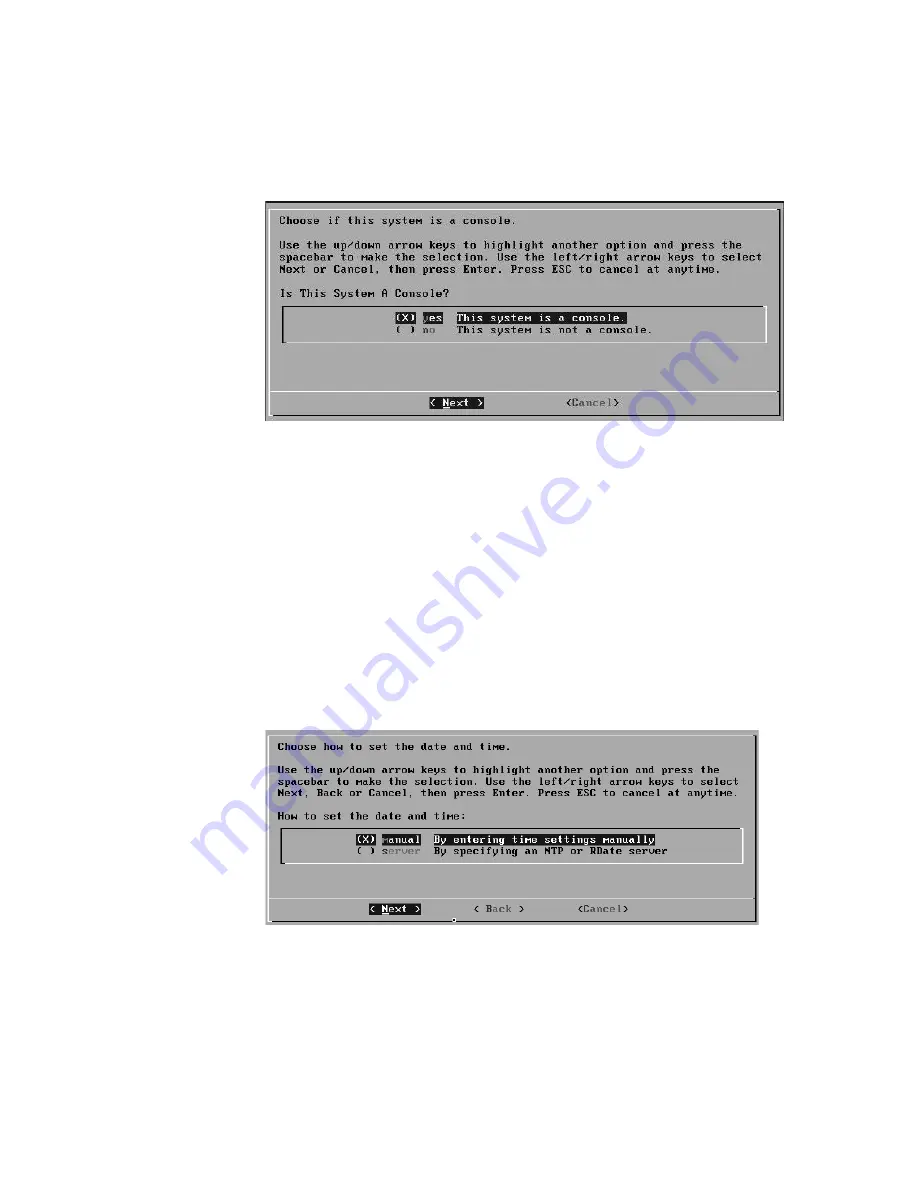
Figure 11 System Console Window
Step 5
Using the up/down arrow keys, highlight one of the following options:
-
Yes
- Select this option only if this system is a Console. If you select this
option, the Tuning Template window appears. Go to
Step 6
.
-
No
- Select this option only if this system is not a Console. If you select this
option the Time Zone Continent window appears. Go to
Step 11
.
Step 6
Using the up or down arrow keys, select one of the following tuning templates:
-
Enterprise
- Tunes properties for internal network activity.
-
Universit
y - Tunes properties for education-specific concerns.
-
ISP
- Tunes properties for Internet Service Provider (ISP) concerns.
Step 7
Using the left or right arrow keys, select Set Template. Press the Enter key. The
Set the Date and Time window appears.
Figure 12 Set the Date and Time Window
Step 8
Using the up or down arrow keys, select the method you wish to use to set the date
and time:
- Manual - Allows you to manually input the time and date. Use the Spacebar
to select the option and then use the Tab key to select the Next option.
Press Enter. The Current Date and Time window appears. Go to
Step 8
.


