


Connect the Device to a Network
15
connect the ADSL cable from the device and the telephone line to the appropriate
connectors (for example, “data” or “voice”) on the splitter. You connect the other
end of the splitter to the telephone outlet.
You may need to install a
microfilter
on each telephone, fax machine, answering
machine, or analog modem that connects to the ADSL line. The microfilter filters
out high-frequency noise on the telephone line. You install the microfilter on the
telephone line between the telephone, fax machine, answering machine, or analog
modem and the voice connector on the splitter.
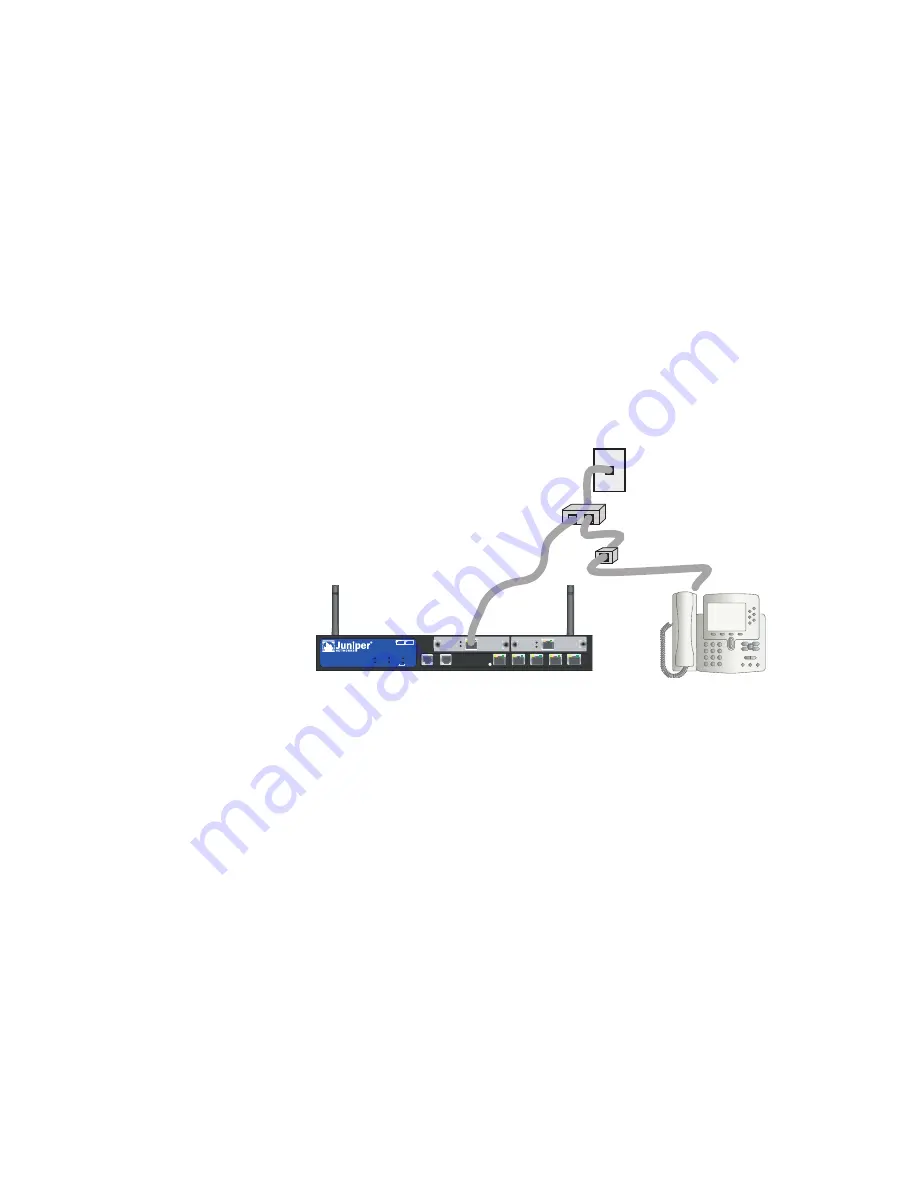
Figure 6 shows an example of a microfilter and a splitter that you install on your
site. (You must obtain the appropriate microfilters or splitters from your service
provider.)
Figure 6: Installing a Microfilter and Splitter on Your Network
Connecting Other Mini PIMs
To connect the mini PIMs to a device, perform the following steps:
1.
Have ready a length of the type of cable used by the interface.
2.
Insert the cable connector into the cable-connector port on the interface
faceplate.
3.
Arrange the cable as follows to prevent it from dislodging or developing stress
points:
a.
Secure the cable so that it is not supporting its own weight as it hangs to
the floor.
b.
Place any excess cable out of the way in a neatly coiled loop.
c.
Use fasteners to maintain the shape of the cable loops.
To configure the ISDN, E1, T1, or V.92 Mini PIM, see “Mini PIM Configuration” on
page 30.
CONSOL E
AUX
SSG 20
TX/RX
LINK
TX/RX
SYNC
1
2
ADSL 2 /2 +
0 /0 10/100
0 /1 10 /100
0 /2 10 /100
0 / 4 10 /100
0/ 5 10 /100
STATUS
POWER
PIM 2
PIM 1
b/g
802.11a
WLAN
DATA
VOICE
TX RX
SYNC
ADSL 2 +
New Graphic Needed
Summary of Contents for SSG 20-WLA
Page 5: ...Table of Contents Table of Contents v Index IX 1...
Page 6: ...vi Table of Contents SSG 20 Hardware Installation and Configuration Guide...
Page 20: ...SSG 20 Hardware Installation and Configuration Guide 10 Back Panel...
Page 50: ...SSG 20 Hardware Installation and Configuration Guide 40 Reset the Device to Factory Defaults...
Page 56: ...SSG 20 Hardware Installation and Configuration Guide 46 Memory Upgrade...
Page 60: ...SSG 20 Hardware Installation and Configuration Guide IV Connectors...
Page 80: ...SSG 20 Hardware Installation and Configuration Guide XX...
Page 82: ...2 Index SSG 20 Hardware Installation and Configuration Guide...


