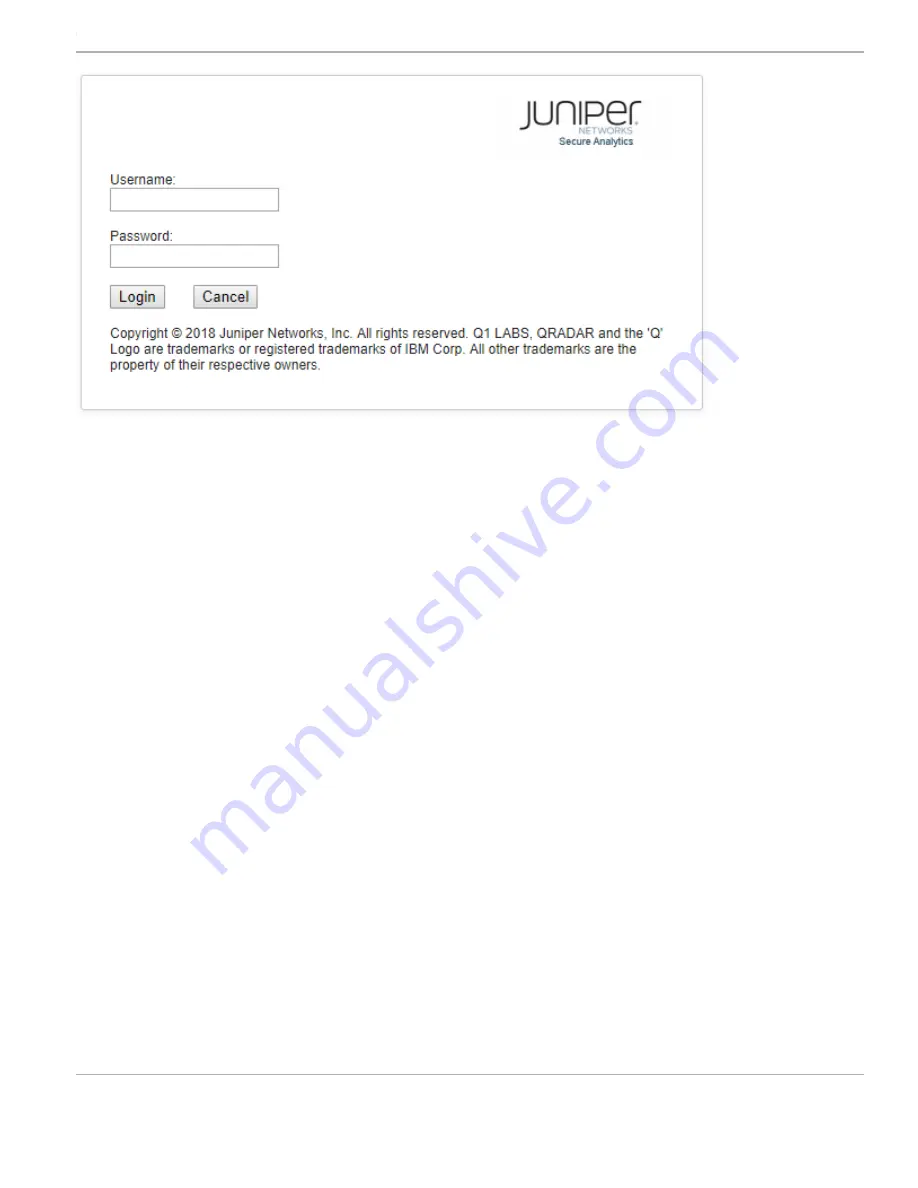
Juniper JSA7500 How To Set Up Download Page 7

3.

Click

Login

.

With this step, you have successfully completed the configuration, and your JSA7500 appliance is ready for use.

Powering Off the Appliance

You can power off the appliance in one of the following ways:

Graceful shutdown— Press and immediately release the

Power

button.

Forced shutdown— Press the

Power

button, and hold it for five seconds. Use this method only if the appliance is not responding

to the graceful shutdown method.

References

JSA Product Documentation

JSA7500 Product Documentation

JSA7500 Hardware Documentation

JSA7500 Hardware Guide

Technical Support

https://www.juniper.net/support/requesting-support.html

Juniper Networks, the Juniper Networks logo, Juniper, and Junos are registered trademarks of Juniper Networks, Inc. in the United States and other countries.
All other trademarks, service marks, registered marks, or registered service marks are the property of their respective owners. Juniper Networks assumes no
responsibility for any inaccuracies in this document. Juniper Networks reserves the right to change, modify, transfer, or otherwise revise this publication
without notice. Copyright © 2019 Juniper Networks, Inc. All rights reserved. Part Number: 530-052346 January 2019.

How to Set Up Your JSA7500 Appliance

Summary of Contents for JSA7500

Page 1: ...r flow processor It can also be deployed as a store and forward event collector The JSA7500 appliance has a 2 U rack mountable chassis redundant DC power supplies optional AC power supplies twenty eig...

Page 2: ...fan location in JSA7500 Back Panel g041461 1 1 2 3 5 5 4 7 7 6 11 8 10 9 Table 2 JSA7500 Back Panel Ports Description Callout Hard drive 1 Network port 0 2 Network port 1 3 Network port 2 4 IOC expans...

Page 3: ...5 95 non condensing Humidity storage 10000 ft max Altitude operating 40000 ft max Altitude storage Before You Begin Before you can install and configure your JSA appliance you must have access to the...

Page 4: ...s see the JSA Hardware Installation Guide Step 3 Connect to External Devices Connect external devices using the ports on the front panel of the appliance If you use a laptop connect the laptop to the...

Page 5: ...elect Next For more information on the appliance ID see the KB article KB14832 at https kb juniper net KB14832 5 Select normal from the following types of setup normal Default setup recovery HA recove...

Page 6: ...ou do not have an e mail server specify the local host in this field 16 Select Next The New Root Password window appears 17 Enter your new password and select Next The Confirm New Root Password window...

Page 7: ...are Documentation JSA7500 Hardware Guide Technical Support https www juniper net support requesting support html Juniper Networks the Juniper Networks logo Juniper and Junos are registered trademarks...

Reviews: