


RSP-Z2 Quick Start Guide
Interoperability Now
Page 5 of 8
RSP-Z2 Quick Start Guide
2
Procedures
All the information necessary to install, configure, and operate the RSP-Z2 is available within
the unit. This Quick Start Guide’s primary purpose is to describe how to access that information.
The RSP-Z2 is standards-compliant and therefore supports standards-compliant web browsers,
including Internet Explorer (must be IE 10 or higher), Edge, Firefox, Chrome, Opera and Safari.
It is always best to use the most current version of any web browser.
2.1
Set up IP Address and Subnet Mask
As with any device with a static IP address, it will be necessary to configure the unit to operate
on the LAN where it is to be deployed.
The RSP-Z2’s factory default IP address is
192.168.1.200, with a default subnet mask of 255.255.255.0.
To reset to an address and subnet mask that work on your LAN, connect the RSP-Z2 via Ethernet
cable (need not be a cross-over cable, though a cross-over cable will work) directly to the
Ethernet port of the computer that will be used to access and configure it.
Using your PC network settings options, set the computer to a static IP address of 192.168.1.xxx
(where xxx is a number between 2 and 199) and a subnet mask of 255.255.255.0. This will allow
you to browse to the RSP-Z2 at its default IP address following the instructions below.
Plug in the unit’s power supply and turn the unit on via its front panel power switch. The RSP-
Z2’s front panel LEDs will flash while the unit boots up (approximately 90 seconds).
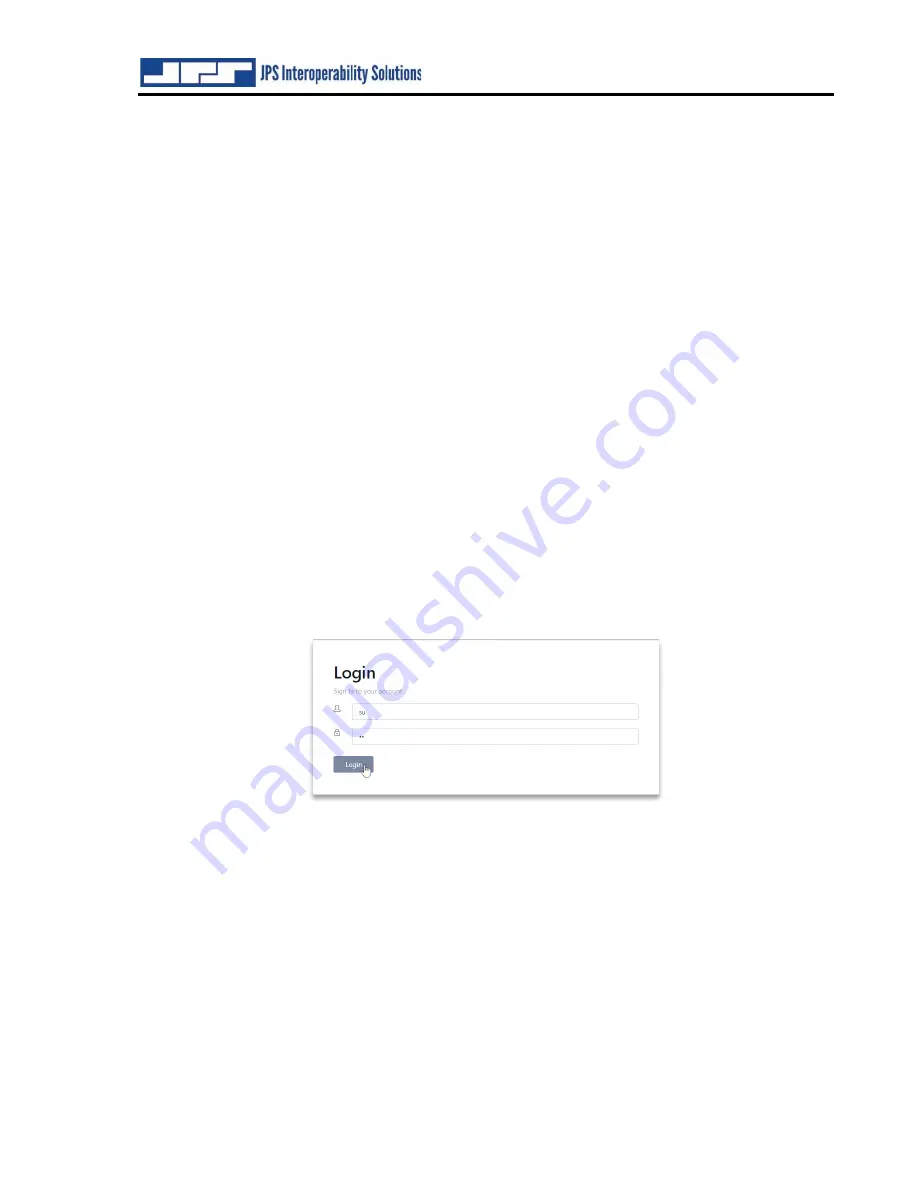
Upon browsing to the RSP-Z2’s IP address, the login screen (shown below) will appear.
The default name and password are both “su” for superuser with the superuser’s full-
capability permission set.
For best security, it is strongly advised to change the default username and password before
putting the unit in service, however it is not required to continue setup. Changing usernames and
passwords can be done under
Security
in the RSP-Z2 GUI; instructions and explanations can be
found in the
RSP-Z2
Installation and Operation Manual
.
2.2
Network Settings
To change network settings, click
Settings
from the top banner and then
Network
from the tab
options. The following dialog box will be available for changing system parameters. (Note that
these are not the system default settings).


