30
130112_Rev 2 GF 160 DV 1/22
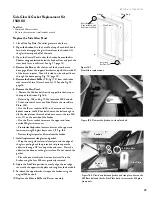
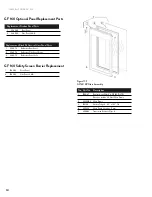
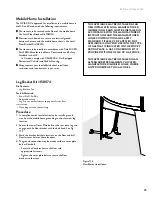
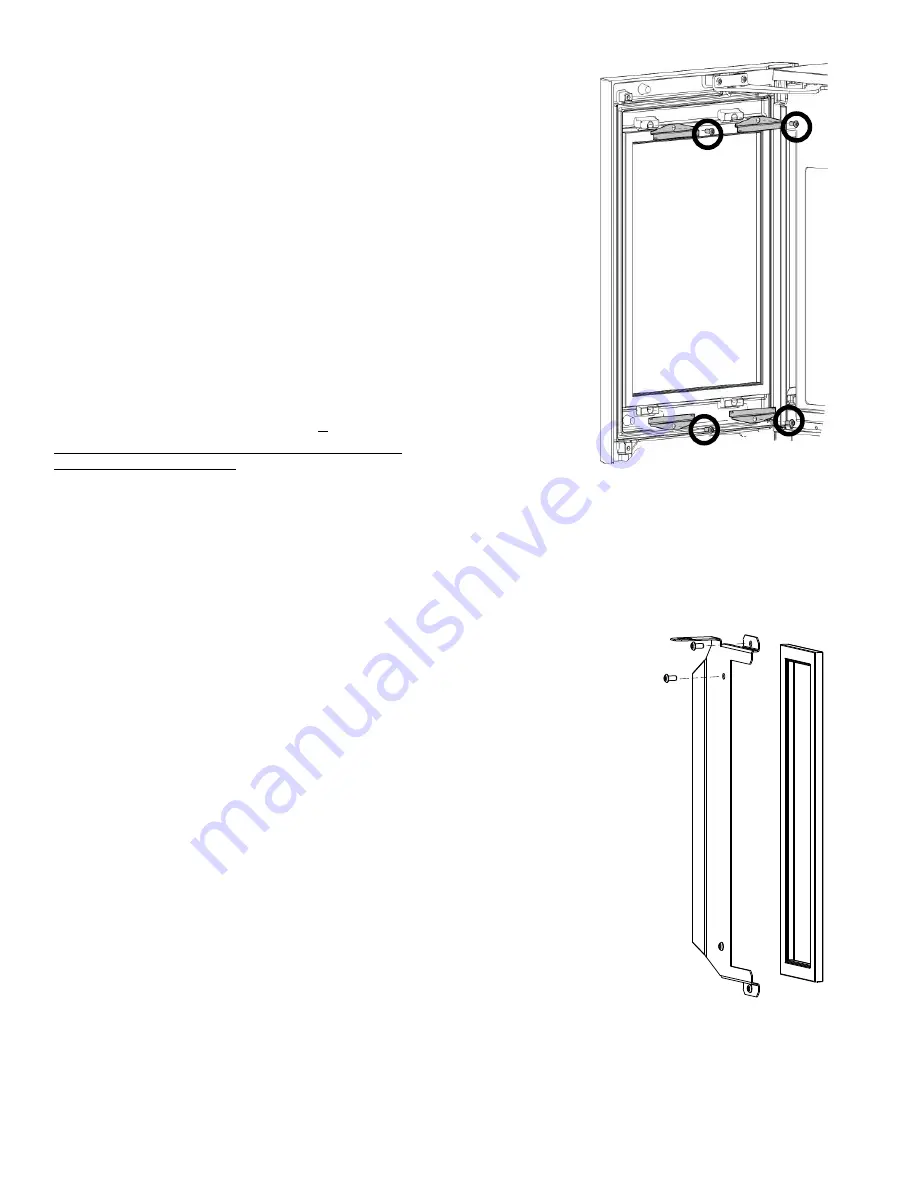
Figure 16.4.
Remove front screen
retainer screws and
brackets.
Safety Screen Maintenance and Replacement
Cleaning
The integrated, Invisimesh® safety screens, located in front of
the door and side glass panels, should be periodically cleaned to
remove dust, lint, and other air-bourne debris. Over time, and
with continuous exposure to heat, these materials can contribute
to variations in the screen hue.
Open the front door and clean both sides of the screen using a
fine, soft bristle brush or vacuum attachment
.
APPLY ONLY VERY GENTLE PRESSURE TO AVOID
DAMAGING THE SCREEN.
225950 Front Safety Screen Replacement
Tools: #4 hex key
The front safety screen is easily accessible from the back of the
door.
Use a #4 Hex Key to remove the four button head screws and
retainer brackets as shown in fig. 16.4.
The replacement screen and frame installs as a single unit using
the original four brackets and screws.
• Readjust and tighten the air shutter following the guidelines
in Section 14, Air Shutter Adjustment on page 24.
11. Replace the front Front Glass Frame, and Top Plate.
Side Safety Screen Replacement Kit 158063
Read through these instructions before beginning the procedure.
Tool List:
• 13mm socket
• 24-in socket extension / small ratchet wrench
• #4 hex key
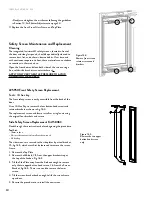
The side screens are secured to the side plates by a steel bracket,
#5, fig. 16.5, which must first be loosened to remove the screen
frame.
1. Remove the Top Plate
2. Remove the M6 bolt, #11, from the upper bracket strap at
the top of the firebox. Fig. 16.2.
3. Tilt the Side Plate away from the firebox enough to remove
only the two
upper
button head screws, #6, from the Screen
Bracket, fig. 16.5. There is no need to remove the lower
screws.
4. Tilt the screen bracket back enough to lift the screen frame
up and out.
5. Reverse the procedure to re-install the new screen.
Figure 16.5.
Remove the two upper
button head screws
only.


