


Summary of Contents for TR-810
Page 32: ......
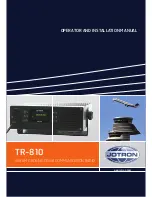
The Jotron TR-810 Operator and Installation Manual provides comprehensive instructions for operating and installing the TR-810 communication system. Customers can download the manual for free from manualshive.com, ensuring they have the necessary guidance to effectively utilize this advanced product. Download the manual today and enhance your communication capabilities.
Page 32: ......