


User’s Manual
22
Appendix
Appendix A. Maintenance
Cleaning
Clean the projector if it becomes dirty or if the quality of projected images starts to
deteriorate.
Turn off the projector and unplug the power cable before any cleaning.
Cleaning the Projector’s Surface
Clean the projector's surface by wiping it gently with a soft cloth. If the projector is
particularly dirty, moisten the cloth with water containing a small amount of water or neutral
detergent, and then firmly wring the cloth dry before using it to wipe the projector's surface.
Note:
•
Do not use volatile substances such as wax, alcohol, or thinner to clean the projector's surface. The
quality of the case may change or become discolored.
Cleaning the Lens
Use a commercially available cloth for cleaning glasses to gently wipe the lens.
Note:
• Do not rub the lens with harsh materials or subject the lens to shocks, as it can easily become damaged.
Cleaning the Air Filter
If dust collects on the air filter, it blocks the air flowing, and causes the internal temperature
of the projector to rise. This can lead to problems with operation and shorten the optical engine's
service life.
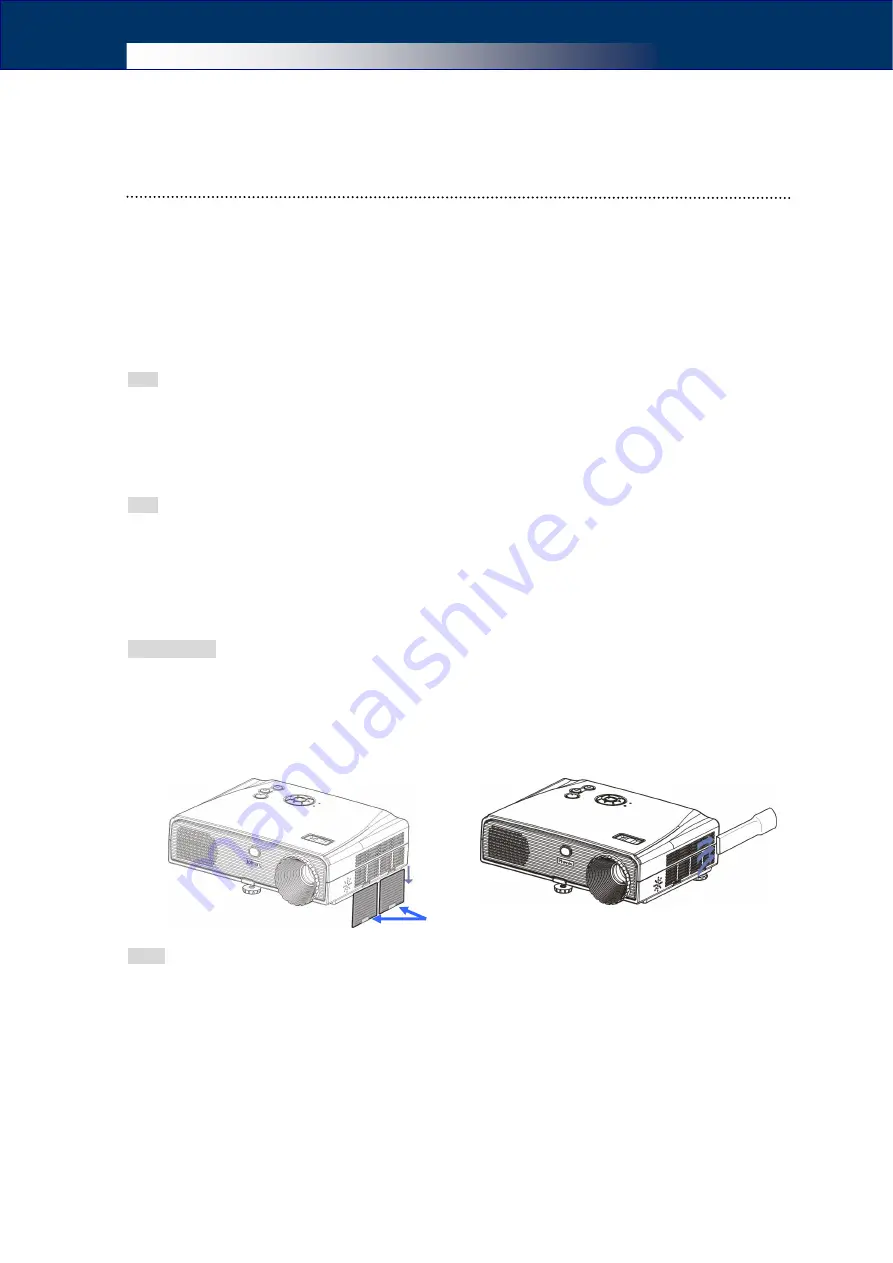
Operations:
1
Remove the filter by pulling down on the catch of the filter.
2
Clean the air filter, the exhaust vents and the intake vents with a vacuum cleaner.
3
Reinstall the filter.
Notes:
•It is recommended that you clean the air filter every 100 hours of operation. If the projector is using in a
particularly dusty and smoky environment, clean the air filter and the vents more often.
•If the dust can not be removed from the air filter, replace the air filter with a new one. For details on new air filter,
consult with your dealer.
Air Filter Catch
Summary of Contents for DS-250
Page 1: ...User s Manual DLPTM Data Projector DX 400 DX 380 DX 300 DX 280 DS 250...
Page 22: ...User s Manual 16 5 Advanced Functions Menu Navigator...
Page 36: ...User s Manual 30 Appendix F Appearance Dimensions Unit mm...
Page 37: ...User s Manual Suspension Installation Dimensions Screws spec M5 Unit mm...


