CABINET MAKING OPERATIONS
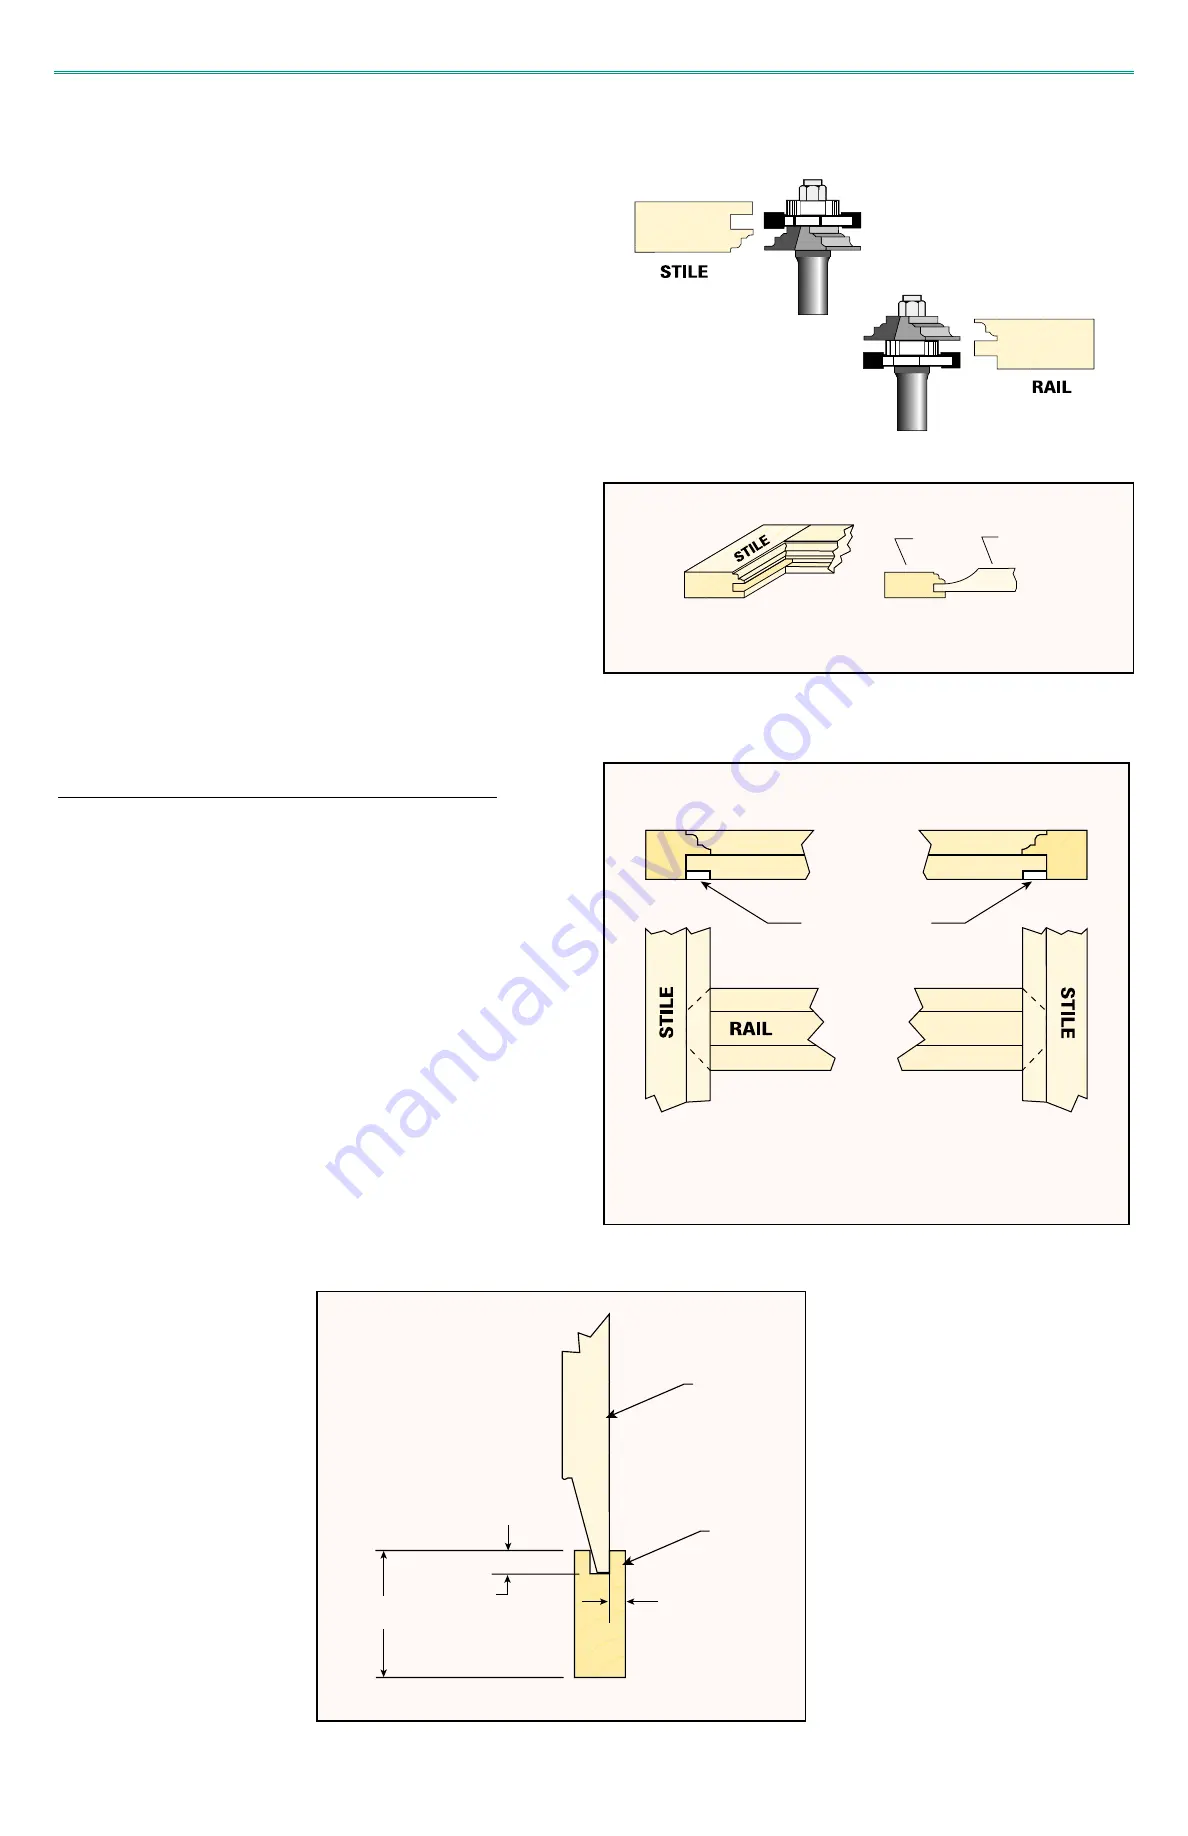
Coped Rail and Stile
In addition to being more decorative than the mortise and tenon frame, the
coped molded rails offer increased glue area. Preparing the stock for use
with rail and stile cutters is the same as for the mortise and tenon frames.
This style of frame is often referred to as cope and stick.
The router cutters come in three types; Matched 2-pc. stile & rail sets,
Reversible Assembly, and Stacked Assembly. Any type will do an equally
good job, but with the combination bits the setup must be changed to make
the cope cuts, and this creates more room for error.
Instructions for assembling the combination bits will accompany any
manufacturers sets. The instructions will normally include the height to set
the bit. The depth of cut for all the bits with bearings is
3
/
8"
. This is the
dimension to be used to determine the length of stock for the rails.
Set up the router table with the bit for cutting the stile cuts, either
combination or solid bit, and a zero clearance insert in SmartFence. Use
featherboards as described for mortise and tenon frames.
Cut the prepared boards to their appropriate lengths. Make the stile cut in a
piece of scrap cut from the prepared wood. Make the stile cuts for all the
pieces, both rail and stile.
Disassemble and reassemble the bit to the cope configuration or change the
solid bit. Use the piece of scrap to set the bit height and cut a new zero
clearance insert.
Use the cope cutting guide with a backup piece and make a cope cut in the
scrap piece. Check the fit of the scrap cope in a stile. If the fit is
acceptable, make the cope cuts in the rail ends.
Until the advent of the large horsepower/variable speed routers, raised
panels were made by table saw, shaper or by hand with a plane. There is
now a large selection of router bits, horizontal and vertical, to choose from.
A 3-1/2 horsepower router can easily turn a 3
1
/
2"
diameter bit and the speed
can be slowed down to make an acceptable cut. The router should be run at
approximately 12,000 rpm when using the large router bits. For safety, stay
away from the
1
/
4"
diameter shank large diameter router bits.
Use of the large panel-raising bits will require the use of a router table insert
with a large diameter hole. Because of the large bit and the large opening in
the table insert, never make test cuts on small scraps of wood. Length of
test pieces should be more than twice the hole diameter. Always use push
blocks. Featherboards should always be used to hold stock down to the
table surface or against the fence as applicable when making panels with a
router. When making panels on the table saw a vertical fixture such as a
tenoning jig can be purchased or made (see VERTICAL MITER FIXTURE,
Jointech Woodworker's Notebook, SECT III). Stock preparation for all the
panels is the same.
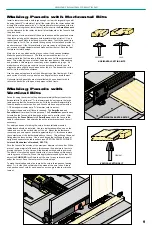
There are three basic shapes for the raised panels,
STRAIGHT, ROMAN
OGEE and COVE. There are horizontal and vertical bits in these shapes
and combinations of them are available from various manufacturers. All are
available with
1
/
2"
diameter shanks.
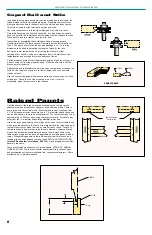
PANEL FRAME
Raised Panels
8
2”
3/8”
PANEL
STILE
1/4” typ.
Remove this area
to install glass.
PANEL
STILE


