JOINT MAKING OPERATIONS
The tails of through dovetail joints extend completely through the thickness of the pins on the adjoining
workpiece. In the days before power tools and modern adhesives, skilled craftsmen painstakingly
scribed, hand sawed, and chiseled these joints in the making of furniture, trunks, and all sorts of boxes.
The resulting joints proved mechanically strong and aesthetically pleasing.
Today, through dovetail joints serve primarily as a design element. Several router templates and jigs on
today’s market will make through dovetails, but these cost upwards of $200. With Jointech’s special,
Through-Dovetail Templates, you can now make these beautiful, professional looking joints on your own
router table and only one dovetail bit at one height setting is required!
Although you could make any dovetail a
through joint by excessive surface planing, these templates are
designed to use the smaller angle dovetail bits with long flute lengths to achieve the greater depths of
cut like those made with the very expensive dovetail jigs.
TH ROUG H DOVETAI LS
P
PL
LA
AN
NN
NI
IN
NG
G P
PO
OI
IN
NT
TE
ER
RS
S
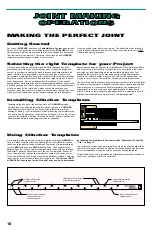
Knowing the differences between tails and pins is one of the more important tasks in planning and making
through dovetail joints. Although the plan page illustrations clearly identify them, just remember this; The face
grain of tails looks like a dove’s tail (trapezoid), and the face grain of pins is rectangular.
When working out a dovetail project design, select a template with a dovetail size and spacing to match your
stock thickness. In doing so, don’t forget to plan for an equally sized half-pin at both ends of the joint.
You’ll also need to decide which sides of your project have tails and which sides have pins. If you’re building a
box, such as a jewelry box or even a blanket chest, the front and back pieces should have tails for appearance.
But, if you’re building drawers, the sides should have tails for the strength to survive opening and closing.
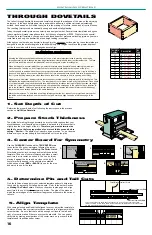
Prepare your workpieces. An approximate stock thickness is listed on each template and its full-sized plan. This
will also be the approximate depth of cut. The exact depth of cut must be arrived at by trial and error. Once depth
of cut is determined, the pin boards should then be planed to a thickness that is just slightly less than the height
of the bit. If your pin boards are planed too thin, the result will be small gaps in the corners of each pin after fit-
ted to the tail board. Unless you require thicker stock for the tail boards (which would later require rabbeting),
they should also be surface planed to the same thickness.
Mark your workpieces. To help keep everything straight, gather the four sides of your project and mark each of
the inside and outside surfaces, number each corner, and mark one edge to use as a reference edge to the
fence.
1. Set Depth of Cut
Determine the proper depth of cut following the instructions in the previous
section on Half Blind Dovetails.
2. Prepare Stock Thickness
The method of making through dovetails on a router table requires that your
stock thickness, or at least the pin workpiece, be planed to a thickness that is
slightly less than the height of the bit. Therefore, you must determine the
depth of your cut before preparation of your stock thickness and before
cutting.
Note: The depth of cut can vary by as much as
1
/
16”
per degree
difference in your router bit angle from that called out for on the plan.
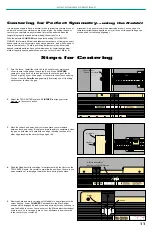
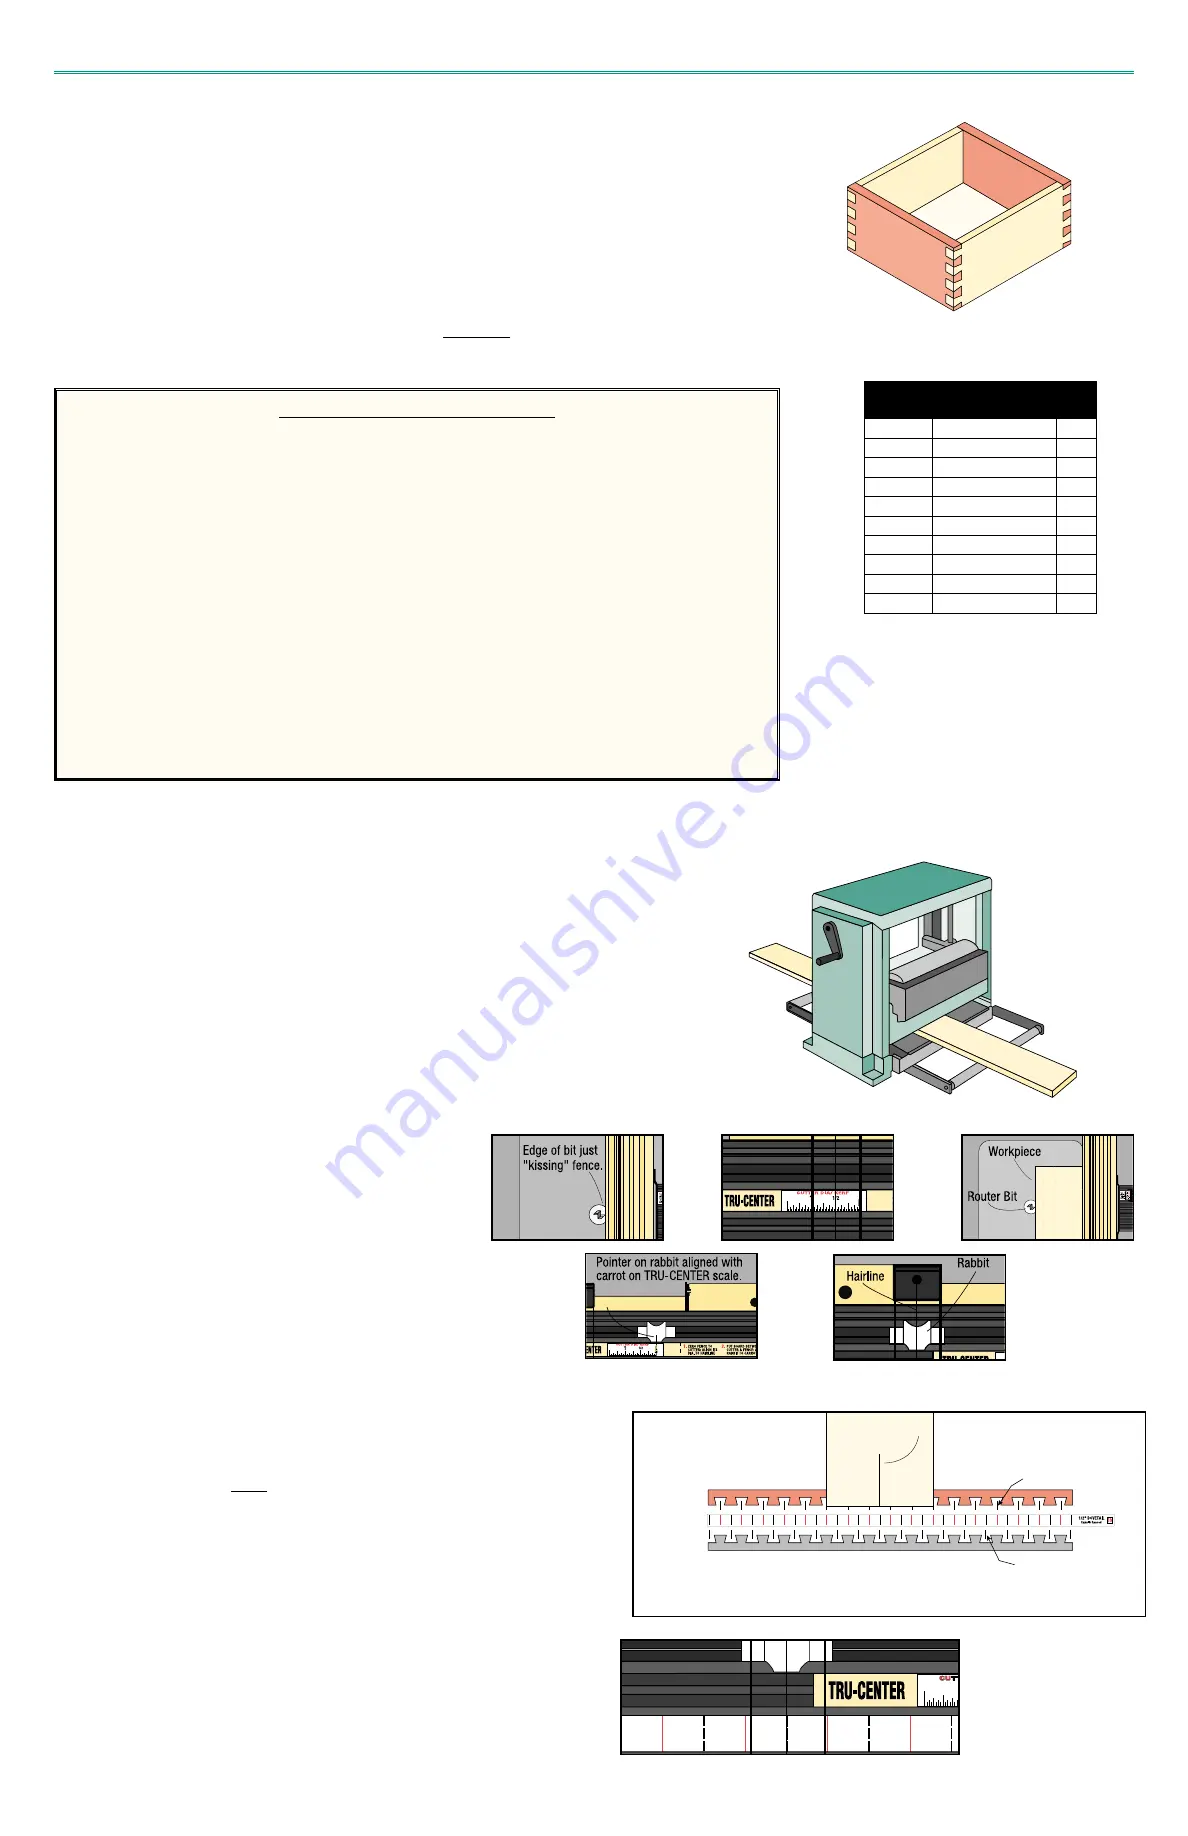
3. Center Board For Symmetry
Use the CLINCHER
Rabbit and the TRU-CENTER scale
to center the bit on your workpiece following the instruc-
tions in the earlier Section on
Making The Perfect Joint.
After finding center, lock carriage and install the selected
template. Take one of your workpieces and place a small
pencil mark at its center on one end. You can do this by
placing it against the fence and up close to the bit. This
center mark will be used in the next step to establish
which series of cuts (RED or BLACK) to use for the pins
and which to use for the tails.
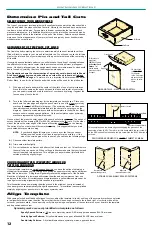
4. Determine Pin and Tail Cuts
Find the full size plan page for your selected template pattern to determine
the choice for a properly cut tail and pin board. Refer to the earlier Section
on
Making The Perfect Joint. Place your board onto plan page and align
pencil mark to one of the lower
symmetry marks. The side of the plans on
which the outer edges of the board overlap grooves will become the series of
tail cuts.
5. Align Template
This example shows the board edges overlapping the grooves on the upper side of plan
(RED). Therefore, for this board width, the tail cuts will be the RED series of cut lines and the
pin cuts will be the BLACK series of cut lines.
With carriage locked and Rabbit still aligned to cursor, adjust the template in
its slot until one of the
symmetry marks you selected is in alignment with the
cursor hairline. Be sure that there will be enough cut lines to the left and
right of cursor to make all the cuts over your board width. You can quickly
verify this by making a comparison of the center mark on your board to the
template and its position under cursor.
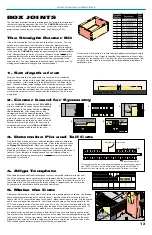
Template
Number
Description
1/4",
5/16" Stock
37
44
Plan
Page
3/8",
3/8" Stock
38
45
3/8",
1/2" Stock
39
45
1/2",
1/2" Stock
40
46
1/2",
3/4" Stock
41
46
5/8",
5/8" Stock
43
48
5/8",
3/4" Stock
44
48
5/8",
7/8" Stock
45
49
3/4",
3/4" Stock
46
50
3/4",
7/8" Stock
47
51
1.
2.
3.
5.
4.
16
Pencil Mark at center of board
Upper Symmetry Mark
Lower Symmetry Mark

