No Diving or Jumping. Observe all Safety Rules
1-13
GENERAL INSTRUCTIONS - BRACELESS OVAL POOLS
GROUND PREPARATION
Section
1
D. CONT. GROUND PREPARATION FOR THE BUTTRESS
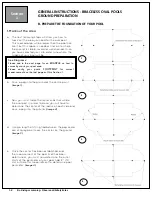
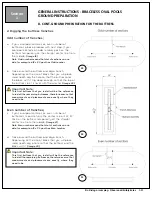
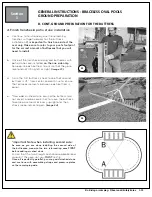
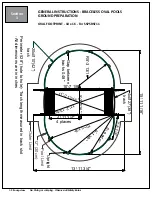
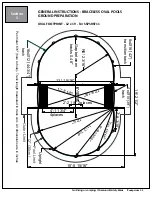
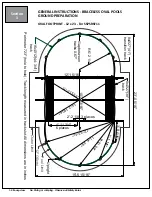
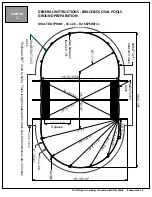
4. Finish trenches & patio stone installation
a. Continue to finish one by one the remaining
trenches with patio blocks for the buttress
installation.
It is important to finish one side of the
oval only. Make sure to refer to your pool’s footprint
for the correct amount of buttresses that you will
need to install.
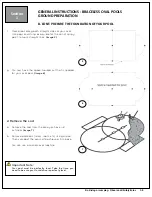
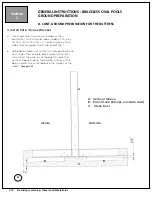
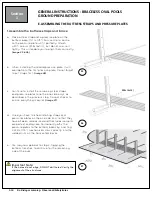
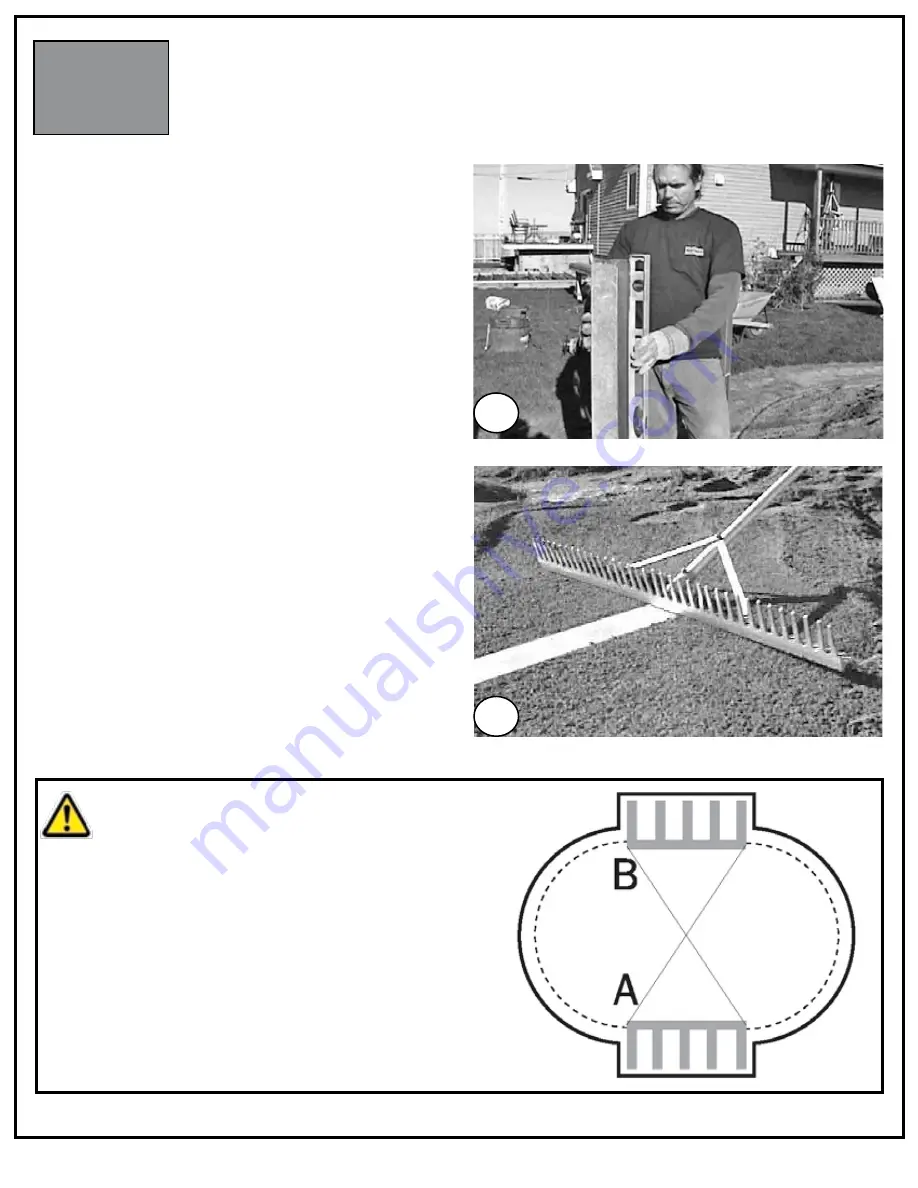
b. Once all the trenches are dug and buttresses with
patio stones are installed,
on the one side only.
Remeasure each buttress to ensure that they are
level and not tilting left or right.
(Image 23)
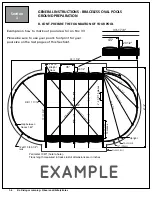
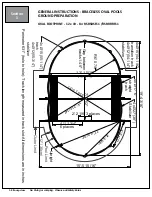
d. From the first buttress, check to see that second
buttress is 45” from center and continue to ensure
that all measurements between each buttress is
equal.
e.
*
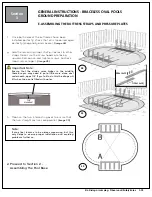
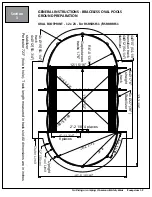
Now add crushed stone around the buttress (do
not cover) and be careful not to move the buttress.
Take measurements at every upright and then
check measurement again.
(Image 24)
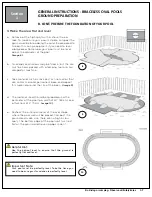
*I
mportant Note when installing second side:
As soon as you are done installing the second side of
the buttresses, measure the two intersecting axes
FIRST
before adding crushed stone.
Ensure that the two straight sections are parallel and
square. If they are not, you
MUST
rectify.
Once all is perfectly parallet, you may add crushed stone
and continue with assembling straps and pressure plates
on the remainging side.
23
24

