JG special products GmbH
Seite | 44
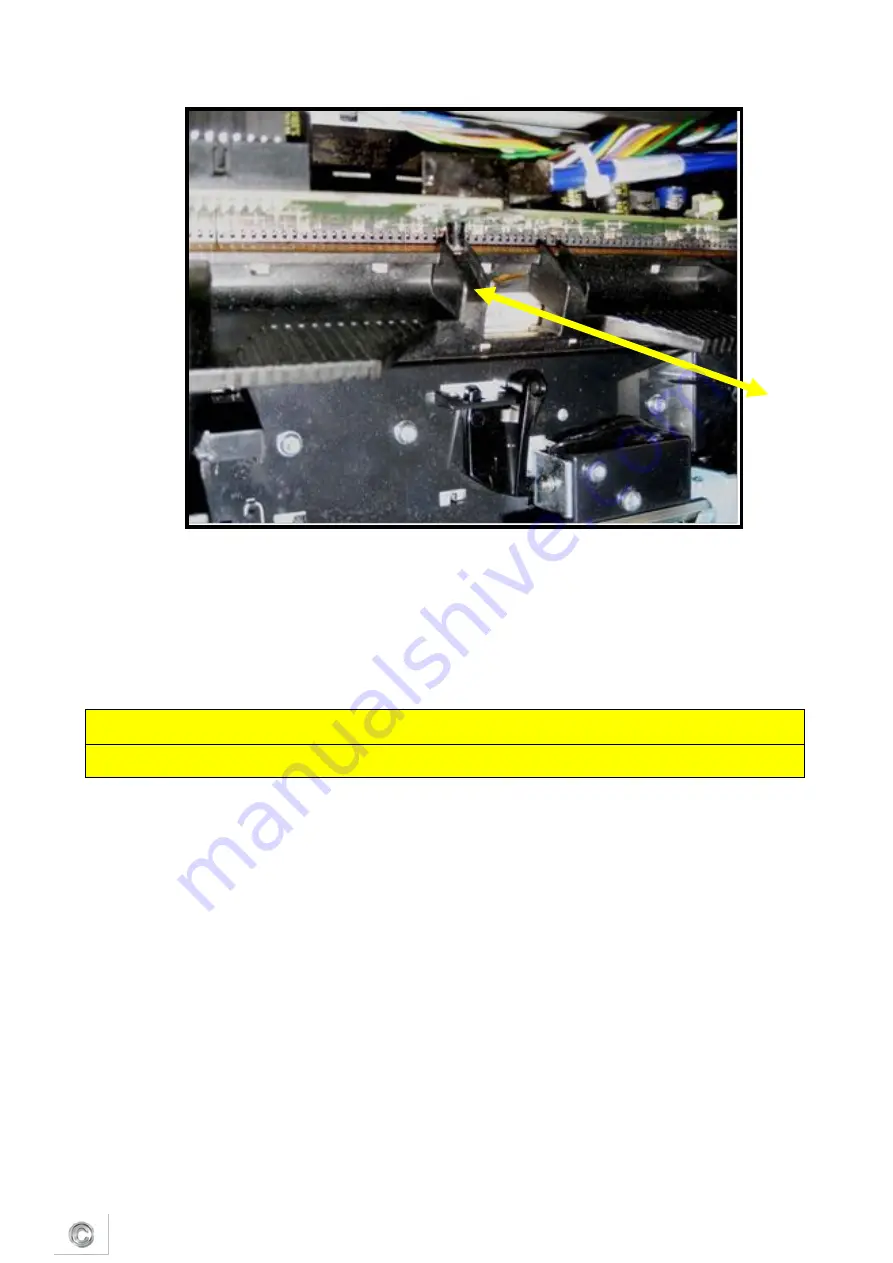
Tilt the top of the printhead cartridge towards the back of the printer, about 20º.
Gently seat the back of the printhead cartridge into the print engine.
When the back of the printhead is firmly seated, gently rotate the printhead cartridge
into position against the stops on the printhead connector board until it clicks into
place.
CAUTION
If the printhead will not rotate into position, do not force it!
Slowly close the printhead latch. The fluidic couplings will advance and seal to the
printhead cartridge.
Close the printhead latch. When the printhead latch is closed, the printer will prime,
clean and cap the printhead automatically. This operation will generally take a
minute or two, and will be apparent from sounds emanating from the print engine.
When the system is primed, print a test printjob from Liberty to make sure the
cleaning process was right and the printhead is working properly.
Waste ink absorber replacement
The waste ink absorber was designed to last the life of the printer under normal printing
conditions, taking into account evaporation. Replace the waste ink absorber when ink is
leaking out of the waste ink tray.


