Aligning the Objective Aperture
1.
This procedure needs done if the image shifts in any direction when going through
focus.
2.
Center a distinct feature in the field of view (>5000x)
3.
Select
Wobb
(the image should now modulate in focus) and Scan1 is
automatically selected
4.
Adjust Aperture X and Y controls to minimize lateral motion of feature.
Hint: Determine what direction one of the translation controls has the most effect by
over-adjusting a little and then adjust so that the residual motion is perpendicular to
that direction. Then adjust the other translation control. Iterate to fine tune. Correct
any severe astigmatism (see below) to be able to better fine tune
5.
Deselect
Wobb
Manually Correcting the Astigmatism
Note: You need an image with edge features in nearly all directions! If necessary
find a feature on your sample, such as a dust or contamination particle
1.
Select
Stig
on
Knob Panel
(lights green)
2.
Adjust X and Y control knob on panel for best image
3.
Adjust focus for best image
4.
Iterate steps 2 and 3 until your satisfied the image cannot be improved more.
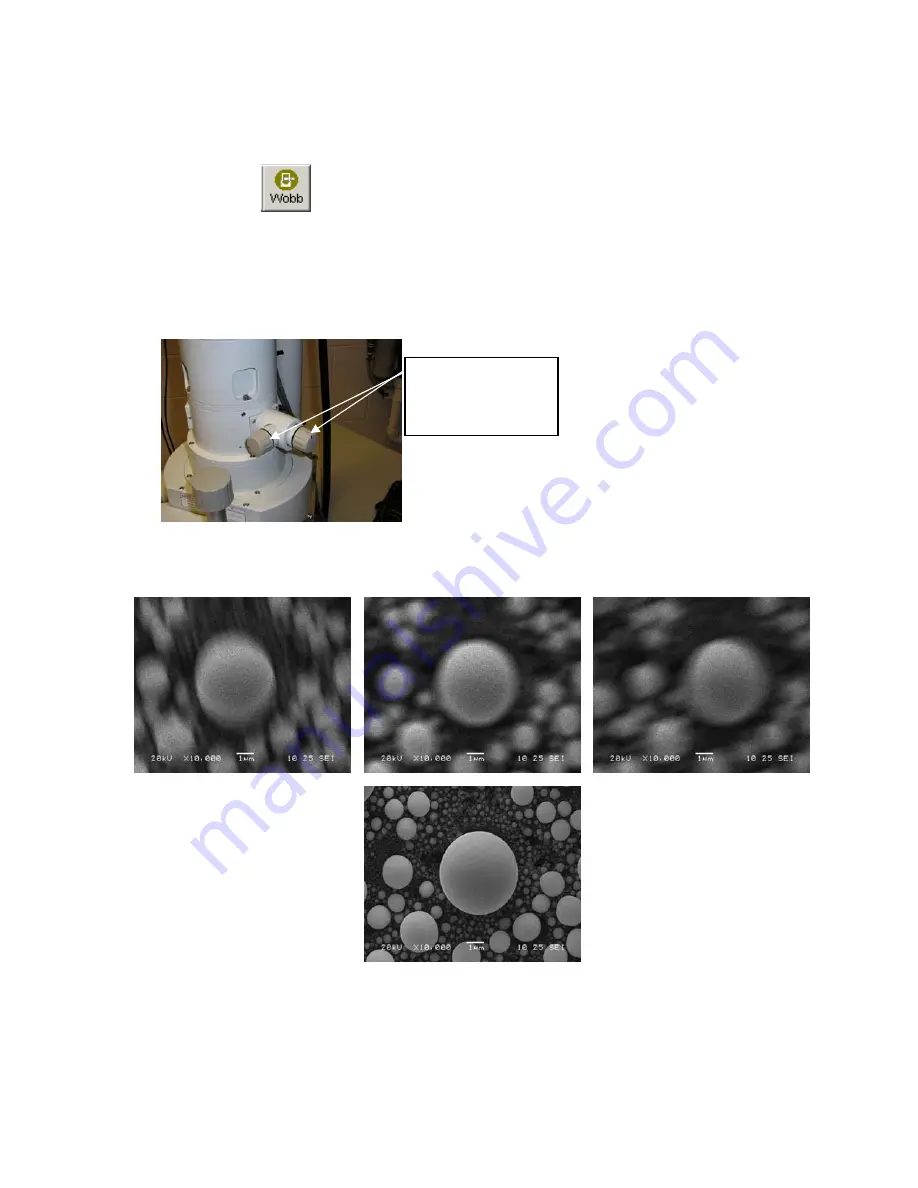
Objective
aperture X and Y
adjustment knobs
Above: sequence of
images at under-focus,
near focus, and over-
focus conditions with
significant objective
astigmatism
Left: An image in
focus and fully
corrected
astigmatism


