5.
If the image is not sharp enough, try decreasing the spot size, and verify the sample is
at a working distance of 8-10mm. Also lower kV operation will yield slightly poorer
resolution.
Manually Adjusting Brightness and Contrast
1.
Deselect
Stig
on
Knob Panel
if lit green
2.
Adjust using rotary controls.
3.
Adjustment may also be done manually with mouse (see software help files)
4.
If Brightness/Contrast is far off (saturated black or white) use
ACB
to do a coarse
adjustment, before fine tuning manually.
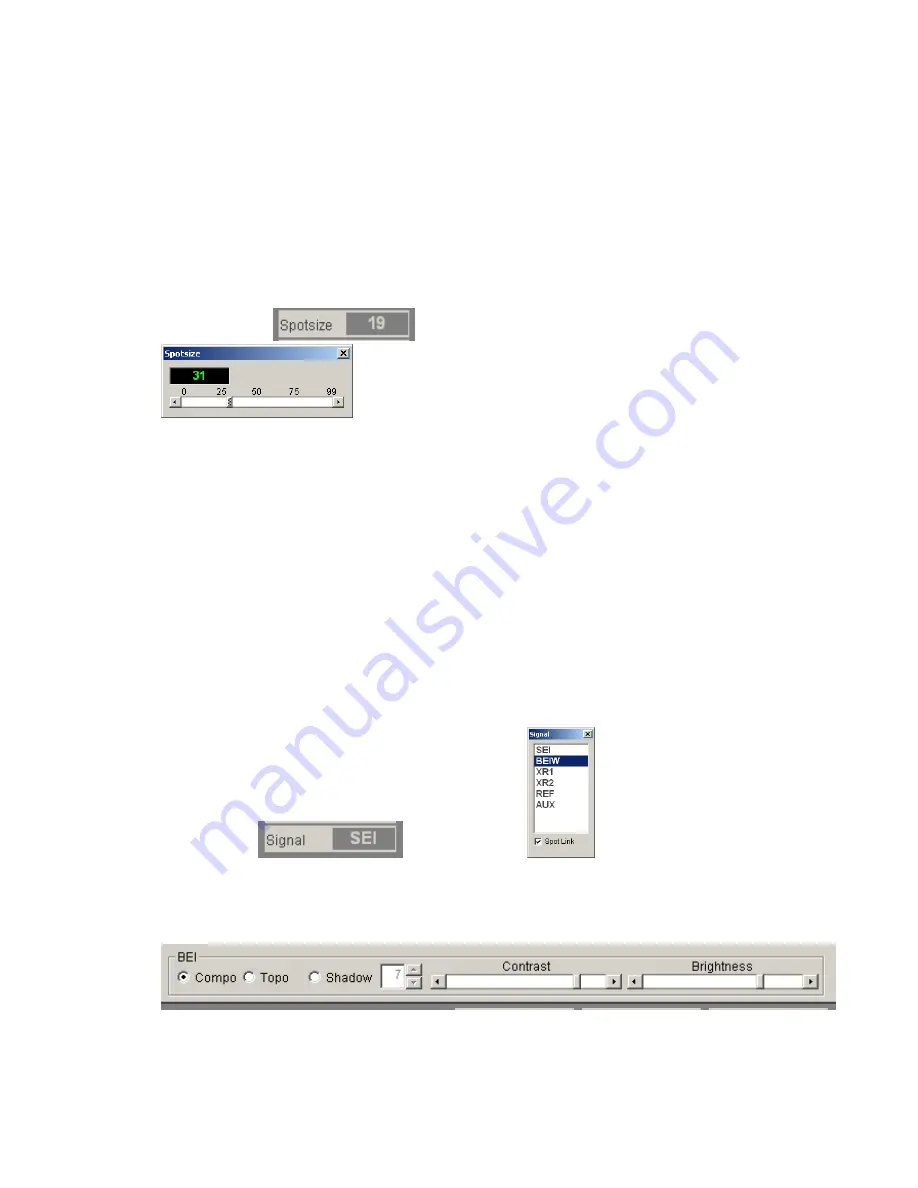
Selecting a Spot Size
1.
Click
Spotsize
(A dialog with a slider should appear)
2.
Adjust slider to desired spot size
3.
Very high (large) spot sizes should generally not be used (>60). They give poor
resolution and may damage your sample. They can be used if you know that’s what
you want.
A spot size of around 10 @ 30 kV is the condition the instrument provides it’s best
resolution (100 kX possible). This is a fairly noisy image even on a Au/C sample.
You must choose the spot size according to your sample and what level of resolution
you need. With too low of spot size you may be unnecessarily forcing yourself to
work with noisy images or having your saved images with extra noise.
Large spot size => higher e
-
current => more signal => less noise => poorer resolution
Small spot size => lower e
-
current => less signal => more noise => better resolution
Selecting the Image Signal
1.
Click
Signal
to get the dialog,
.
Double Click on
BEIW (backscattered electron image)
or
SEI (secondary electron
image).
None of the other choices are currently used.
2.
BEIW
has three modes (COMPO, TOPO, SHADOW). Shadow has a weighting
adjustment from 1 to 10. 10 giving the oblique c element the highest weight.
a.
COMPO
(a+b) – normal BSE image, compositional contrast
b.
TOPO
(a-b) – topographical image, potentially very noisy image unless the sample
has large topography


