


VR182
3
DISC NOTES
Depending on the recording status, conditions of the disc, and the equipment used for
recording, some CD-Rs/CD-RWs may not play on this unit. For more reliable playback, please
adhere to the following recommendations:
•
Use CD-RWs with speed 1x to 4x and write with speed 1x to 2x.
•
Use CD-Rs with speed 1x to 8x and write with speed 1x to 2x.
•
Do not play a CD-RW which has been written more than 5 times.
Compatible Disc Types
NOTE: CD-R and CD-RW discs will not play unless the recording session is closed and
the CD is finalized.
Disc Maintenance
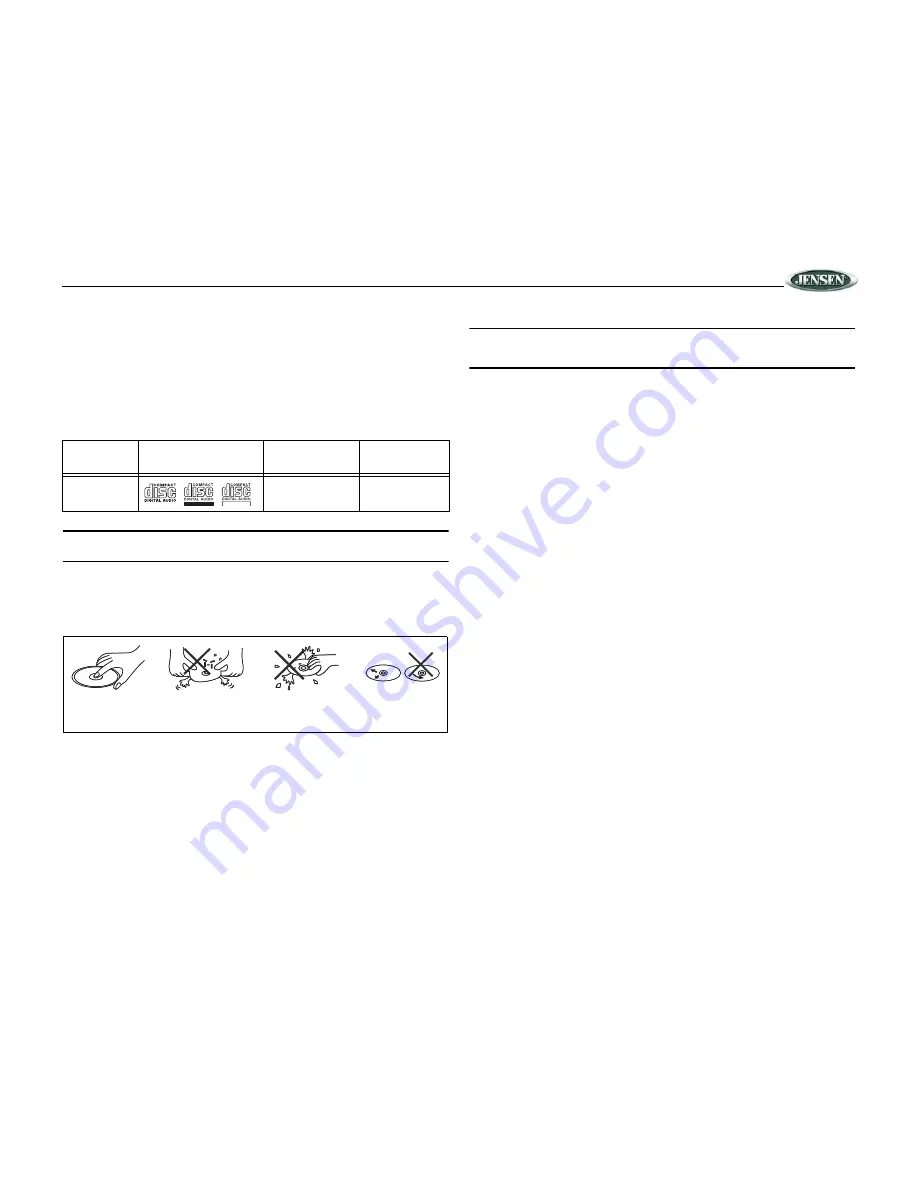
•
A dirty or defective disc may cause sound dropouts while playing. Before playing, wipe
the disc using a clean cloth, working from the center hole towards the outside edge.
Never use benzene, thinners, cleaning fluids, anti-static liquids or any other solvent.
•
Be sure to use only round CDs for this unit and do not use any special shape CDs. Use of
special shape CDs may cause the unit to malfunction.
•
Do not stick paper or tape on the disc. Do not use CDs with labels or stickers attached or
that have sticky residue from removed stickers.
•
Do not expose discs to direct sunlight or heat sources such as hot air-ducts, or leave them
in a vehicle parked in direct sunlight where there can be a considerable rise in
temperature inside the vehicle.
NOTE: A disc may become scratched (although not enough to make it unusable)
depending on how you handle it and other conditions in the usage environment. These
scratches are not an indication of a problem with the player.
Table 1: General Disc Information
Disc Type
Logo
Diameter/
Playable Sides
Playback Time
Audio CD
12 cm single side
74 minutes
REWRITABLE
RECORDABLE
Insert label
Do not bend.
Never touch
the under side
of the disc.
Wipe clean from
the center to the
edge.
side up.


