


VM9410
13
Adjusting a Feature
1.
Enter the option field for the feature you want to adjust
by pressing the
button (18) on the remote or by
pressing the
ENTER
(joystick) button (20) on the unit. A
submenu appears in a second row with the selected
option highlighted in light blue.
2.
Select a new value by pressing the
or
buttons (14,
22) on the remote control or the or buttons (18, 19)
on the joystick.
3.
Confirm your selection by pressing the
,
, or
buttons (14, 17, 19) on the remote control, or the or
button (16, 17) on the joystick. The new value is
highlighted in light blue and setup is complete.
Exiting the System Setup Menu
To exit setup mode and resume normal playback, press the
SYS SETUP
button (31) on the remote control or the
DSP
button (5) on the front panel.
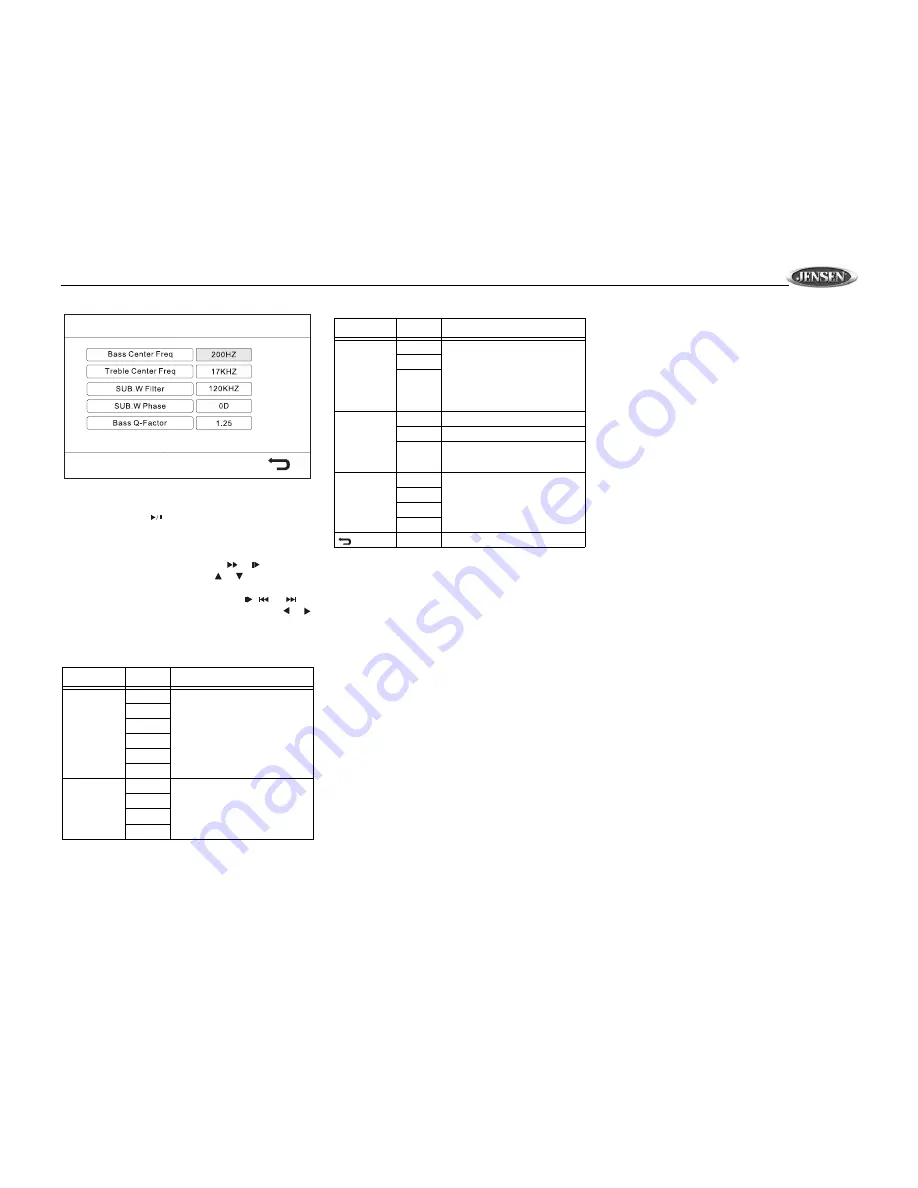
Table 8: ASP Config Menu Features
Setting
Options
Function
Bass Center
Freq
60Hz
According to the audio source, select
the Bass Center Frequency to
achieve the best Bass effect.
80Hz
100Hz
130Hz
150Hz
200Hz
Treble Center
Freq
10KHz
According to the audio source, select
the Treble Center Frequency to
achieve the best Treble effect.
12.5KHz
15KHz
17KHz
ASP Config
Sub.W Filter
80Hz
Selecting a crossover frequency sets
a cut-off frequency of the subwoofer's
LPF (low-pass filter) and the
“SMALL” speakers' HPF (high-pass
filter). The Crossover frequency set-
ting has no effect if the subwoofer is
set to “OFF” and any other speaker is
set to “LARGE”.
120Hz
160Hz
Sub.W Phase
0D
Subwoofer output IN phase
180D
Subwoofer output OUT OF phase
NOTE: Depending on your installa-
tion, reversing the subwoofer phase
may increase Bass output.
Bass Q-Factor
1.0
When the Bass Center Frequency is
selected, adjusting the Bass Q-Fac-
tor alters the sharpness of the Bass
output.
1.25
1.5
2.0
Return to previous menu
Table 8: ASP Config Menu Features
Setting
Options
Function


