EN-12
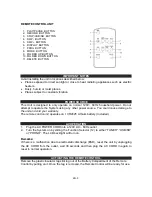
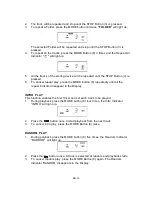
4. To start copying briefly press the RECORD Button (2) once. Flashing “CHE” will
appear briefly and disappear in the Display and copying will then start right away.
Note:
“CHE” means “CHECKING”. Every file to be copied will be checked before
copying starts.
Copying USB Files to Card Copying Card Files to USB
5. To stop copying, briefly press the STOP Button once.
DELETING FILES
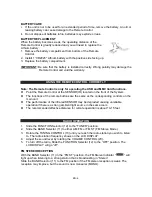
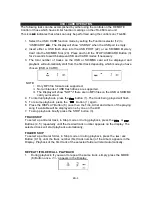
1. With the USB or Card in the playback stop mode, press or Buttons to
select the track to delete, for example track 5 is selected.
2. When the desired track appears in the Display press the DELETE Button(11) to
confirm. ‘
DEL
’ will flash few times and then disappear. The chosen track, ‘005’,
will appear and blink in the Display to prompt for confirmation. In case you want
to cancel the delete function just briefly press the STOP Button.
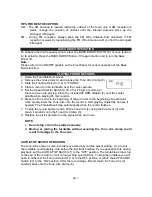
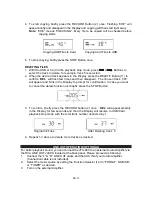
3. To confirm, briefly press the RECORD button (2) once. ‘
DEL
’ will appear steadily
in the Display for few seconds and then the Display will resume to USB/Card
playback stop mode with the total track number deducted by 1.
Original 38 Files After Deleting track 5
4. Repeat 1-3 above to delete more tracks as desired.
LINE OUT OPERATION (OPTIONAL)
For better playback sound, you can connect the JTA-460 to an external Audio Amplifier via
the RCA LINE OUT JACKS located at the back panel. Please proceed as following:
1.
Connect the “L” & “R” LINE OUT Jacks and the AUX IN of your Audio Amplifier.
(Connection cable is not included).
2.
Select the music source by setting the Function Selector (12) to “PHONO”, “USB/SD”
or “TUNER” as desired.
3.
Turn on the external Amplifier.


