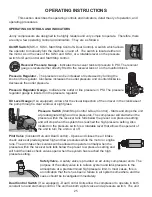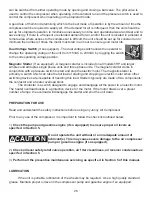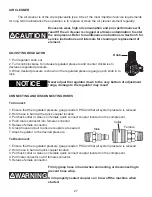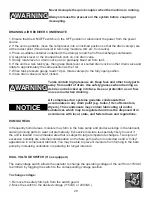
39
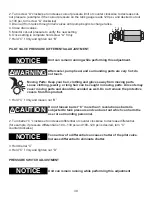
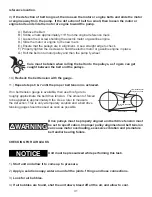
2. Turn screw “A” clockwise to increase cut-out pressure limit or counter clockwise to decrease cut-
out pressure. (example: if the cut-out pressure on the tank gauge reads 120 psi. and desired cut out
is 130 psi, turn screw “A” clockwise)
3. Drain air from tanks through drain valves until pump begins to charge tanks.
4. Close drain valves.
5. Monitor cut-out pressure to verify the new setting
6. Once setting is complete hold screw “A” f rmly
7. Hold “C” f rmly and tighten nut “B”
PILOT VALVE PRESSURE DIFFERENTIAL ADJUSTMENT
Unit can remain running while performing this adjustment.
Aftercooler, pump head, and surrounding parts are very hot; do
not touch.
Moving Parts: Keep your hair, clothing and gloves away from moving parts.
Loose clothing, jewelry, or long hair can be caught in moving parts. Air vents may
cover moving parts and should be avoided as well. Do not remove the protective
covers from this product.
1. Hold “C” f rmly and loosen nut “D”
Do not loosen barrel “C” more than 1 revolution as barrel is
subjected to tank pressure and can burst out which can harm the
user or surrounding personnel.
2. Turn barrel “C” clockwise to increase differential or counter clockwise to decrease differential.
(for example: if pressure differential is 100 –130 psi and 100–120 psi is desired, turn “C”
counterclockwise)
Too narrow of a differential can cause chatter of the pilot valve.
Increase differential to eliminate chatter.
3. Hold barrel “C”
4. Hold “C” f rmly and tighten nut “D”
PRESSURE SWITCH ADJUSTMENT
Unit can remain running while performing this adjustment
A
B
C
D
NOTICE
!
WARNING
CAUTION
!
NOTICE
NOTICE
Summary of Contents for Reciprocating Air Compressors
Page 4: ...4 Section 1 Safety and Health Instructions...
Page 14: ...14 Section 2 Introduction and Description...
Page 19: ...19 Section 3 Preparation for Use and Initial Installation Instructions...
Page 24: ...24 Section 4 Operating Instructions...
Page 36: ...36 Section 5 Maintenance Instructions...

