Basic Operations
DIGITAL
REC
DIGITAL
5
Picture1
Picture2
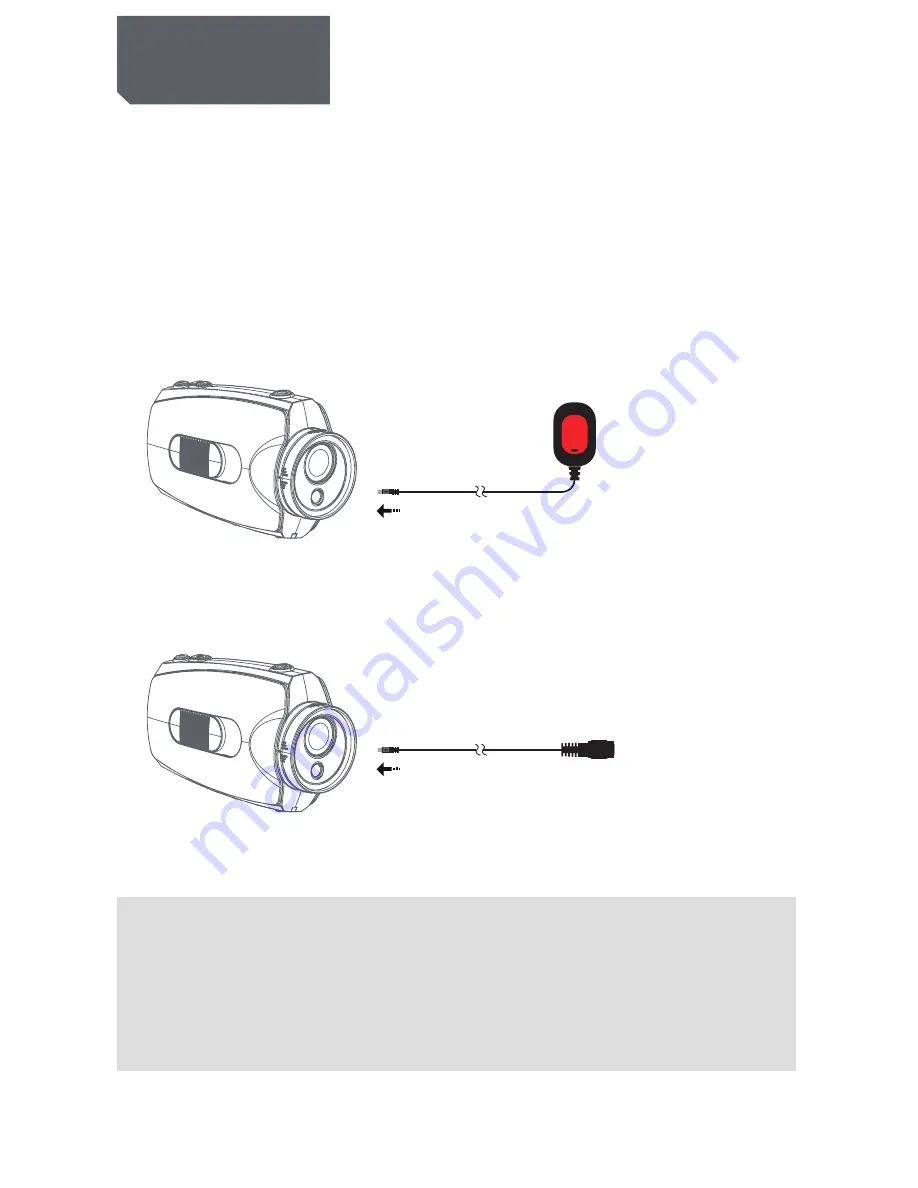
Start / stop Recording Via Wired Remote
Press [
⊙
] key ( hold for 2 seconds ) to power up the camera.
1. Connect wired remote to the DIGITAL interface of camera (Refer to picture 1)
2: Press
[
REC
]
key on the wired remote to start recording, recording indicator ( red ) turns
on and flashes when it is recording.
3. During recording, press
[
REC
]
key on wired remote again to stop, and recording indicator
turns off when camera stops recording.
Start / stop recording automatically by power-on wired remote.
1. Connect one end of power-on wired remote to the DIGITAL interface on the camera.
(Refer to picture 1)
2: Connect the other end of power-on wired remote to a 5V power source. (Refer to picture 2)
As long as the DC5V input is detected by camera it will start recording automatically.
During recording, if DC5V is stopped being detected by camera, then it will stop recording
automatically.
NOTE: 1. YOU MUST HAVE A WELL CHARGED BATTERY INSERTED IN TO THE CAMERA FOR THE AUTO
5V INPUT AUTO RECORD FUNCTION TO WORK CORRECTLY.
2. IN STANDBY MODE OR RECORDING MODE YOU CAN ENTER INTO REAL-TIME PREVIEW
IMAGES AFTER OPENING THE LCD.
3. IN STANDBY MODE OR RECORDING MODE YOU CAN ENTER INTO REAL-TIME PREVIEW BY
CONNECTING THE CAMERA TO OTHER DISPLAY DEVICES.
4. IN RECORDING MODE YOU CAN CONNECT AN EXTERNAL MIC TO ENHANCE AUDIO
RECORDING , AND EXTERNAL MIC AND INTERNAL MIC AUDIO RECORDING CAN BE MIXED.
Basic Operations


