Basic Operations
REC
4
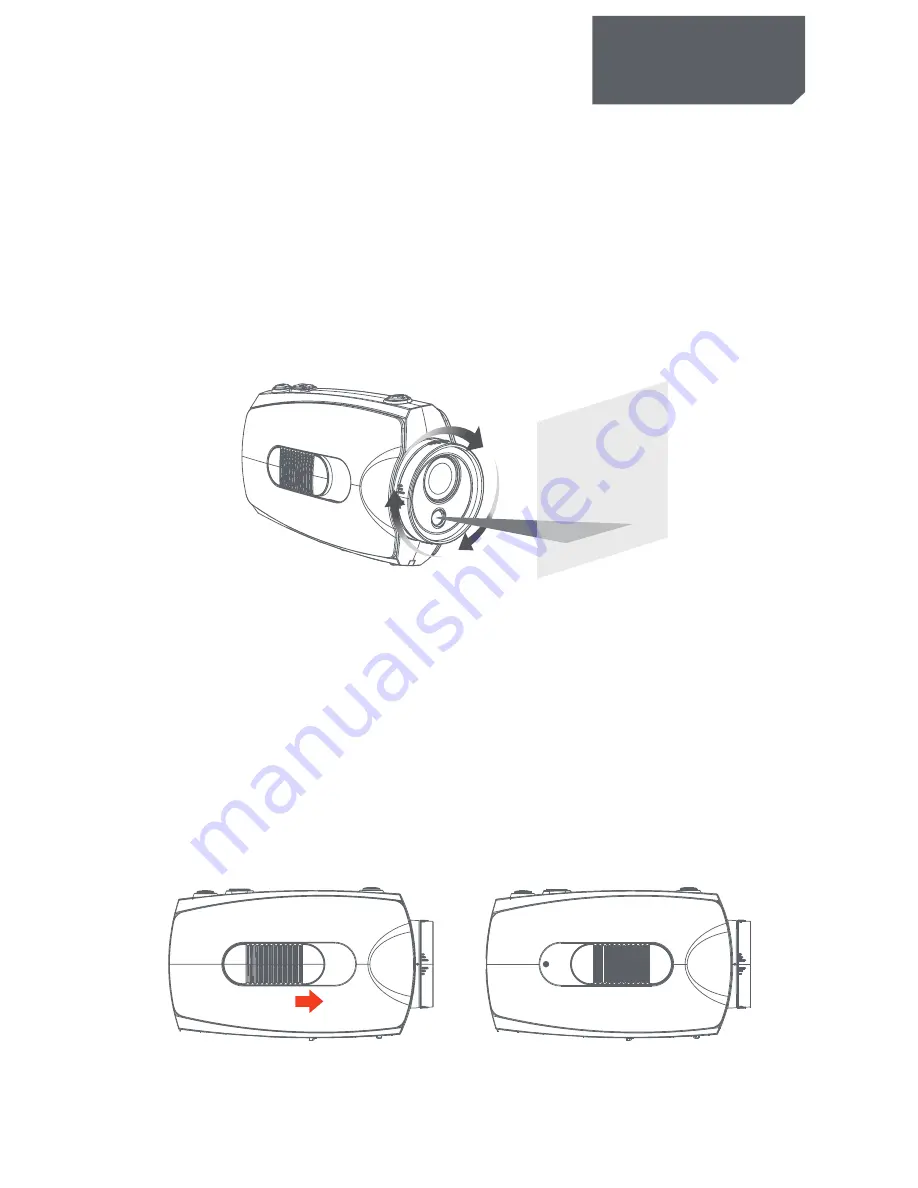
Picture1
Picture2
Picture3
Recording Instructions
1.Press [
⊙
] key and hold for 2 seconds to power up the camera.
2. Adjust the lens to the proper angle.
a) Face a blank surface and press [
⊙
] to turn on the lasers ( The lasers will disappear in 15
seconds). The laser can be turned on or off at any time with the laser light button.
b) Check whether the laser light is horizontally aligned. If not, rotate the lens until it is in
the horizontal state.
(
Refer to picture1
)
WARNING: DO NOT DIRECT THE LASER LIGHT INTO ANYBODY’S EYES
The indicator light glows green to indicate standby mode.
3. Start / stop recording
a) Slide the recording switch forward. The recording indicator ( red ) turns on and flashes
while camera beeps (These audio beeps can be turned off in the menu), and camera is
recording . (Refer to picture2)
b) To stop recording, slide the switch backwards, the camera beeps and the indicator light
turns green indicating standby mode. (Refer to picture3)
* With the LCD screen constantly on the battery will only last for approximately 30 minutes.
By pressing the LCD button the screen will turn off and then the battery will last for 2-3
hours. By pressing the LCD button for 2 seconds the camera will completely turn off.
* The LCD screen will shut off automatically 30 seconds after the camera starts recording,
and the LCD screen will also shut off automatically 60 seconds when in standby mode if
no keys pressed. It allows more time to the user for tuning the camera. But the LCD
won’t shut off during Playback mode.
Basic Operations