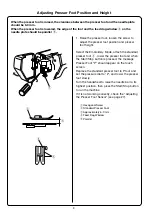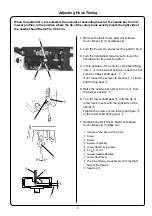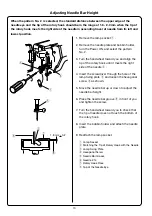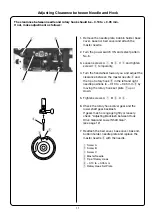
?
SET
Brightness
SEW TEST
Bobbin
Foot UD
Test
Clear EEPROM
8 Adjust
BH Sensor
Foot Sensor
Main
Ver.
Ver.
Slave
88888888
8 Adjust
OK
36
±
3
(A)
(A)
(B)
(B)
q
w
e
r
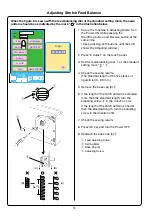
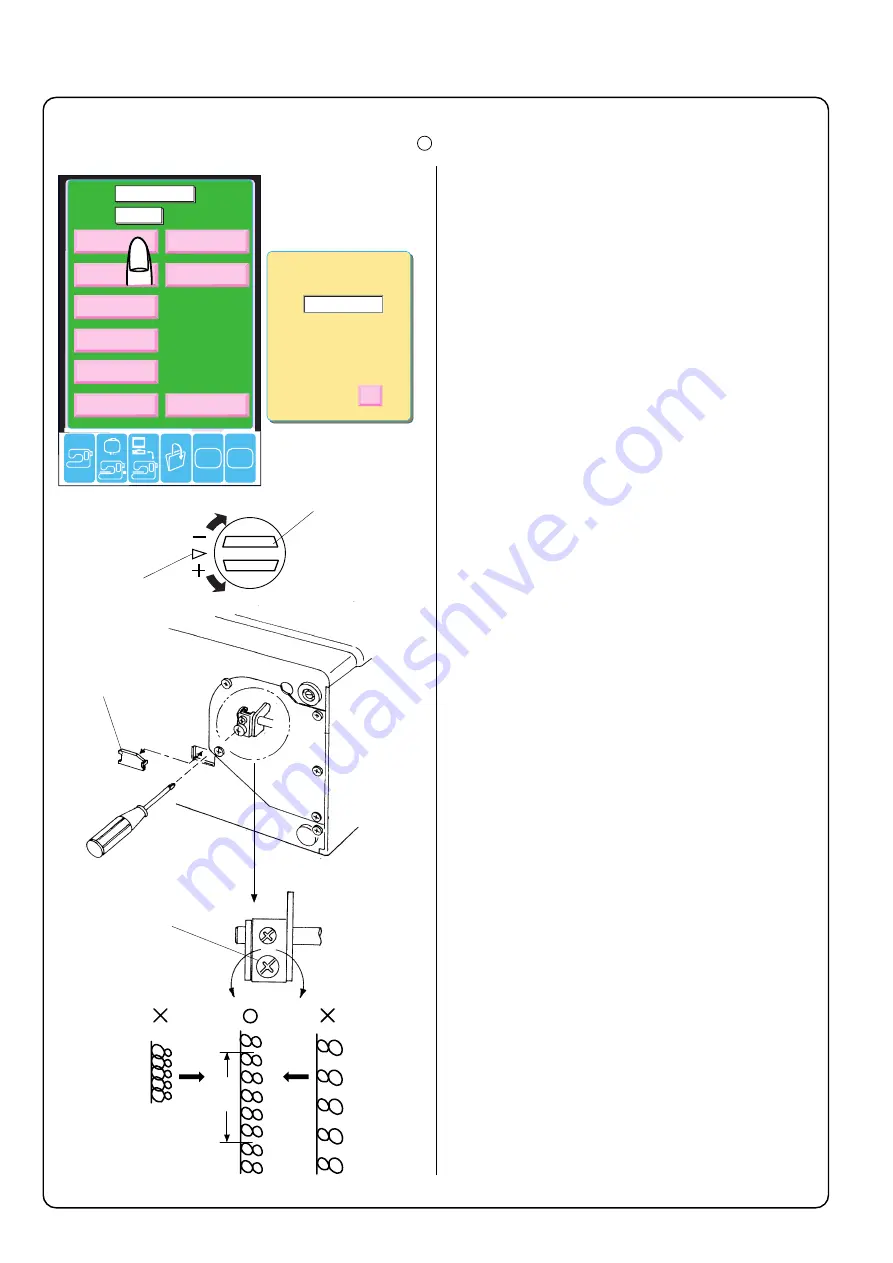
Adjusting Stretch Feed Balance
When the figure 8 is sewn with the feed balancing dial at the standard setting mark, the sewn
pattern should be as indicated by the mark “ ” in the illustration below.
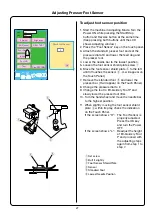
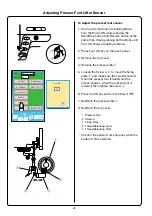
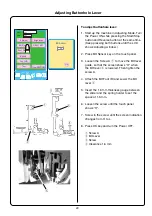
1. Set up the machine in Adjusting Mode. Turn
the Power ON while pressing the
Start/Stop button and Reverse button at the
same time.
( Keep pressing both buttons until the LCD
shows the Adjusting window.)
2. Press “8 Adjust” on the touch panel.
3. Set the feed balancing dial
q
at the standard
setting mark “ ”
w
.
4. Check the sewing results.
(The standard length of the five pieces of
figure 8 is 33 - 39 mm.)
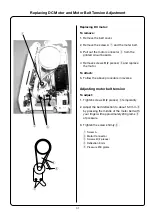
5. Remove the base cap (3)
e
.
6. If the length of the stitch pattern is extended
more than the standard length, turn the
adjusting screw
r
in the direction of A.
If the length of the stitch pattern is shorter
than the standard length, turn the adjusting
screw in the direction of B.
7. Check the sewing results.
8. Press OK key and turn the Power OFF.
9. Reattach the base cap (3)
e
.
q
Feed Adjusting Knob
w
Setting Mark
e
Base Cap (3)
r
Adjusting Screw
Å¢
18
Summary of Contents for Memory Craft 10001
Page 1: ...SERVICING MANUAL...
Page 42: ...40...

