56
b
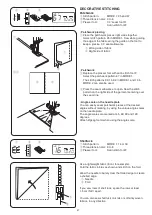
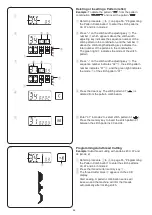
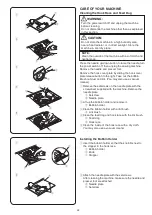
Enter “31” in mode 2 to select stitch pattern 31 ( ).
Press the memory key to insert the stitch pattern 31
between the stitch patterns 33 and 34.
c
Press “–” on the stitch width adjusting key
q
. The
sequence number indicates “02”
t
, the stitch pattern
number indicates “37”
y
, and the green light indicates
the mode
u
of the stitch pattern “37”.
Programming Auto-thread Cutting
Example:
Auto-thread cutting with patterns #33, 37 and
34 (mode 2)
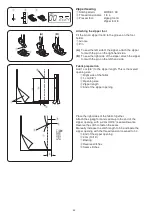
z
Refer to procedure
z
to
v
on page 55, “Programming
the Pattern Combination” to enter the stitch patterns
33, 37 and 34 in mode 2.
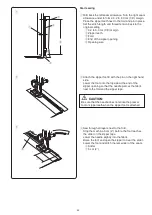
x
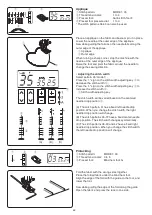
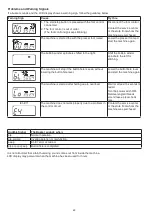
Press the thread cutter memory key
q
.
c
The thread cutter mark
w
appears on the LCD
display.
Start sewing. A pattern combination series will
be sewn and the machine will trim the threads
automatically after locking stitch.
w
Deleting or Inserting a Pattern (letter)
Example: To delete the pattern “ ” from the pattern
combination “ ”
and insert the pattern “ ”.
z
Refer to procedure
z
to
v
on page 55, “Programming
the Pattern Combination” to enter the stitch patterns
33, 37 and 34 in mode 2.
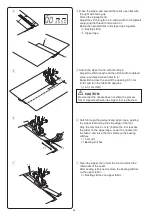
x
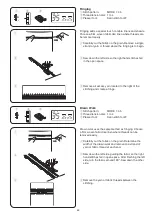
Press “–” on the stitch width adjusting key
q
. The
number
w
which appears above the stitch width
adjusting key indicates the sequence number of the
stitch pattern in the combination, and the number
e
above the stitch length adjusting key indicates the
total number of the pattens in the combination.
The green light
r
indicates the mode of the stitch
pattern.
z
w
t
y
x
e
q
c
v
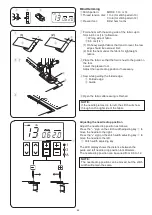
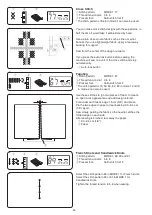
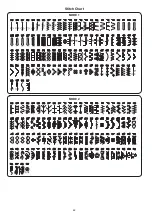
Press the clear key. The stitch pattern 37 ( ) is
deleted from the pattern combination.
v
b
q
r
q
u
Summary of Contents for DM7200
Page 1: ...Instruction Book ...
Page 2: ......
Page 64: ...62 Stitch Chart MODE 1 MODE 2 ...
Page 65: ...63 Stitch Chart MODE A MODE Á ...
Page 66: ......
Page 67: ......
Page 68: ...812 800 021 EN ...

