3-3
Step 2
Press the
Menu
key, the
# 1
key and
Enter
. At this point, the unit of mea-
surement will automatically change to
feet. You can then select the vehicle
number that this calibration will be
for by using the 1 through 4 numeric
keys.
Step 3
Once the vehicle number has been se-
lected, press
Enter
. Key in the course
length (in feet) to be used for the cali-
bration using the number keys, then
press
Enter
again.
Step 4
Using a reference point on your vehicle (i.e. the window post, door handle,
your shoulder, etc.), align your vehicle to the beginning course marker.
Step 5
Press the
CH
key and drive away. As you drive,
the pulses received from the vehicle are being
shown in D-1. This is not the distance being
traveled, so don't panic when the display doesn't
equal the actual length of your calibration course.
When you reach the end of the course, stop your
vehicle so you are exactly aligned (using the same
reference point in the vehicle) with the end course marker.
Step 6
Press the
CH
key. The calibration factor
will then be shown in D-1. You should
record the calibration number, vehicle
number and date in the Appendix of this
manual on page A-7. It is also recom-
mended that you put this same informa-
tion on a piece of tape attached to the
inside of the vehicle's glove box. Proceed to Step 7 on the next page.
Chapter 3 — Calibration
If your RAC does
not count during the
calibration procedure,
refer to the trouble-
shooting section on the
next page.
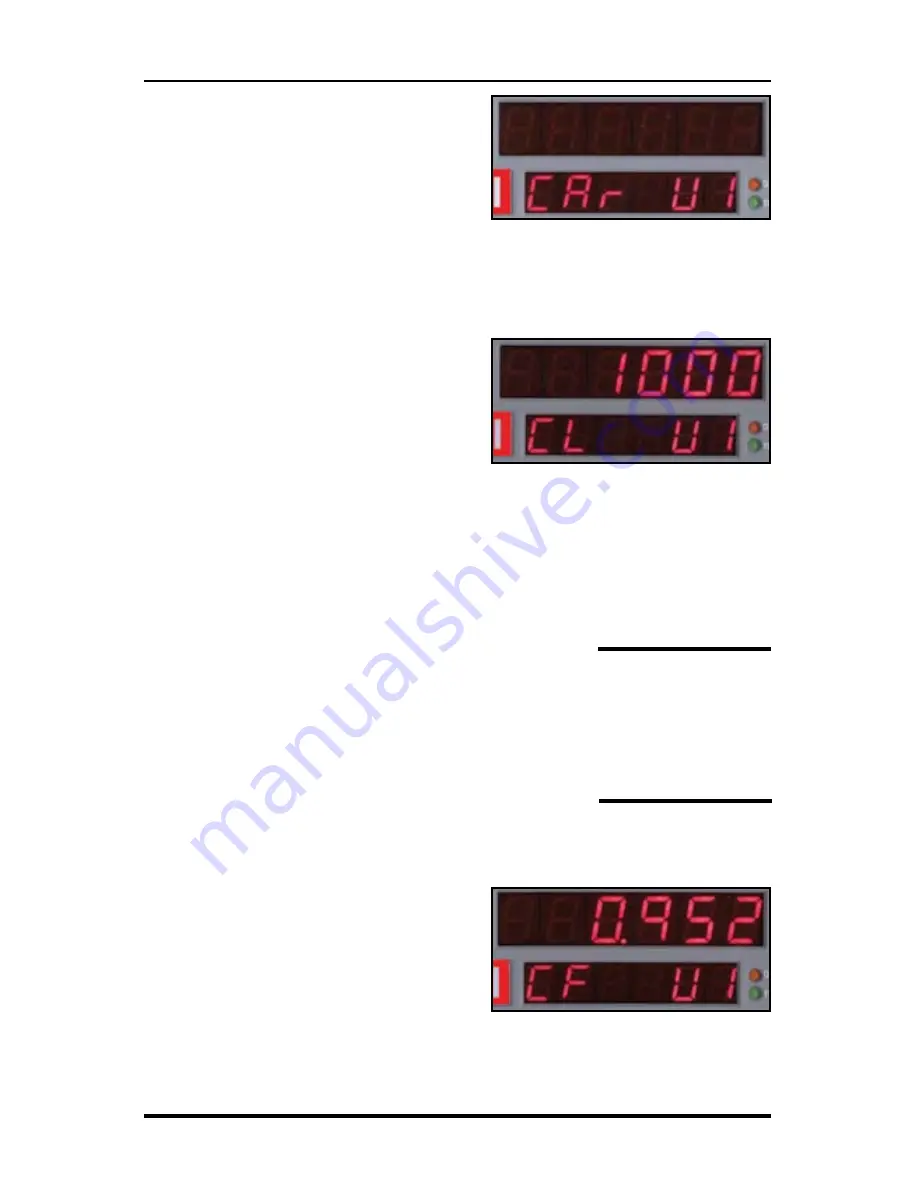
Fig. 3.2
Vehicle Number Selection
Fig. 3.3 - Enter Course Length
Fig. 3.4
Calibration Number Displayed
Summary of Contents for RAC Plus I
Page 1: ...i RAC Plus I User s Manual ...
Page 6: ...RAC Plus I User s Manual vi ...
Page 7: ...1 1 Chapter 1 Introduction to the RAC Plus I Chapter 1 Introduction to the RAC Plus I ...
Page 10: ...RAC Plus I User s Manual 1 4 ...
Page 11: ...2 1 Chapter 2 Installation Chapter 2 Installation ...
Page 27: ...3 1 Chapter 3 Calibration Chapter 3 Calibration ...
Page 35: ...4 1 Chapter 4 Key Functions Operating Procedures Chapter 4 Key Functions Operating Procedures ...
Page 45: ...5 1 Chapter 5 Troubleshooting Chapter 5 Troubleshooting ...
Page 49: ...A 1 Appendix Appendix ...
Page 55: ...A 7 ...
Page 56: ...RAC Plus I User s Manual A 8 ...


