28
Jacuzzi Europe S.p.A.
© 2023
Jacuzzi Europe S.p.A.
© 2023
additional load on the edge of the tub when people are getting
in and out. These supports must be placed during installation.
P
Because of the large amount of water contained, it is
indispensable to install these supports, without which
the tub could be irreparably damaged.
Q
I
STALLATION AND HYDRAULIC CONNECTION OF THE SPA
-
PAK
(
AND OF THE COMPENSATION TANK WHERE RELEVANT
)
Housing in the most suitable position for the system operator must
be carried out following the instructions provided on the preinstal-
lation sheet provided with the product. The connections required
for the system are described below. For a component description re-
fer to the preinstallation sheet.
(
Alimia, Sienna, Virginia, Enjoy:
2, 2a, 3, 3a
;
Profile Pro:
2
;
Virtus Pro:
2a, 2b, 2c
).
X
Connect the low-point drain of the hot-tub
(equipped with
PVC ball valve)
to the ground drainage point. During installation,
it will also be necessary to perform an inspection before connec-
tion to the main drainage pipe.
NOTE:
if the valve attached to the low-point drain is not easily
accessible, we recommend that you install one near the drainage
point.
X
(Alimia, Sienna, Virginia, Enjoy, Virtus Pro without integrated
compensation tanks models)
Connect the pipes of the overflow
channel to the compensation tank. Make sure they are posi-
tioned with an inclination that is sufficient for water runoff (with-
out creating siphons). Avoid curves as much as possible.
X
(all models)
Connect the overflow of the compensation tank
to the general drainage system.
Alimia, Sienna, Virginia, Enjoy, Virtus Pro without integrated
compensation tanks models) It is indispensable for the over-
flow of the compensation tank to be lower than the overflow
channel. This ensures operation of the system, since excess
water in the hot-tub flow into the compensation tank by
gravity.
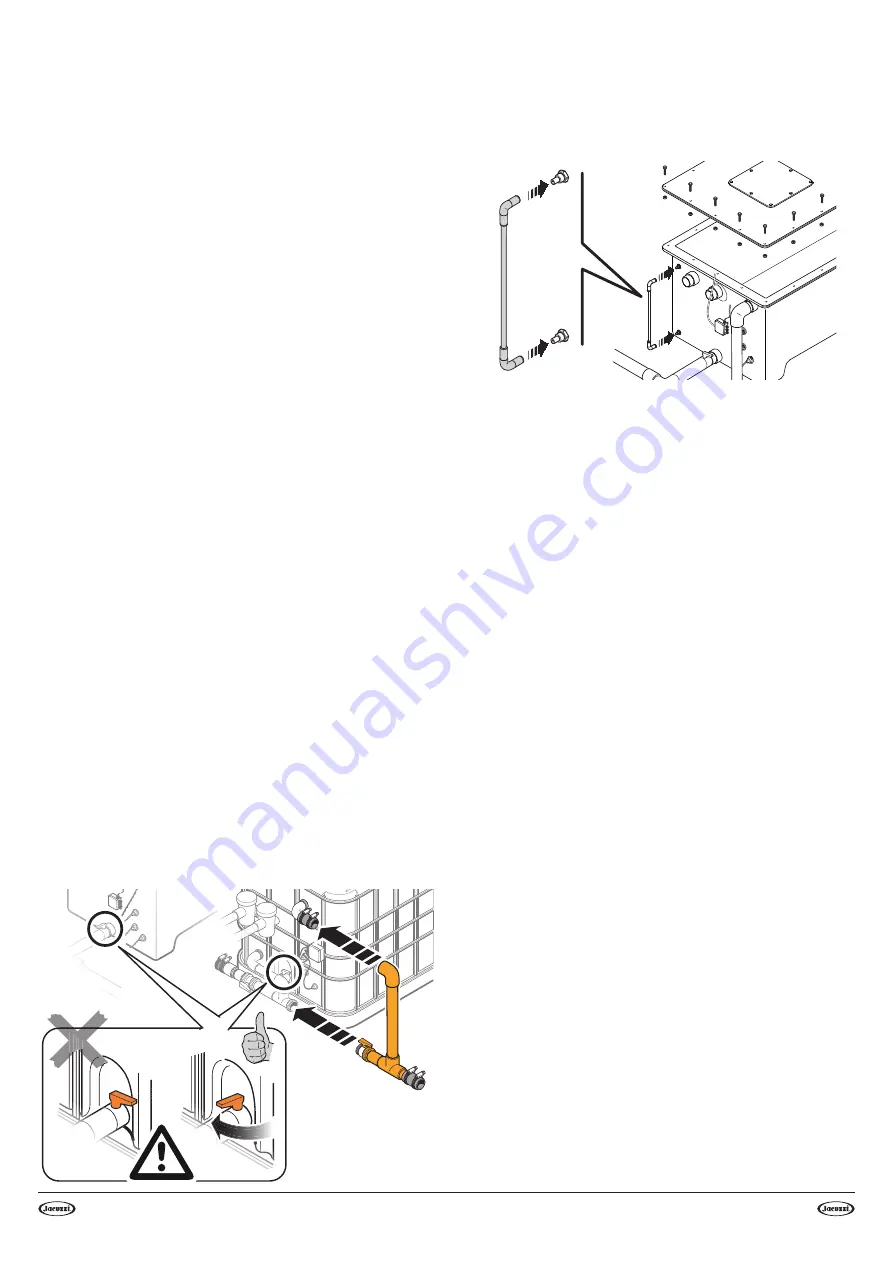
X
(models with standard compensation tank)
Connect the over-
flow pipe to the compensation tank.
VC
VC
X
(all models)
P
The "VC" valve must always remain open.
X
Low compensation tank (where present, make the connec-
tion shown):
T
X
(all models)
Connect the solenoid valve for filling of the com-
pensation tank (3/4” attachment) to the water mains, installing
upstream a safety gate valve.
X
(Profile Pro, Virtus Pro with integrated compensation tanks
models)
Connect the compensation tank drain to the ground
drainage point.
X
(Alimia, Sienna, Virginia, Enjoy, Virtus Pro without integrated
compensation tanks models)
Connect the suction pipe from the
bottom of the tub (3) to the suction pipe of the compensation
tank, providing both of them with a PVC ball valve, which must
be placed where it is accessible to the system manager).
NOTE:
(Alimia, Sienna, Virginia, Enjoy)
to ensure rapid refilling of
the water in the hot-tub, the ball valve on the suction line of the
compensation tank must be left completely open, while the valve
on the suction line of the hot-tub must be open only partially.
X
(Alimia, Sienna, Virginia, Enjoy, Virtus Pro without integrated
compensation tanks models)
Connect the two pipes (7) and (8) to
the pre-filter of the filtering pump, placing between them a PVC
ball valve.
(Profile Pro model):
connect pipe no. 11.
(Virtus Pro with integrated compensation tanks model):
connect
pipe no. 7.
X
Connect the return pipe of the filtered water to the connec-
tion on the outlet of the filter, providing it with PVC ball valve(s)
(if the system is equipped with an electric heater or a heat exchang-
er, the connection will be installed at its outlet).
NOTE:
before making any plumbing connection to the filter, fill it
with the provided quartz sand (refer to relative chapter).
X
If required, install the ozonator (optional) as indicated in
1
of this manual
(all components are included):
- glue to the T fittings (a) the reductions (b) and the pipe holder
(c).
- on the fitting that will be connected to the heater, also glue the
section of pipe (e).


