13
Normally, you can control music playback with the PLAY/PAUSE,
and
button on the
apparatus. Please Note: Not all buttons/functions will work on all devices.
Listening to a Cassette Tape
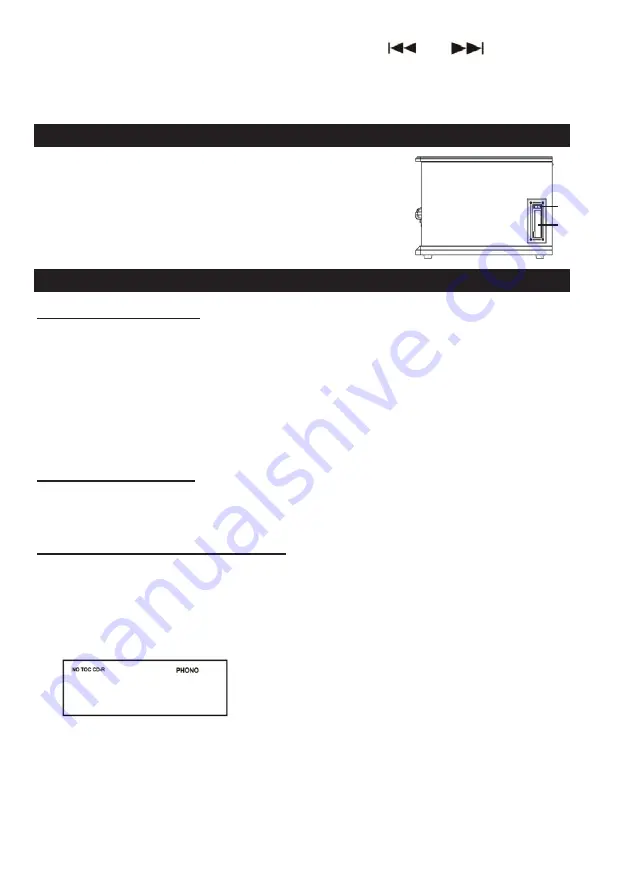
1. Load an audio cassette tape into the unit (located on the
Right side of the unit). Playback will automatically begin.
2. Press button halfway to Fast Forward the tape.
Press button lightly and playback will resume.
3. Press button completely down to end playback and eject Tape.
Recording to a CD-R / CD-RW
About CD-R and CD-RW discs
- CD-R discs can be recorded once only, and cannot be erased or re-recorded. However, if space is
available on the disc (and the disc has not been finalized), additional material can be recorded.
- CD-RW discs allow you unfinalize the disc, and erase the last track or the entire CD. They may be
reused for new recordings.
Note:
CD-RW discs may not play correctly on every CD-player. CD-R, by contrast, are playable on
most CD players.
Important:
Never turn the power off or unplug the power cord while “--- busy” is displayed.
Whenever “--- busy” is displayed, all buttons will be temporarily deactivated.
Please read through all the steps below before beginning your recording.
BEFORE RECORDING
Audio from the PHONO, TAPE ,USB, AUX or Bluetoot
Note: When USB record to CD, songs format must be MP3 format and bit rate could not less
than 128kbps. If the format is not MP3, the display will show “Err”.
h sources can be recorded on the CD recorder.
Prepare the audio source for recording
1. Select the desired audio recording source by pressing the corresponding selector button.
(“PHONO,” “TAPE,” “CD/USB” or “AUX/Bluetooth”)
2. Prepare the appropriate audio source for normal play (external audio device / vinyl record /
cassette tape).
3. Load a CD-R / CD-RW and close the CD tray.
4. Make sure “NO TOC” and “CD-R”(or “CD-RW’) appear on the top left of the display. If they do not
appear, recording functions will not work.
Note:
“NO TOC” is an abbreviation of “No table of contents,”
indicating a blank CD.
1
2/3


