18
Installing The Post Caps
•
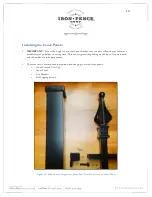
This step can be done before or after installing the fence panels. Part of your order in the install kit is a
tube of exterior rated adhesive. You will need a caulk gun to apply the adhesive.
•
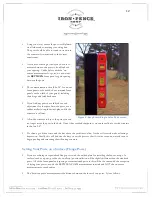
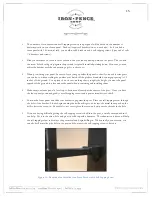
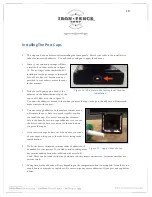
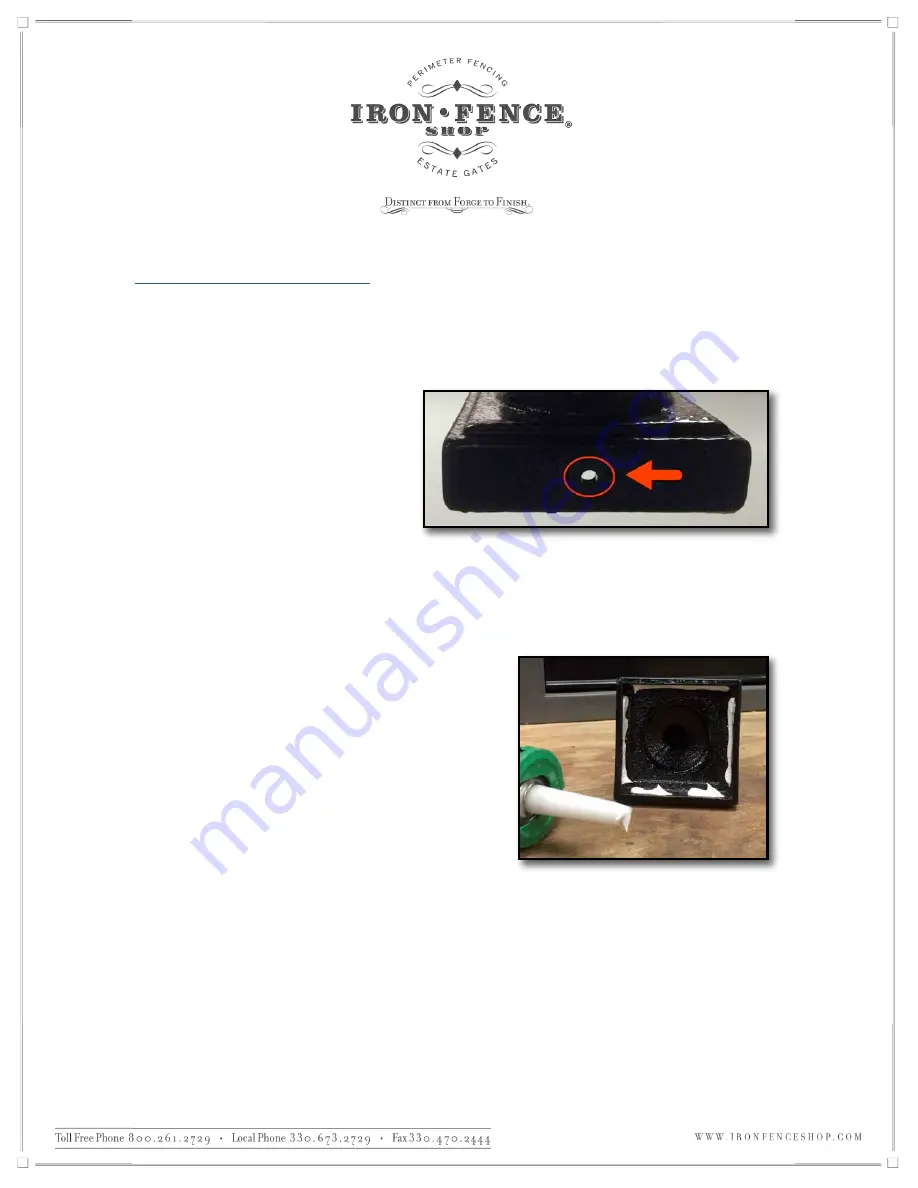
Some of our cast iron post caps still have
a small hole on them as shown in figure
14. We no longer utilize that method of
installation for the post caps so that small
hole will not be used. Screws were not
provided in your order to secure the caps
in that manner.
•
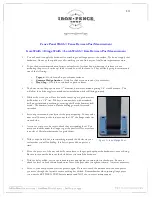
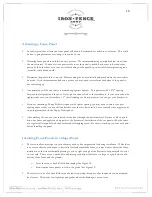
With the caulk gun, apply a bead of the
adhesive on the underside inner lip of the
cap on all 4 sides as shown in figure 15.
You want the adhesive oriented so that when you press the cap on the post, the adhesive will smear and
make contact with the post.
•
You want enough adhesive on the surface to make sure it
will contact the post, but not so much it spills out when
you install the cap. If your cast iron cap has the screw
hole in the base, be sure to not put adhesive over or near
the hole so that it does not come out of that hole when
you press the cap on.
•
If your cast iron caps do have the hole, be sure you orient
all your caps on the posts so that the hole is facing in the
same direction.
•
We do our best to estimate how many tubes of adhesive will
be needed for your project. If you find yourself needing more,
any exterior rated adhesive that will bond with metal will
work. These can be found easily at any hardware or home improvement store. Just make sure they are
exterior rated.
•
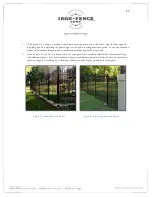
Curing time for the adhesive will vary depending on the temperature when it was applied. It could dry in a
couple hours or may take a couple days. Be sure to wipe any excess adhesive off your post and cap before
it dries.
Figure 14 - This Hole in the Casting is not Used for
Installation
Figure. 15 - Apply Under the Cap

