11
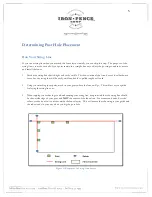
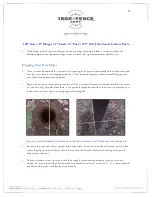
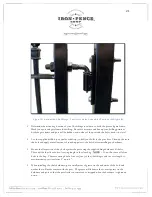
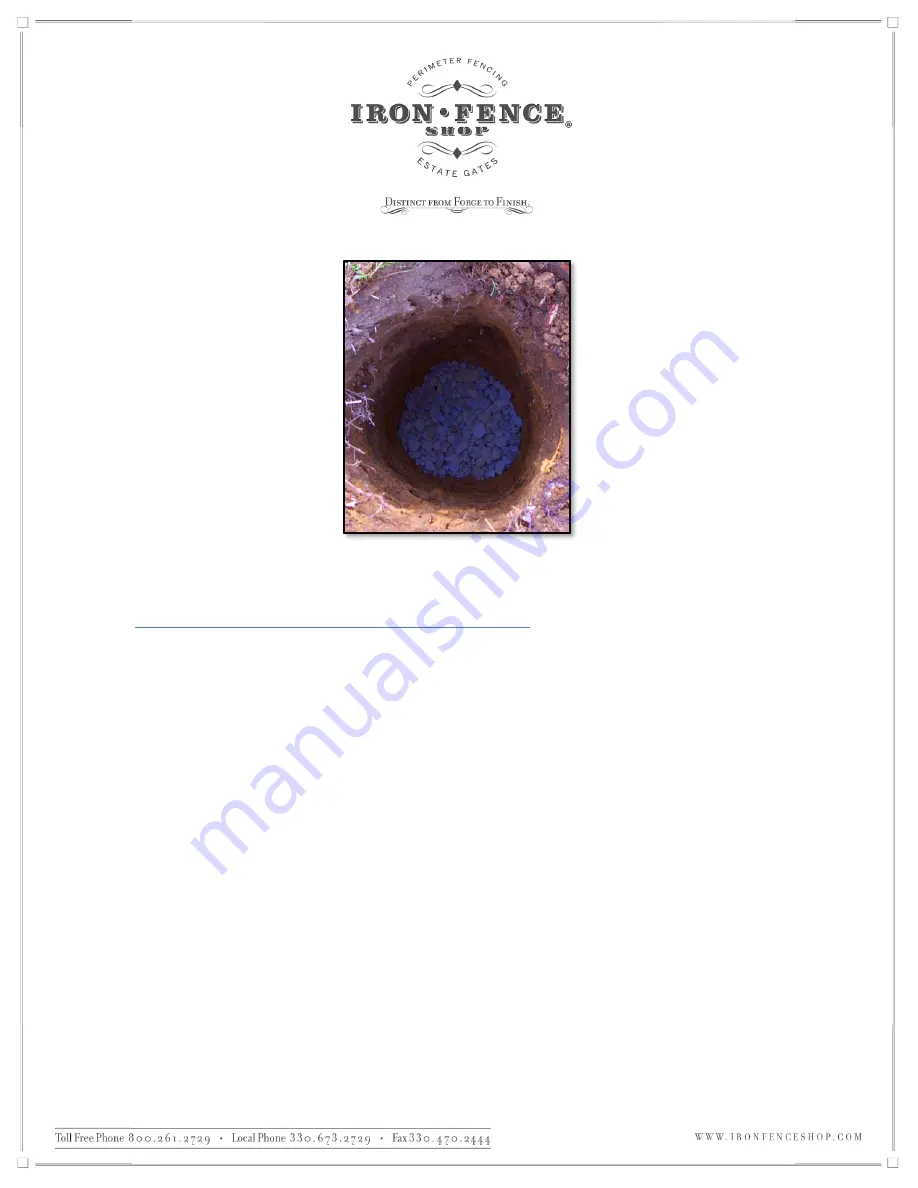
Figure 7 - Adding Gravel to the Bottom of the Hole is Not Required, but Can Be Beneficial
Setting Your Posts in Concrete (Standard Posts)
•
Once all of your fence post holes are dug, you can begin placing the posts in concrete. Start by mixing
your concrete. We recommend following the manufacturer’s mixing guidelines and NOT using the ‘dry
bag’ method of placing dry concrete mix in the ground and pouring water on top.
•
You want to mix your concrete so it has a thick consistency. The concrete should roughly have the
consistency of chunky peanut butter so that it will hold the post upright in the hole without additional
support.
•
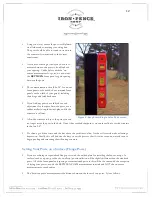
Once mixed, start on a corner or end in your layout. Before you set your post into the hole, look on all 4
sides for a seam running up the post. It may be hard to see without angling the post in the light. When
orienting your post in the hole, make sure that seam is pointing inward or outward on your property for all
the posts. You do not want that seam to be on the side of the post where you are attaching the bracket.
•
Set your post in the hole and fill it roughly 1/2 of the way up with concrete. Make sure the position of the
post is such that it is touching your string line.
•
Once you feel good about the post positioning, pour or shovel more concrete into the hole. Leave
roughly to 2-3 inches from the top of the hole to the concrete. This will allow you to later cover the
concrete footing with dirt and allow grass to grow around the post.


