Page
9
of
28
Iridium Axcesspoint and Iridium Axcesspoint Mail & Web User Manual
address
here).
Remote
Password:
Enter
the
Password
of
the
account
to
be
fetched.
Server
Name:
Enter
the
remote
server
name
as
provided
by
the
ISP
managing
the
remote
server.
This
will
be
automatically
populated
if
the
provider
is
selected
in
the
mailbox
type.
TCP
Port:
Enter
the
remote
server
port
number
as
provided
by
the
ISP
managing
the
remote
server.
This
will
be
automatically
populated
if
the
provider
is
selected
in
the
mailbox
type.
Enable
SSL
if
required
by
the
ISP
managing
the
remote
server.
Click
<OK>
Fetch
set
‐
up
is
complete.
Fetching
requires
two
connections
to
complete
the
transfer.
The
first
connection
instructs
the
server
to
go
fetch
the
remote
email.
The
second
connection
is
when
the
fetched
will
be
downloaded.
If
the
option
is
set
to
“Fetch
Asynchronously”
it
will
complete
these
steps
during
two
separate
sessions.
If
you
want
to
fetch
and
download
during
one
session,
uncheck
this
setting
so
it
will
occur
during
your
same
session
(note:
this
will
take
approximately
1
to
5
minutes).
9.
Iridium
AxcessPoint
Use
To
use
Iridium
AxcessPoint
Mail,
follow
these
instructions:
Creating
an
Open
Iridium
AxcessPoint
&
Web
Click
on
the
icon
Click
on
<New
Email>
to
create
a
new
messages
Once
composition
of
is
completed,
click
the
<Send>
button
The
new
is
moved
to
the
Sent
folder
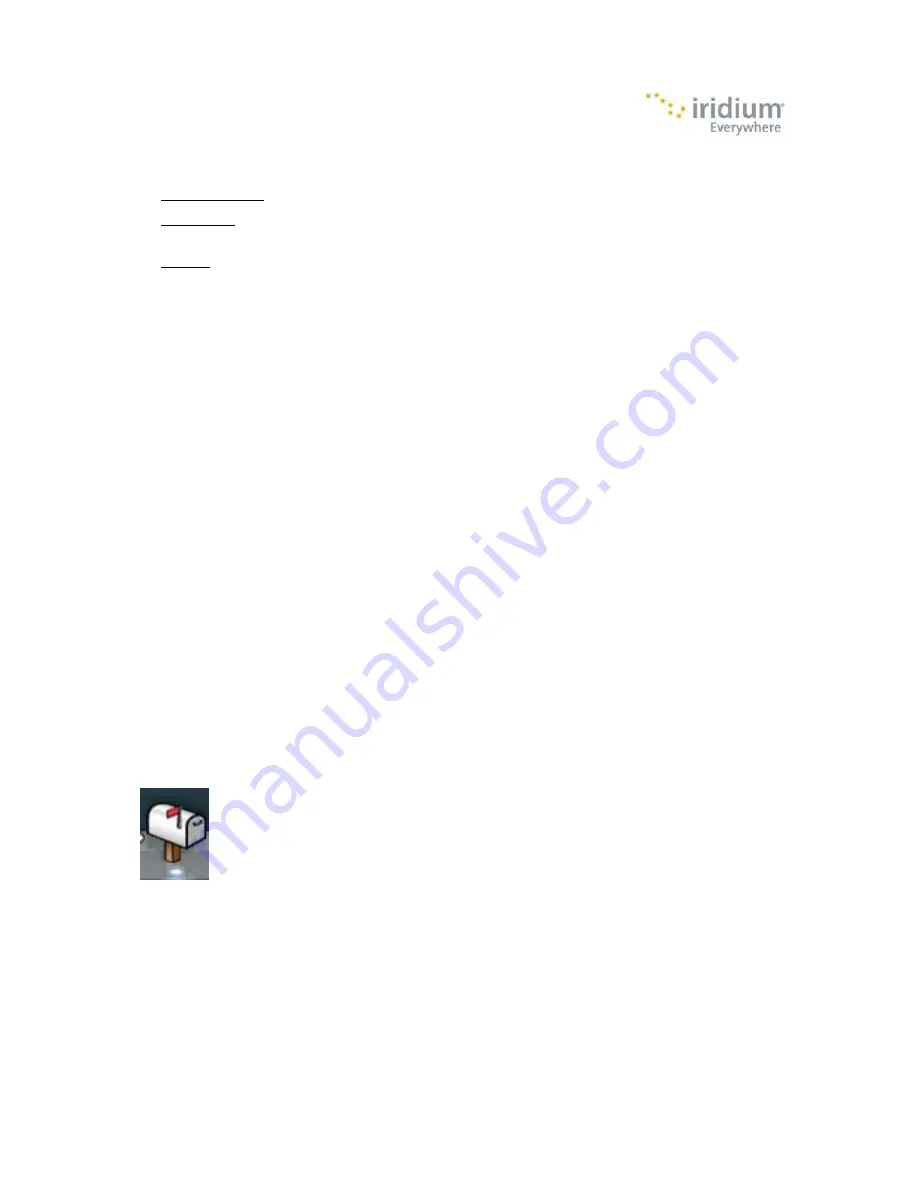
The
mailbox
icon
in
the
System
tray
will
show
a
red
flag
to
notify
you
that
there’s
an
waiting
in
the
Outbox
to
be
sent
when
the
next
Iridium
connection
is
made.
The
new
will
sit
in
the
Iridium
AxcessPoint
'Outbox'
you
make
yournext
Iridium
connection.
Once
connected
to
the
Iridium
network,
Iridium
automatically
sends
the
emails
in
queue.
You
can
see
the
list
of
emails
waiting
to
be
sent
by
clicking
on
the
<Spool>
icon
in
AxcessPoint
Mail.
This
will
open
the
View
box
which
lists
the
emails
waiting
in
queue
for
sending.
Summary of Contents for Axcess Point
Page 1: ......


