background image

13

12

Good

Bad

Touch the contact-sensitive Pen tip 

onto the screen surface.

Press the green button.

25

Using It

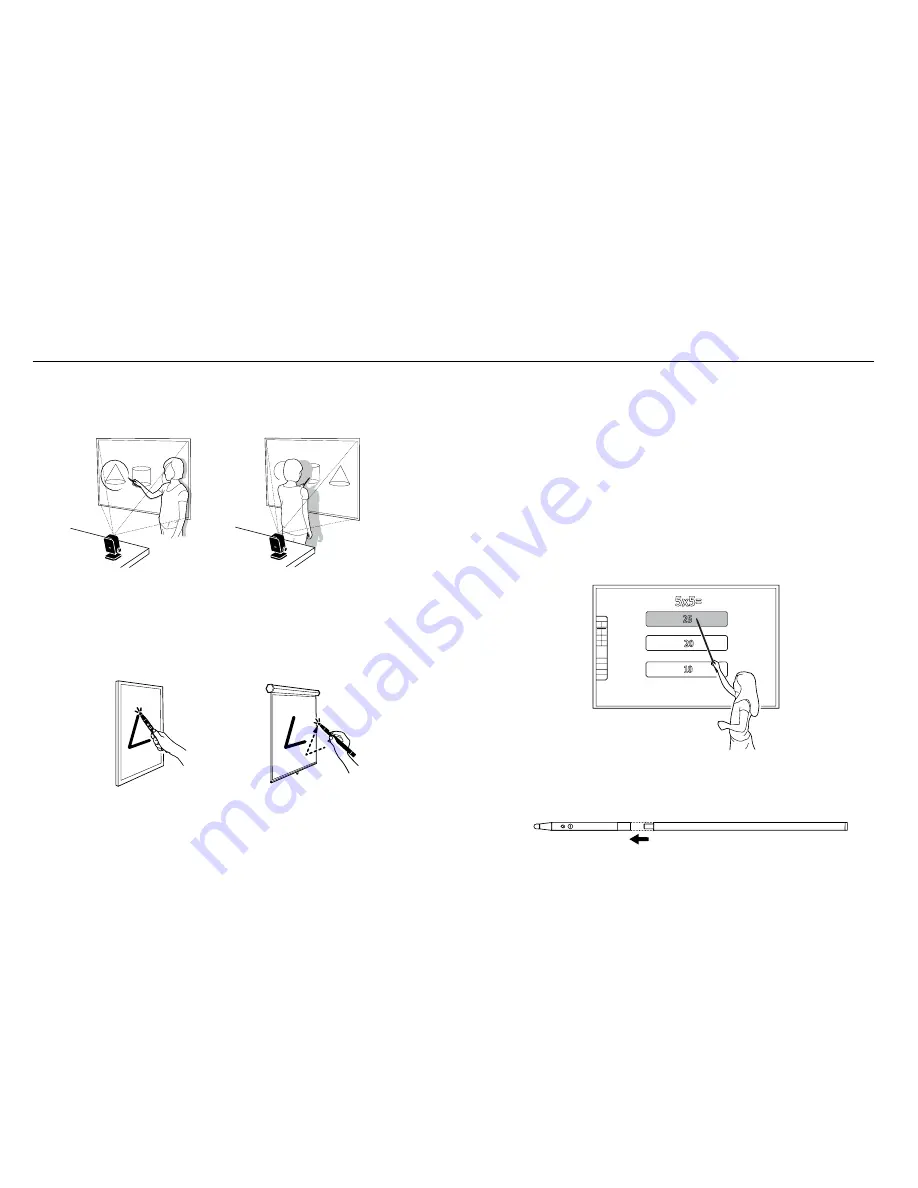
Controlling cursor movement

Simply move the Pen in front of the screen area, being careful not to block the Pen’s path to the 
Sensor Cam with your body. The mouse cursor will follow the Pen’s movement in real time.

Controlling the computer and applications

Mouse clicks can be performed both within the operating system and in a wide variety of
software applications. To do so, use either of two methods:

A variety of mouse controls are possible using these methods:
Left click: 

Tap the tip onto the surface, or press the IPEVO button once.

Double click:

 Quickly tap the tip onto the surface twice, or press the IPEVO button twice.

Right click:

 Press and hold the tip onto the surface, or press and hold the IPEVO button. Hold 

for at least 2 seconds.

Click and drag:

 Press and hold the tip onto the surface, or press and hold the IPEVO button. 

While doing so, move the pen to the desired spot.

Adding reach with the Extension Wand (Optional Accessory)

When using a larger or taller screen, attach the Extension Wand Accessory to the Interactive 
Pen to help reach all areas of the screen. The 16.5” (420 mm) Extension Wand for Interactive 
Pen is available at www.ipevo.com

Installing the Extension Wand

Simply push the Extension Wand into the bottom of the Interactive Pen till you hear a click.

Summary of Contents for IS-01

Page 1: ...Interactive Whiteboard System User Manual IS 01...

Page 2: ...ontain the following The IPEVO Interactive Whiteboard System or IS 01 turns your large projection screen into an interactive touchscreen giving you the ability to easily draw and annotate for educatio...

Page 3: ...me actions are not executable with the Pen such as hovering Annotate Your Text and Images Using IPEVO Annotator you can draw and write directly on your interactive whiteboard You can even draw on top...

Page 4: ...ully utilize the potential of your IS 01 After downloading PC 1 Double click the downloaded file and follow the onscreen prompts to complete the installation for IS 01 Driver 2 Follow the onscreen pro...

Page 5: ...screens require more distance between the screen and the Sensor Cam Note Please keep a clear path between the Sensor Cam and the projection screen to ensure proper operation 3 Securing the Sensor Cam...

Page 6: ...the Interactive Pen and insert 2 AAA batteries Replace the cover Turn on the pen when ready to use 4 Connecting to the Computer Once you ve placed and secured the Sensor Cam connect it to your compute...

Page 7: ...Sensor Cam Coverage Detection Tap each corner white square in any order with the tip of the Interactive Pen Make sure the resulting dots appear inside the center white box If not please move the Senso...

Page 8: ...e tip onto the surface or press the IPEVO button once Double click Quickly tap the tip onto the surface twice or press the IPEVO button twice Right click Press and hold the tip onto the surface or pre...

Page 9: ...g or annotating Choose a Fountain Pen or Disappearing Ink for more fun Basic Shapes Basic Shapes icon lets you draw basic shapes such as rectangles or ovals Compass tool available Enables you to draw...

Page 10: ...area where the corresponding points do not appear Or move the Sensor Cam further away from the screen Run the calibration process again The cursor on my screen is jumping around abnormally and I am n...

Page 11: ...O logo and other IPEVO marks are owned by IPEVO Inc and may be registered All other trademarks are the property of their respective owners Customer Service USA Email cs ipevo com Tel 1 408 490 3085 Cu...

Reviews: