22
Ioline SmarTrac User Guide
Arrow Keys
Pressing the
Arrow
keys moves the material back and forth or the
carriage from side to side. The
Arrow
keys will not work unless the
signcutter is in
STOP
mode (
see
START / STOP
above
).
Set Origin
The
Set Origin
key sets the
initial origin or starting position
for the sign. Unless you use the
Repeat
function to cut the same
graphic, it is best to set a new
origin before cutting each sign.
If a new origin is not set before
sending a file to the signcutter,
the signcutter will begin at the
origin point set for the previous
cut file.
Your design software may give you the option of selecting the origin
point. If you set the origin within the software, but do not reset it on
the signcutter using the
Set Origin
button, the SmarTrac will treat
the new file as a continuation of the previous cut. This affects the
Repeat
function. (
See the
Repeat
section below.
)
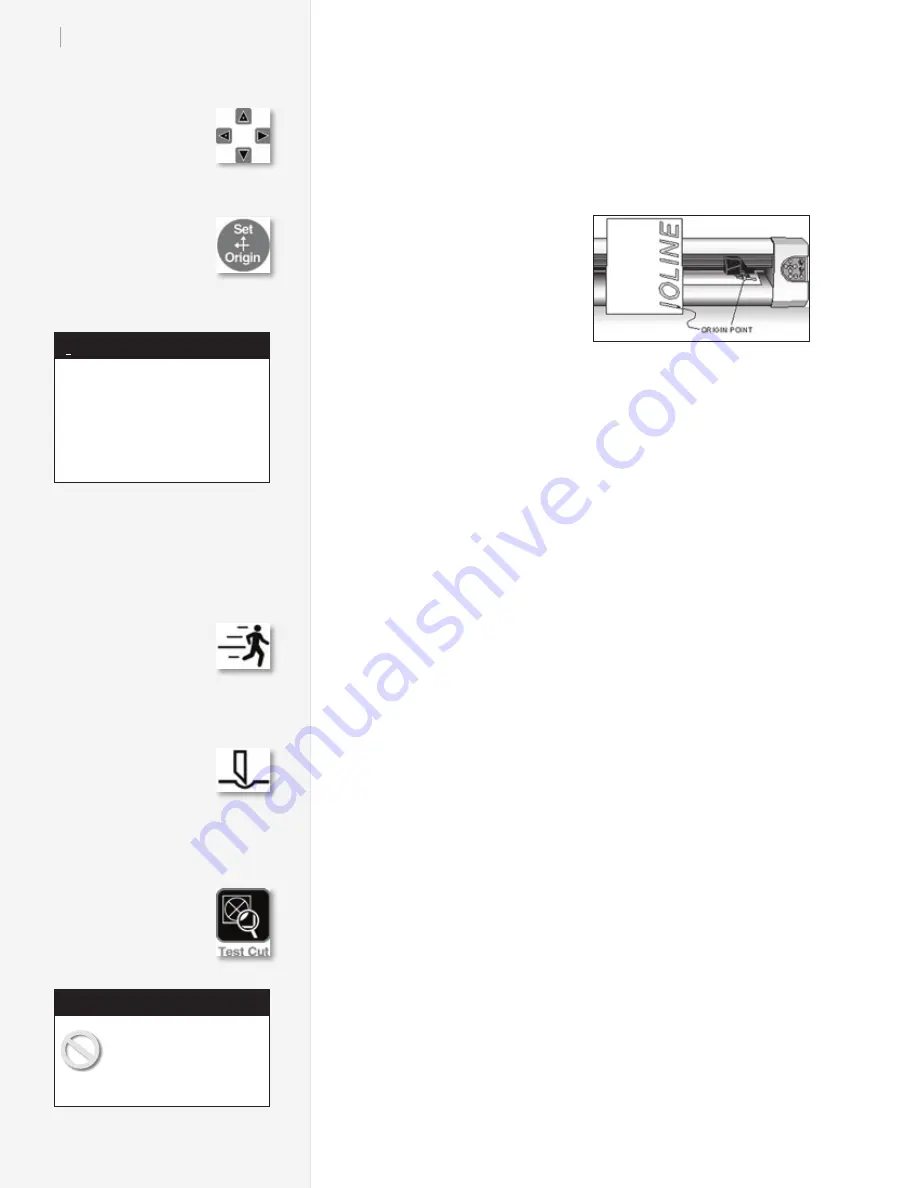
To set a new origin, make sure the SmarTrac is in
STOP
mode (
Red
light is on). Use the
Arrow
keys to move the pen or blade to the in-
tended origin of the cut, then press the
Set Origin
key. The signcut-
ter will then be ready to accept cut/plot files.
Speed
Use the
Speed
knob on the front panel of the signcutter to adjust the
speed. Turn the knob clockwise to increase the speed, or counterclock-
wise to decrease the speed. Set the speed according to the type of cut-
ting and material being used.
See the
Cutting a Sign
section of this manual.
Force
Adjust the force by using the
Force
knob on the front panel. Turn
the
Force
knob clockwise to increase the force exerted on the pen or
blade.
See the section on
Cutting a Sign
for the recommended settings.
The range of force available at the knob is adjustable in the
Control
Center
. The maximum range is 1 to 500 grams (1 to 400 grams for the
I/S 60).
Test Cut
The
Test Cut
button cuts a test pattern. Use it before cutting new
material to help determine the proper force (for knives or pens) and
blade exposure for cutting signs—and the effect of the blade offset
and overcut settings specified in the
Control Center
.
See the section
on
Cutting a Sign
for details on adjusting force and blade exposure.
The
Control Center
section has details about blade offset and overcut.
1.
Make sure that material is loaded in the signcutter that the
blade holder is installed in the carriage. Position the blade over
the material near the right side of the signcutter.
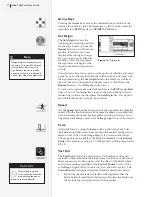
Figure 15.
Origin point.
Note: Using too much
force can cause excessive
drag, damage the pen or
blade, or tear the material.
Caution
Design software usually refers to
the origin as “lower left” because
it is the lower left corner of a
sign. Because the cut is usually
oriented as shown, it is physically
on the right side of the signcutter.
Note


