16
Interwrite
TM
Pad
Getting Started
4
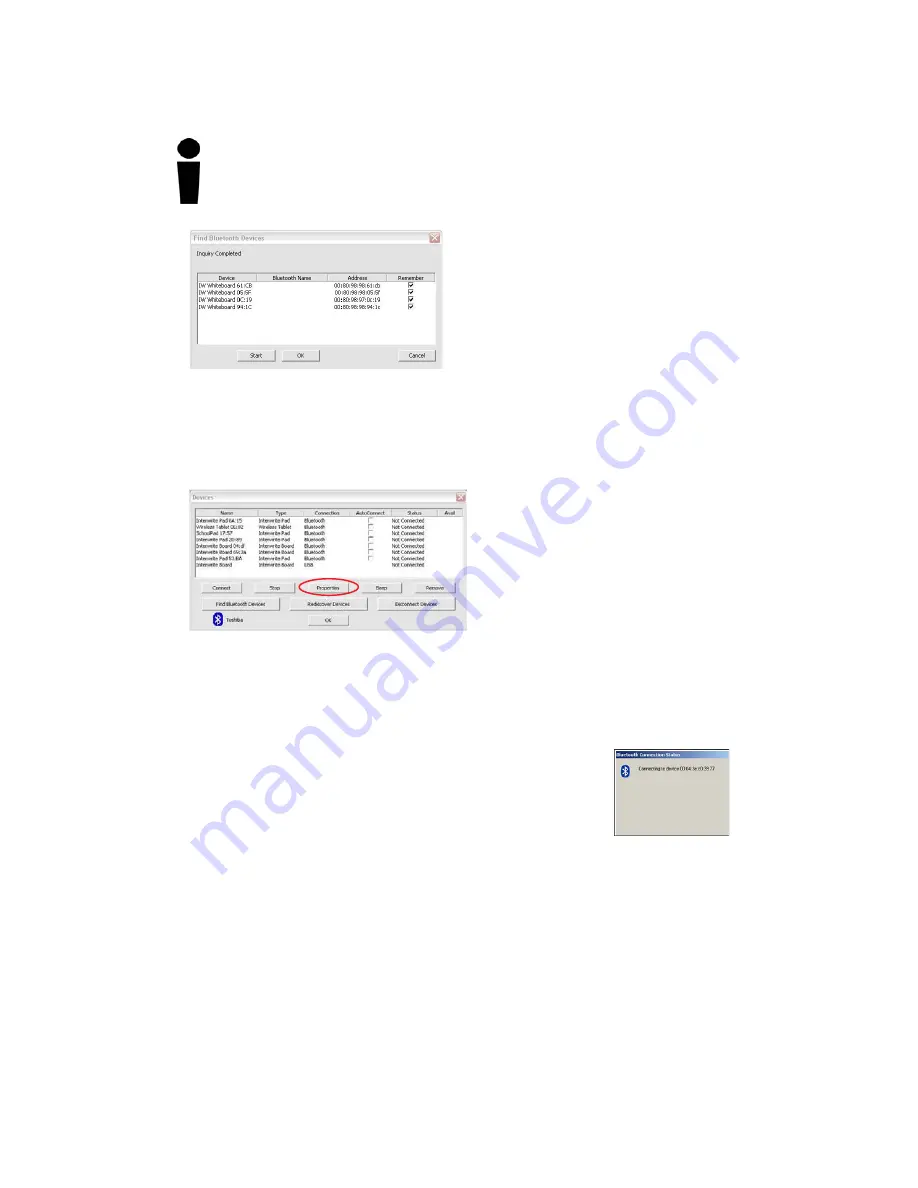
Click on the
Remember
checkbox
next to each discovered Device
you want to see listed in the
Devices
List Window.
5
Click
OK
to return to the
Devices
dialog.
Each discovered device is identified in the Devices dialog by its
Name
,
Type
,
Connection
,
Status
,
Availability,
and whether
AutoConnect
is enabled. The
Properties
feature allows you to
give a connected Interwrite
Device the Name shown in the
Devices List Window (the Inter-
write Pad is given an additional
Bluetooth Name
) and to program
its
SoftKeys
.
AutoConnect is a property unique
to Bluetooth-enabled Interwrite
Devices. When AutoConnect is enabled, the computer will scan continu-
ously for this and other active, AutoConnect-enabled Bluetooth Devices and
attempt to connect them. Scanning stops once a Device is detected and
connected. Therefore, if you are connecting multiple Devices, make sure
they are all powered on, so all of the Devices will be
detected by the scan. The
Status
property will tell you
whether the connection succeeded or failed. The
Avail-
ability
option indicates that a discovered Device is avail-
able for connection. The
Connect
button can be used to
manually connect discovered devices.
6
If you want your Interwrite Pad to AutoConnect when it is powered on,
click on the
AutoConnect
checkbox.
7
Select your Interwrite Pad in the Devices List Window and click on the
Properties
button. Give the Pad a
Name
. This Name is stored in the
Interwrite Workspace software on this computer and will identify the Pad
when it is connected to this computer.
Once connected, your Interwrite Pad is available as a system pointing device.
Your computer mouse can still be used as a pointing device.
The Interwrite Device Addresses shown here are the
Radio ID
s and can be
found on the back of the Interwrite Device.


