background image

6

7

Voicemail Box Setup

RECORDING YOUR PERSONAL VOICEMAIL GREETING

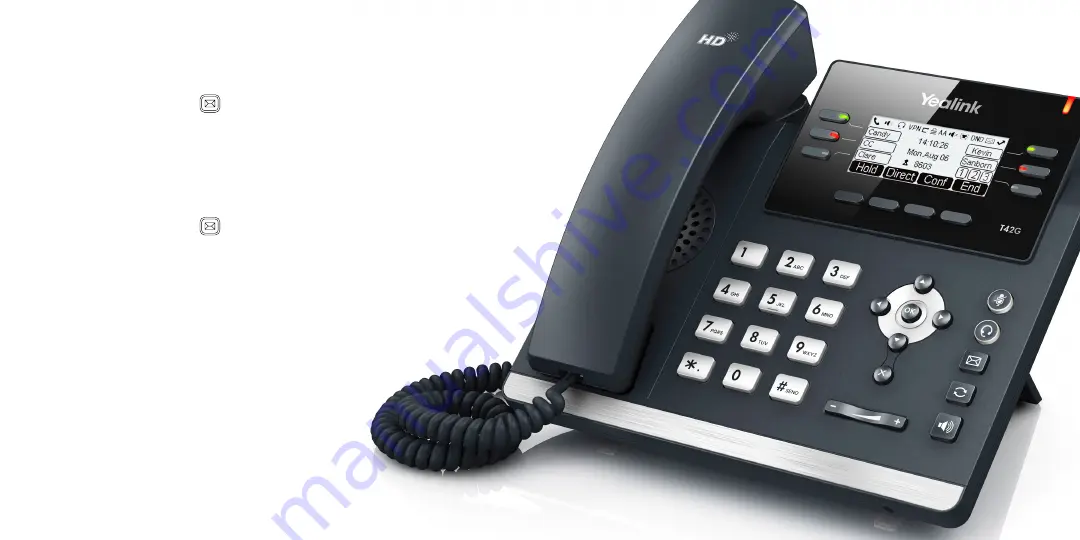
1.  Press the “Envelope”


button.

2.  Enter the default PIN of 0000.
3.  Select option 8 for User Options.
4.  Select option 1 to record the Unavailable greeting.
5.  Follow the voice prompts to record and check your greeting.

CHANGING THE PIN FROM THE PHONE

1.  Press the “Envelope”


button.

2.  Enter the default PIN of 0000.
3.  Select option 8 for User Options.
4.  Select option 3 to change the PIN.
5.  Enter the new PIN when prompted.
Your new PIN:
• 

Must be between 6 and 10 digits and must not start with “0”.

• 

Must not contain sequential or repeating digits, such as “123”  
or “111”.

LOGGING IN TO YOUR VOICEMAIL BOX VIA THE WEB

1.  Go to www.intermedia.net/login/voice.
2.  Enter your Phone Number and PIN/Password.
3.  Click LOGIN.

Summary of Contents for Yealink T42G

Page 1: ...Intermedia Cloud PBX Yealink T42G Quick Start Guide...

Page 2: ...2 3 Welcome to your Cloud PBX service What s in the box Yealink T42G A Phone B Ethernet Cable C Handset Cable D Handset E Stand F Quick Start Guide G Power Adapter D E F G A B C...

Page 3: ...cemail box will be functional with a default greeting PC Connection Optional Power Adapter DC 5V AC Power Option PoE Power over Ethernet Option PC Connection Optional IEEE 802 3af compliant PoE Hub Sw...

Page 4: ...CHANGING THE PIN FROM THE PHONE 1 Press the Envelope button 2 Enter the default PIN of 0000 3 Select option 8 for User Options 4 Select option 3 to change the PIN 5 Enter the new PIN when prompted You...

Page 5: ...handset to answer the call On a Headset When a headset is connected press the Headset button to answer the call On Speakerphone Press the Speaker button to answer the call REJECTING AN INCOMING CALL...

Page 6: ...ess the Mute button again VOICEMAIL 1 Press the Envelope button 2 Enter your PIN when prompted VOLUME ADJUSTMENT In Call Volume While on a call press the and buttons to raise or lower the volume Ringe...

Page 7: ...d is currently enabled Always Forward On will be displayed 2 Press the Ok button or the Enter soft key 3 Use the left or right Arrow button to disable always forwarding 4 Press the Ok button or the Sa...

Page 8: ...14 YealinkT42G QS 002 YEALINKT42G QS 002 www intermedia net www intermedia net knowledgebase voice voicesupport intermedia net 1 877 880 0055 We are here to help...

Reviews: