To combine Astronomic and fixed events, only program one event in each ON/OFF event pair for both Astro and Fixed events. For
example, a combination Astro and fixed event schedule could be a Sunset ON and a Fixed event off for 10 P.M. It is recommended to
determine your facility schedules in advance and then program the time switch. If applicable, different combinations can be configured
for different loads.
Follow these guidelines to configure a combination Astro and Fixed Event schedule.
1. Program the Sunset ON or Sunup OFF events for the applicable loads as instructed in Setting Astro On/Off Events.
NOTE: After a Sunset or Sunup is configured, be sure to leave the other On or Off event blank.
2. Press MODE to scroll to SET FIXED ON/OFF.
3. Program the Fixed ON or Fixed OFF events for the applicable loads as instructed in Setting Fixed Timed Events.
NOTE: After a Fixed ON or OFF is configured, be sure to leave the other ON or OFF event blank.
4. When all the schedules are complete, press MODE to exit the fixed event screen.
Daily Operation
Perform the Daily Operation procedures as needed, including resetting the controller, deleting an event, and clearing time switch memory.
Deleting (Clearing) an Event
Astro events and fixed timed events can be deleted from the time switch. If you need to delete an event, follow this procedure.
1. If necessary, press MODE to scroll through the menus to SET ASTRO or SET FIXED ON/OFF EVENTS screen.
2. Press ENTER/NEXT as necessary to scroll through the scheduled events until you see the event you want to delete.
3. Press + and - AT THE SAME TIME to display --:-- --. This indicates the event is erased.
4. If necessary, press ENTER to scroll through the other configured events.
5. Press MODE to save the changes and exit.
Setting Astronomic and Fixed Events
7. Press ENTER/NEXT to save.
NOTE: If you are performing the procedure Setting Astronomic and Fixed Events, return to step 4 of that procedure.
8. Repeat steps 2 through 7 to set the fixed OFF event. After both fixed on and fixed off are set, go to step 9.
9. Take one of these actions:
If...
Then...
Another fixed timed event needs to be set,
Repeat steps 2 through 8.
All the events are set,
Press
MODE
to exit. Go to step 10.
10. Press MODE to place the time switch in AUTO (Mode). This enables the time switch to automatically initiate configured
scheduled events.
NOTE: In AUTO Mode, the time switch follows the user-configured events, and the loads turn ON and OFF at the configured
time(s). In MANUAL mode, the time switch does not follow user-configured events and only activates loads when an ON/
OFF button is pressed. Press MODE again to return the controller to MANUAL mode.
NOTE: In Auto Mode, press an ON/OFF button temporarily overrides the current state of the load. The time switch returns to the
normal schedule at the next configured event.
Resetting the Time Switch
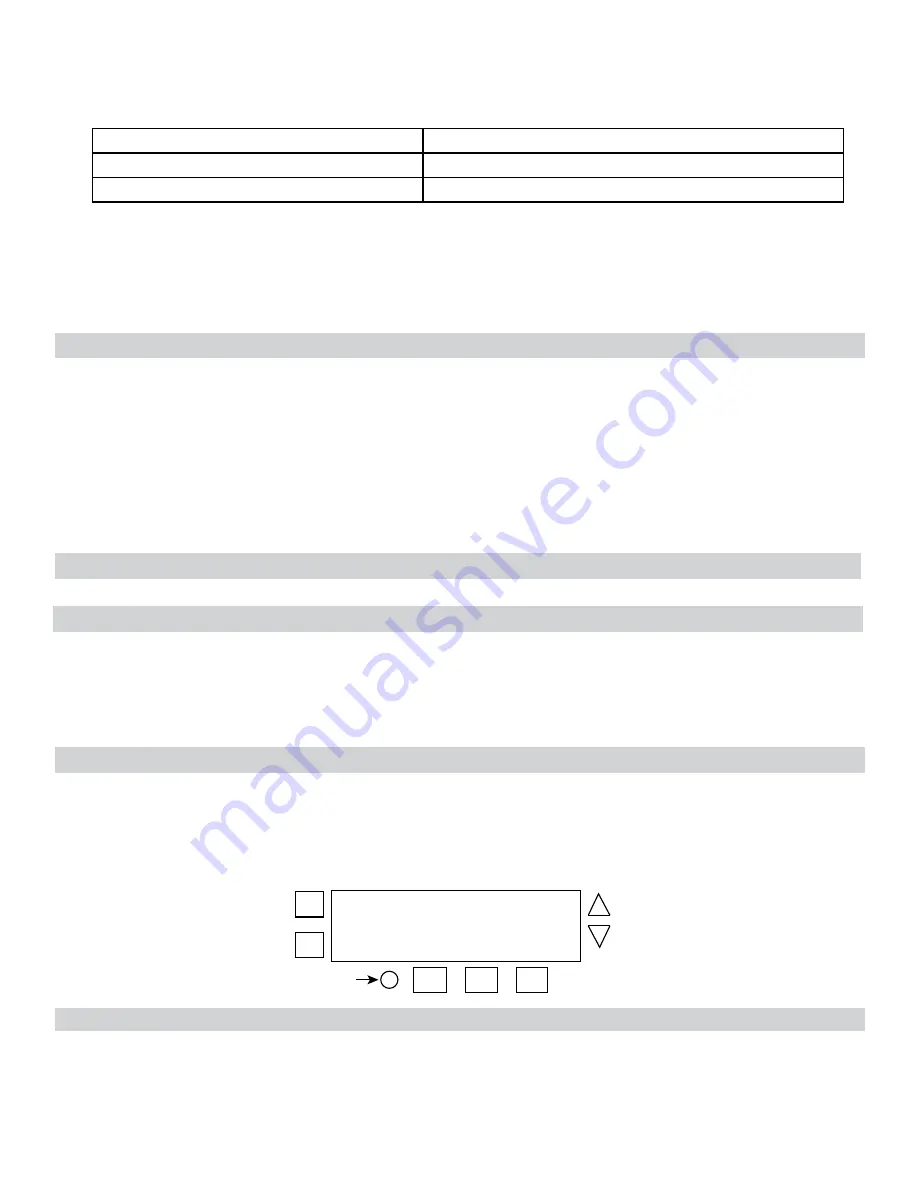
To perform a reset, press the reset button. The following occurs:
• All display segments activate for one second, then the timer model number appears, followed by the firmware revision.
• The current operational mode setting appears
• Afterwards, the time switch returns to the mode it was in prior to the reset
• The time of day resets to 12:00 AM and the day of the week flashes.
• The established normal output current value is deleted
+
-
ON/
OFF
ON/
OFF
MODE
DAY
Reset
button
ENTER
NEXT
Clearing Time Switch Memory
During a memory clear, the time switch performs the same actions as a reset, but also clears all user settings, except the custom Daylight
Savings Time settings. To perform a memory clear do the following:
1. Press and hold ENTER/NEXT.
2. While pressing and holding ENTER/NEXT, press and release the reset button. Do not release ENTER/NEXT.


