background image

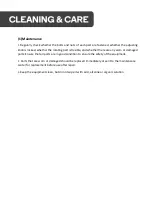
(1) Maintenance

1.

Regularly check whether the bolts and nuts of each part are fastened, whether the adjusting

knob is locked, whether the rotating part is 

exible, and whether there are any worn or damaged

parts. Ensure that all parts are in good 

condition to ensure the safety of the 

equipment.

2.

Parts that are worn or damaged should be replaced immediately or sent to the maintenance

center for replacement before use after repair.

3.

Keep the equipment clean, but do not wipe it with acid, alkaline or or

ganic solution.

Summary of Contents for IT-E240

Page 1: ...IT E240 INTER TRACK Luxury Magnetic Elliptical Machine...

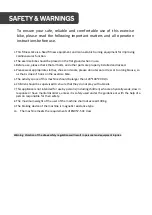
Page 2: ...so as that is doesn t hook on the exercise bike 5 The activity space of this machine should be larger than 120 100 200 cm 6 Children should be supervised to ensure that they do not play with utensils...

Page 3: ......

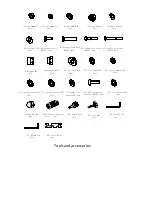
Page 4: ...M10 4pcs 71 flat washer 10 6pcs 88 D shaped transition sleeve 1pcs 86 Spring knob 1pcs 87 shot knob 1pcs 78 Wrench S 5 1pcs 79 Wrench S 8 1pcs 80 Screw driver 1pcs 65 Cap nut M8 8pcs 54 Square Neck S...

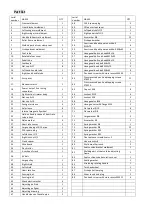
Page 5: ...M8 8 19 Eight section trimmer body 1 66 Locknut M10 6 20 Nut cap S 13 2 67 Locknut M8 5 21 Nut cap S 19 2 68 Hexagonal nutM6 2 22 Swing arm sleeve 4 69 Hexagon nuts with flange M10 2 23 Axle sleeve 8...

Page 6: ...of the frame 1 see fig 2 Figure 1 Figure 2 3 Installing front bracket A Connect the terminal at the lower end of the eight section trimmer body 19 firmly with the output fine adjustment connecting li...

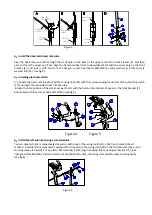
Page 7: ...gn the hole position of the electronic watch 17 with the hole on the instrument panel on the front bracket 2 And locked with four corner bolts M5 12 90 see fig 5 Figure 4 Figure 5 6 Install the left a...

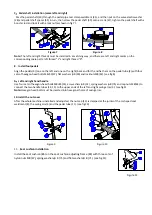
Page 8: ...he pedal tube 4 with four sets of hexagon head bolts M8 50 37 flat washers 8 50 and locknuts M8 42 see fig 8 9 Left and right hand handle Use four sets of hexagon head bolts M8 45 55 arc washers 8 52...

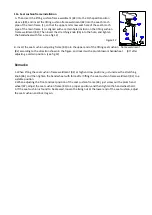
Page 9: ...lifting seat cushion frame weldment 87 after 82 according to the direction shown in the figure and lock it with a plum blossom handwheel adjusting a certain position see fig 12 Remarks 1 When lifting...

Page 10: ...nce calories the current data change to 0 WINDOW DISPLAY TIME Displays the elapsed using time 0 00 99 59 MIN SPEED The speed range is 0 0 999 9KM H or Mile H DISTANCE Displays the total distance trave...

Page 11: ...ET the time distance or calories required Press the RESET key to clear the corresponding window display value 2 Step on the fitness equipment to start measuring and observe your exercise parameters ac...

Page 12: ...ble and whether there are any worn or damaged parts Ensure that all parts are in good condition to ensure the safety of theequipment 2 Parts that are worn or damaged should be replaced immediately or...

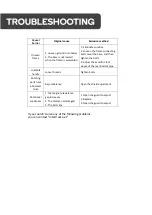
Page 13: ...te sundries 2 Loosen the frame connecting bolts level the base and then tighten the bolts 3 Adjust the eccentric foot sleeve of the rear bottom pipe Unstable handle Loose threads Tighten bolts Rotatin...

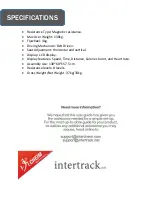
Page 14: ...4kg Driving Mechanism Belt Driven Seat Adjustment Horizontal and vertical Display LCD display Display features Speed Time Distance Calories burnt and Heart rate Assembly size 130 60 157 5 cm Resistan...

Reviews: