background image

Page 

5

 of 

17

 - 

EN


3. Connecting to a computer

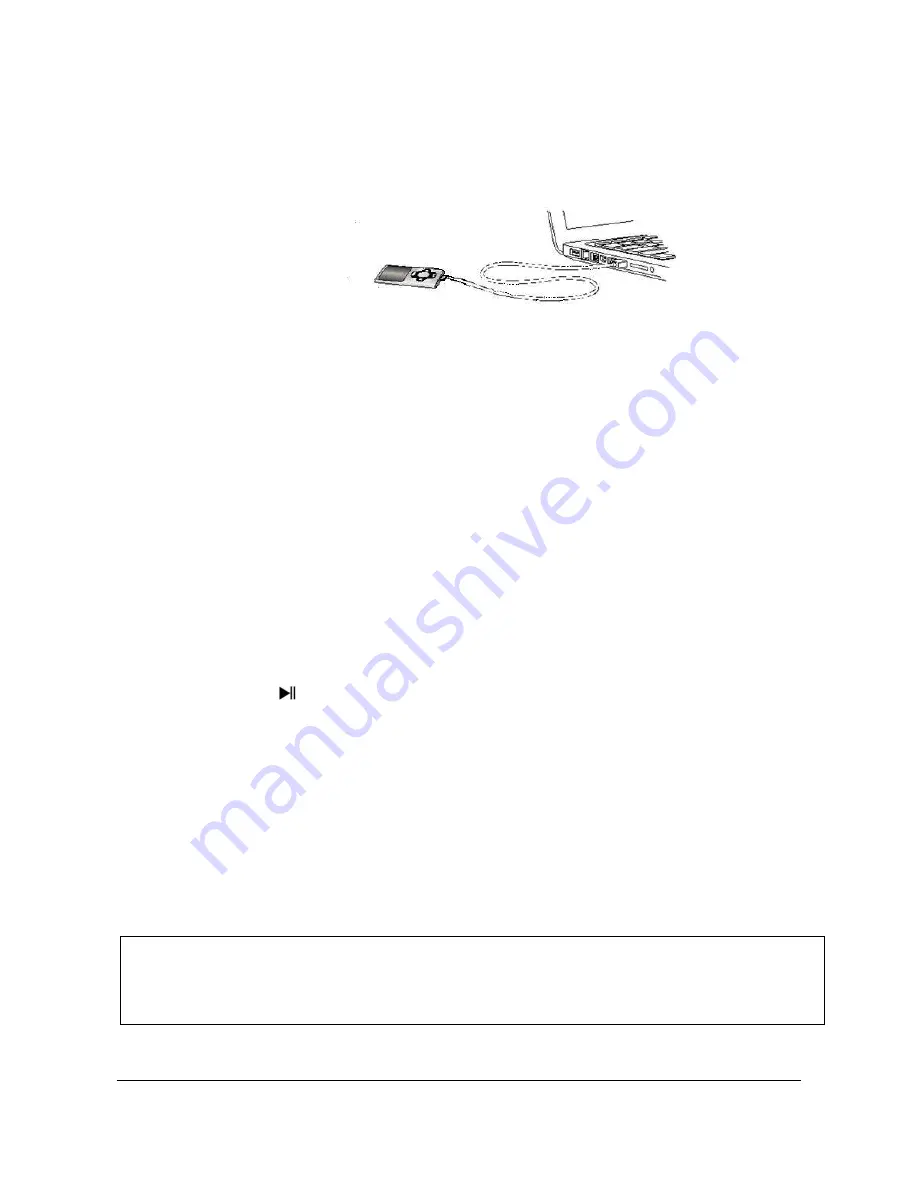
In order to exchange files between your player and a computer, you can simply connect 

your player to the computer using the provided USB cable.  

a. Connecting the device

In order to connect the player to the computer, insert the USB 2.0 port of the USB cable 

with a free USB port of the activated computer and connect the Mini USB port of the cable 

with the player. It is now recognised as removable medium and is ready for data transfer 

with the computer.  

Now you can simply transfer the files from your computer to your player or vice versa 

using 

“Drag and Drop” or by "Copy and Paste“.  

b. Disconnecting the device

Before removing the USB cable you must make sure that the data connection between the 

devices is separated! 

To do that, press the 

 button for 1 - 2 seconds. The display now shows the current 

charging level and the data connection was separated.  

If you are using a Windows PC (XP or higher version), the player can also be 

disconnected via the computer. 

To do that, click on the “Remove hardware safely” symbol 

in the Windows taskbar. Now select the Video Scooter and follow 

your computer’s 

instructions, until it confirms the successful process. 

If you are using a Mac you can simply disconnect the player by dragging the player icon 

onto the trash symbol. 

The USB cable can now be separated safely from the player and computer. 

Note

: Do not remove the player from the computer if the transfer of files between the 

devices is not finished. This can result in data loss and damage the medium. 


Summary of Contents for Video Scooter

Page 1: ...Version 1 0 Intenso Video Scooter Manual Page 1 17 GB...

Page 2: ...the device 5 4 The rechargeable battery 6 a Charging the battery 6 b Charging status 6 c Usage during the charging process 7 5 Operation 8 a General operation 8 1 Switching the player on and off 8 2 K...

Page 3: ...er 14 g Setup 14 1 Music 15 i Playback mode 15 ii Random playback 15 iii Equalizer 15 2 Recording 15 3 Photo 15 4 Display 15 i Lighting duration 15 ii Brightness 15 iii Eco mode 16 5 Sleep Timer 16 6...

Page 4: ...not liable for damages or data loss upon a malfunction improper handling and unauthorised repair of the device or changing of the battery Please do not disassemble the device into its components and...

Page 5: ...Intenso Video player Stereo headphones Micro SD card CD with conversion software AVI format USB cable User manual 1 On Off Switch 2 Arrow back button 3 Volume button 4 back button 5 Play pause button...

Page 6: ...ving the USB cable you must make sure that the data connection between the devices is separated To do that press the button for 1 2 seconds The display now shows the current charging level and the dat...

Page 7: ...onnect the device with the PC using the USB cable The charging process starts automatically The symbol for a connection Connect appears on the screen of the device b Charging status Press the Play Pau...

Page 8: ...during usage In the upper right corner it is shown in 3 stages e g during playback of music If the battery is fully charged all three fields are displayed If the battery is still charging the animatio...

Page 9: ...tton on the left side of the player into OFF position 2 Key lock In order to prevent accidental entries the player is equipped with a key lock To activate it press Play Pause button and the M button s...

Page 10: ...p Music Video Photo Record File Setup 4 Navigation With the Forward and Back button you can navigate through the different menus With the Play Pause button you can open the desired menu item or start...

Page 11: ...utton or button to adjust the volume 2 Folder overview To reach the folder overview from the playback screen press the Arrow Back button Navigate with the Forward or Back button through the files and...

Page 12: ...w opens Select the video file to be played with the Forward or Back button and confirm your selection with the Play Pause button The video starts automatically To pause the playback or to continue it...

Page 13: ...Play Pause button The folder overview opens Select the image to be displayed with the Forward or Back button and confirm your entry with the Play Pause button To start automatic image rendition or to...

Page 14: ...the main menu the current recording is then saved automatically 2 Playback Navigate from the main menu to the menu item File Explorer and confirm your selection with the Play Pause button Now select...

Page 15: ...pened With the Arrow Back button you change into the next higher level of your folder structure up to the main menu To delete a file navigate in the folder overview to the desired file and press the M...

Page 16: ...yback of all song files iii Equalizer Here you select your favourite Equalizer mode You can choose between Normal Rock Pop Classic Bass and Jazz 2 Recording In the menu item Recording you can define t...

Page 17: ...e of the eight pre installed languages You can choose between English Spanish French German Italian Portuguese Polish and Russian 7 System In the menu item System you have the following options i Info...

Page 18: ...Exclusion of liability Changes to the firmware and or hardware can be made at any time without prior notification For this reason it is possible that parts of the manual technical data and images in...

Reviews: