background image

10

Step 2:

 Setting Up

„

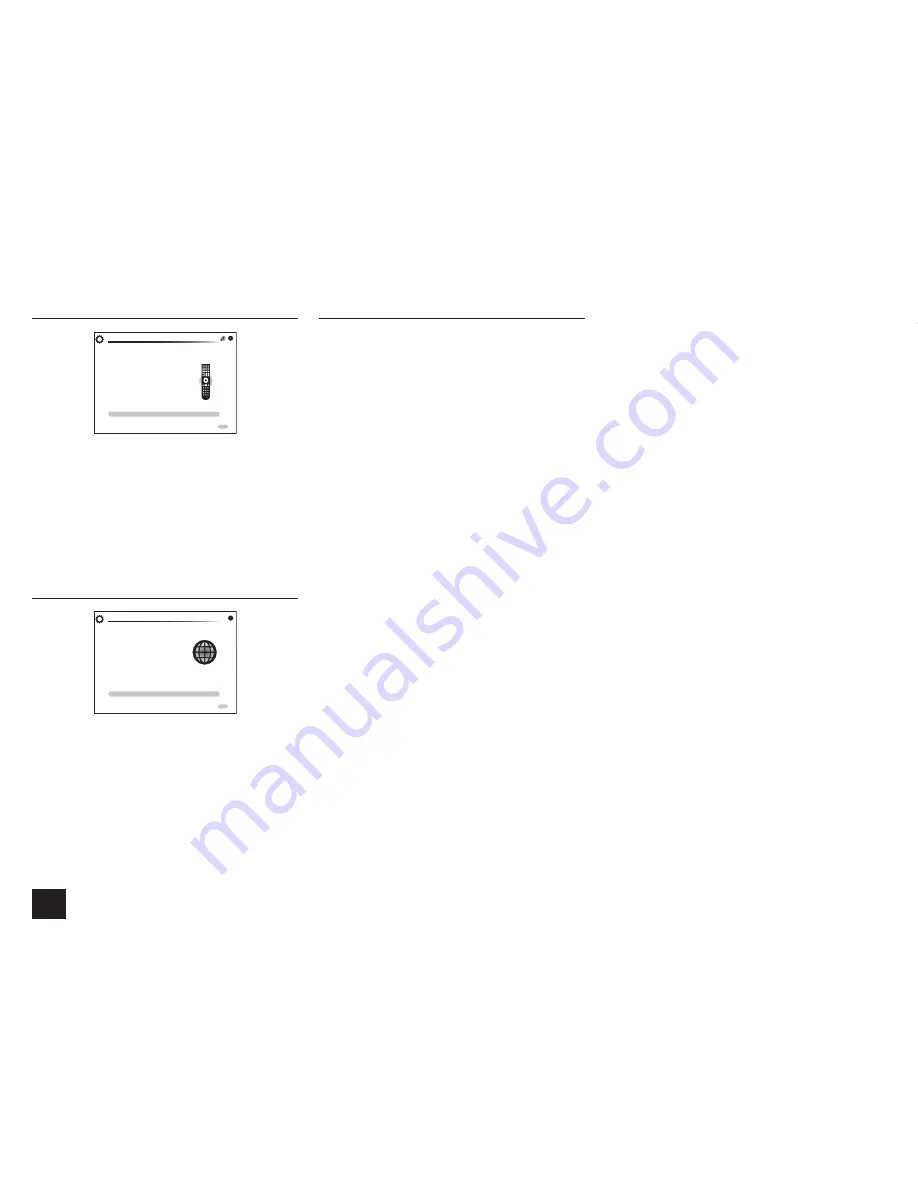
 3rd Step : Remote Mode Setup

HOME

Exit

Initial Setup

Remote Mode Setup

Preprograming remote will give you control 

of other devices from AV receiver remote 

Would you like to setup your remote to 

control your devices? This may take a while 

depending on what and how many you have 

connected. You can always come back to remote 

setup from setup “8-2 Remote Mode Setup”.

Yes

No. Skip

In this step, you can enable operation of the other 
components using the remote controller of the unit. When 
the Remote Mode Setup start screen is displayed, select 
"Yes" with the cursors and press Enter on the remote 
controller. Follow the guidance to select the desired Remote 
Mode button and in the keyboard screen, enter the first 
three characters of the brand name of the device you are 
going to program (e.g., "INT" for Integra) and search for the 
remote control code. The guidance will also explain how to 
set the remote controller.

„

 4th Step : Network Connection

Do you want to connect network connection?

It gives you network services that our AV 

receiver support. If you wish to skip this step.

select “No. Skip”.

Yes

No. Skip

HOME

Exit

Initial Setup

Network Connection

You can check the network connection. When the Network 
Connection start screen is displayed, select "Yes" with the 
cursors and press Enter on the remote controller. If you 
select "Yes" in the next screen, you can view the Ethernet 
cable connection status.

„

 Exiting the setup wizard

After finishing the initial setup, keep "Finished" selected 
and press Enter on the remote controller. Connection and 
setting of the unit is now completed. See Step 3 and enjoy 
your home theater.

Summary of Contents for DTR-40.6

Page 1: ...DTR 40 6 Basic Manual Advanced Manual found here http integraworldwide com manual dtr406upg adv en html En...

Page 2: ...porates Qdeo technology for HDMI video upscaling Equipped with 4K 60 Hz Passthrough compatible HDMI IN OUT jacks IN1 to IN4 of HDMI IN jacks are 4K compatible Supports the HDMI Through function which...

Page 3: ...Return Channel it is possible to play the TV sound with the AV receiver s speakers with this connection only If your TV does not support ARC you need in addition to the HDMI OUT MAIN jack connection a...

Page 4: ...ack of audio of a CD player or such other player without HDMI output jack you need to use the RCA cable to connect the corresponding jacks of the player and this unit For details on the multi zone fun...

Page 5: ...ers Center speakers Surround speakers Subwoofer 7 8 Surround back speakers 9 F Height speakers 5 1 ch 7 1 ch 78 or 9F 78 and 9F share the same speaker terminals Select either of the groups To use the...

Page 6: ...hannel s cable will help correct connection Up to two subwoofers with built in power amplifier can be connected to the subwoofer jacks Set the cut off filter selection switch of the subwoofer to Direc...

Page 7: ...nit use the SPEAKERS BACK or HEIGHT terminals 3 Other connections AM FM antenna connections Connect the antennas to listen to AM FM broadcast When listening to the broadcast for the first time adjust...

Page 8: ...elect Setup 7 Hardware Setup Initial Setup and press Enter Select the language first In the next screen the summary of the setup wizard as below will be displayed Select Yes in this screen and press E...

Page 9: ...ck with THX listening modes THX recommends setting the crossover frequency to 80Hz THX manually Due to the electrical complexities and the interaction with the room you may notice irregular results wh...

Page 10: ...enter the first three characters of the brand name of the device you are going to program e g INT for Integra and search for the remote control code The guidance will also explain how to set the remo...

Page 11: ...des on the next page 4 Adjust the volume with G 1 3 4 5 6 2 7 8 9 F G H I J Remote controller parts name 1 zReceiver button Turns the unit on or into standby mode 2 Remote Mode Input Selector button S...

Page 12: ...e treble Phase Matching Bass Allows you to keep the clear midrange and effectively enhance the bass Muting Temporarily Press Muting on the remote controller To cancel the muting press Muting again or...

Page 13: ...after the network starts up even if it cannot be selected first It may take about a minute to start up When Network Service is selected for the first time the DISCLAIMER screen will appear on the TV S...

Page 14: ...ir resolution can match that of the TV used Select the HDMI OUT jack to be used for output Wide Mode You can set the aspect ratio Picture Mode You can adjust the image quality Cinema will automaticall...

Page 15: ...onnected player for the main room and a separate room the sound field processing for 2 ch PCM signals will be made in a separate room Outputting Video Audio to a Separate Room a Connecting a TV in a s...

Page 16: ...ess Zone2 or Zone3 twice To turn off the multi zone function Press Zone on the remote controller several times to select Zone 2 or Zone 3 and press zReceiver Alternatively press Off on the main unit T...

Page 17: ...ning j l button Preset d c button and Enter button Moves the cursor and confirms the selection When listening to AM FM broadcasting tune into the station with Tuning j l or select the registered stati...

Page 18: ...t jacks connected to the integrated amplifier for multi zone playback in a separate room M SPEAKERS terminals Speakers are connected To use the Multi zone function connect the speakers in the separate...

Page 19: ...he TV to the HDMI OUT MAIN jack HDMI control does not function correctly Set the CEC link function of the unit to on It is also necessary to make the HDMI linked system setting on the TV See the TV s...

Page 20: ...n AC 220 240 V 50 60 Hz Australian Power Consumption 6 9 A North American 690 W Australian 0 1 W Stand by North American 0 15 W Stand by Australian 85 W No sound Dimensions W H D 435 mm 175 mm 376 mm...

Page 21: ...registered trademark of Apple Computer Inc in the United States x v Color is a trademark of Sony Corporation MPEG Layer 3 audio coding technology licensed from Fraunhofer IIS and Thomson Xantech is a...

Page 22: ...22...

Page 23: ...23...

Page 24: ...eater com Integra Division of Liegnitzerstrasse 6 82194 Groebenzell GERMANY Tel 49 8142 4401 0 Fax 49 8142 4208 213 http www integra eu Integra Division of 1301 555 Tower No 555 West NanJin Road Jin a...

Reviews: